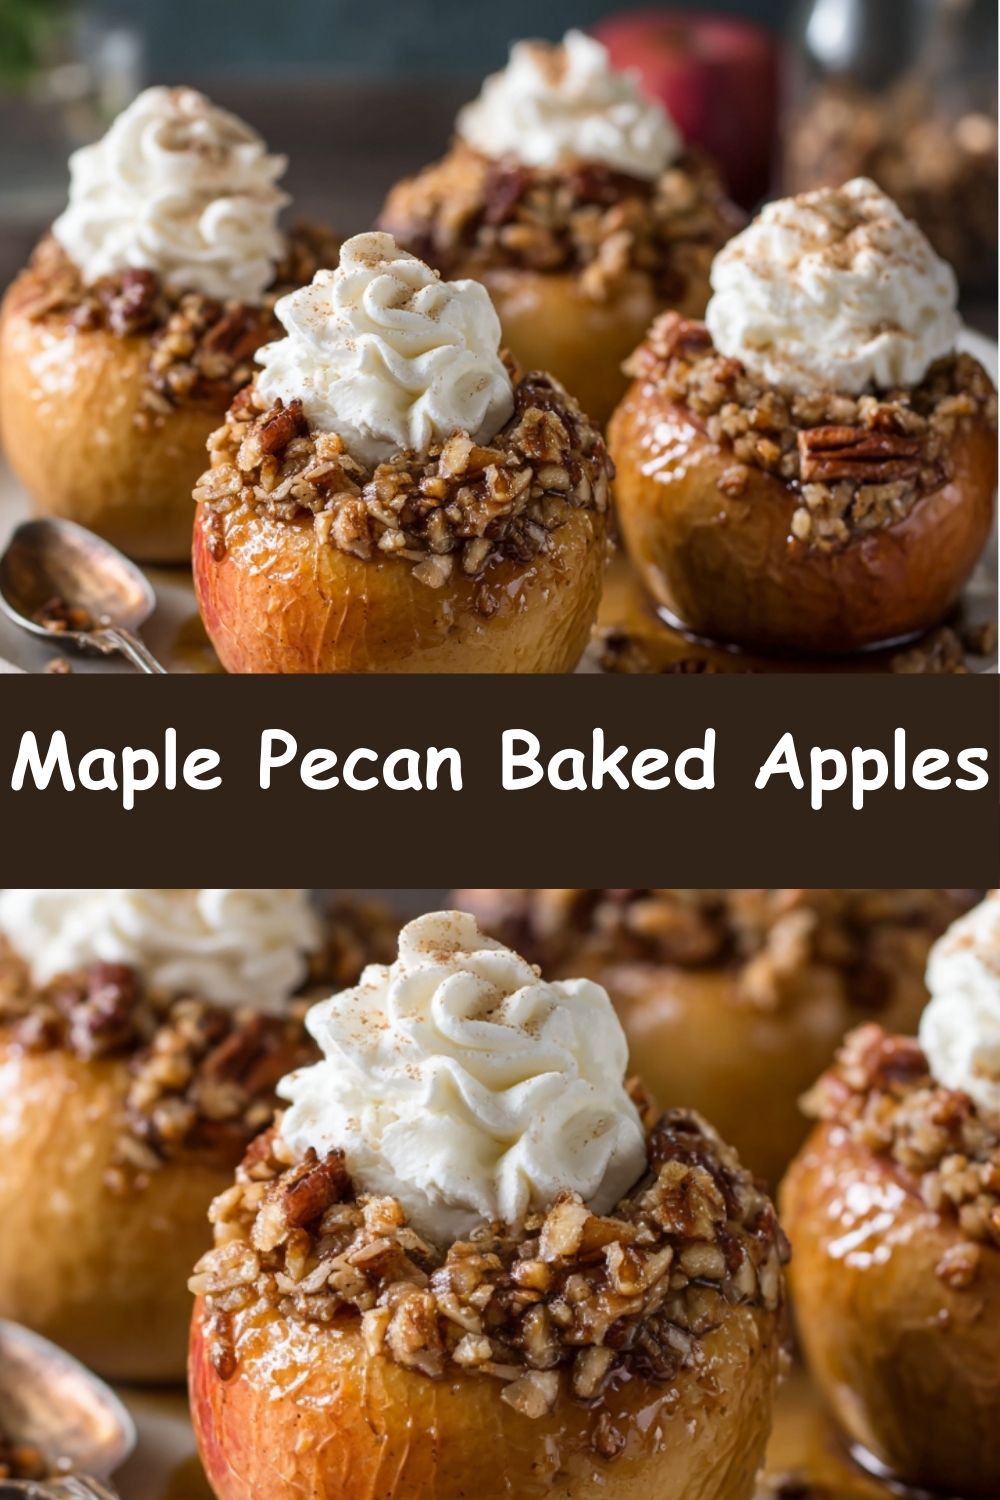
Maple Pecan Baked Apples: Your New Go-To Cozy Dessert
Hey there, my fellow food adventurer! Clara here, from my cozy kitchen to yours. Is there anything quite like the smell of cinnamon and apples wafting through your home? It’s like a warm hug in scent form, a signal that something simple, wholesome, and incredibly delicious is about to happen. If you’re craving a dessert that feels indulgent but is secretly packed with good-for-you ingredients, you have absolutely come to the right place.
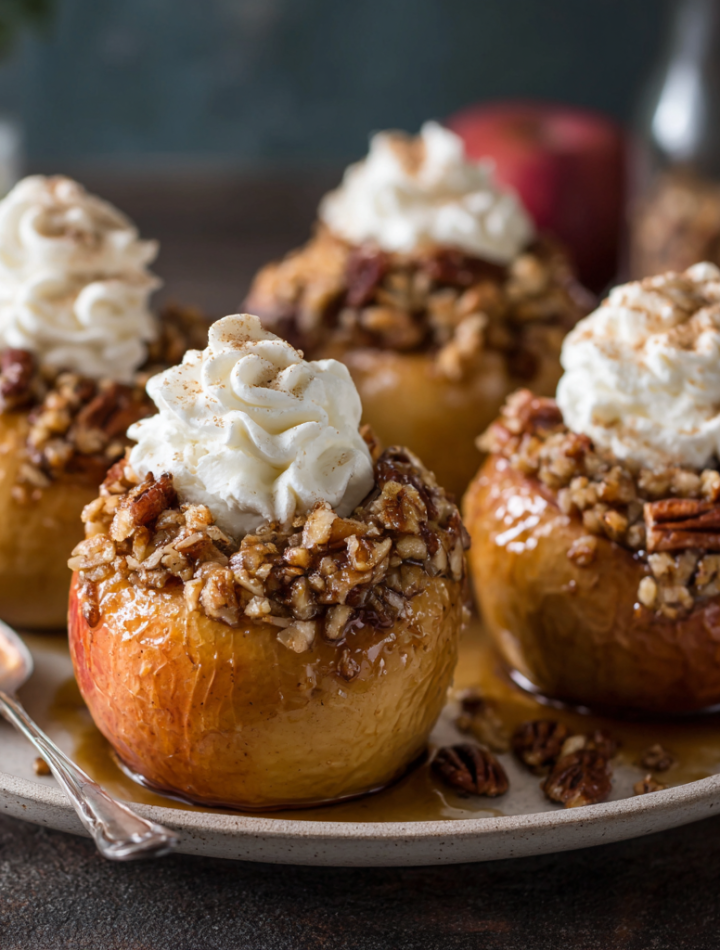
Today, we’re ditching the complicated pastry dough and the fussy techniques. We’re making magic with just a handful of real, whole ingredients. I’m talking about my Maple Pecan Baked Apples. Imagine this: tender, juicy apples, their centers overflowing with a toasty, crunchy filling of oats, pecans, and warm maple syrup. As they bake, the apples become impossibly soft, their natural sweetness melting into the spiced filling, creating a caramel-like sauce right in the baking dish.
This isn’t just a dessert; it’s a bowl of comfort. It’s the perfect ending to a crisp autumn day, a brilliant healthy-ish treat to satisfy a sweet tooth, and it’s so stunningly simple that you’ll wonder why you haven’t been making it every week. So, grab your favorite apron, and let’s create something that will make your entire home smell incredible and your taste buds do a happy dance.
A Recipe Born from a Cozy Memory
This recipe always takes me right back to my grandma’s kitchen. She wasn’t a fancy pastry chef; she was a master of simple, heartfelt food. One particularly chilly November afternoon, I was at her house, probably complaining about some middle-school drama, and she just smiled, handed me an apple corer, and said, “Let’s make something warm.”
We didn’t have a recipe. She pulled out what she had: a bag of apples from a local orchard, some oats, a jar of walnuts (she was out of pecans!), and her beloved jug of maple syrup from a farm down the road. We cobbled it together, laughing as we tried to pack the filling into the apples without it spilling everywhere. The smell as they baked was pure magic. We ate them straight out of the baking dish, burning our tongues a little because we couldn’t wait. It was one of those perfect, simple moments where food became more than fuel—it became a memory.
My version is a love letter to that afternoon. I’ve tweaked it over the years (hello, pecans, my true love!), but the soul of it remains the same: uncomplicated, nourishing, and made with a whole lot of heart.
Print
Maple Pecan Baked Apples
- Total Time: 40 minutes
- Yield: 4 servings 1x
Description
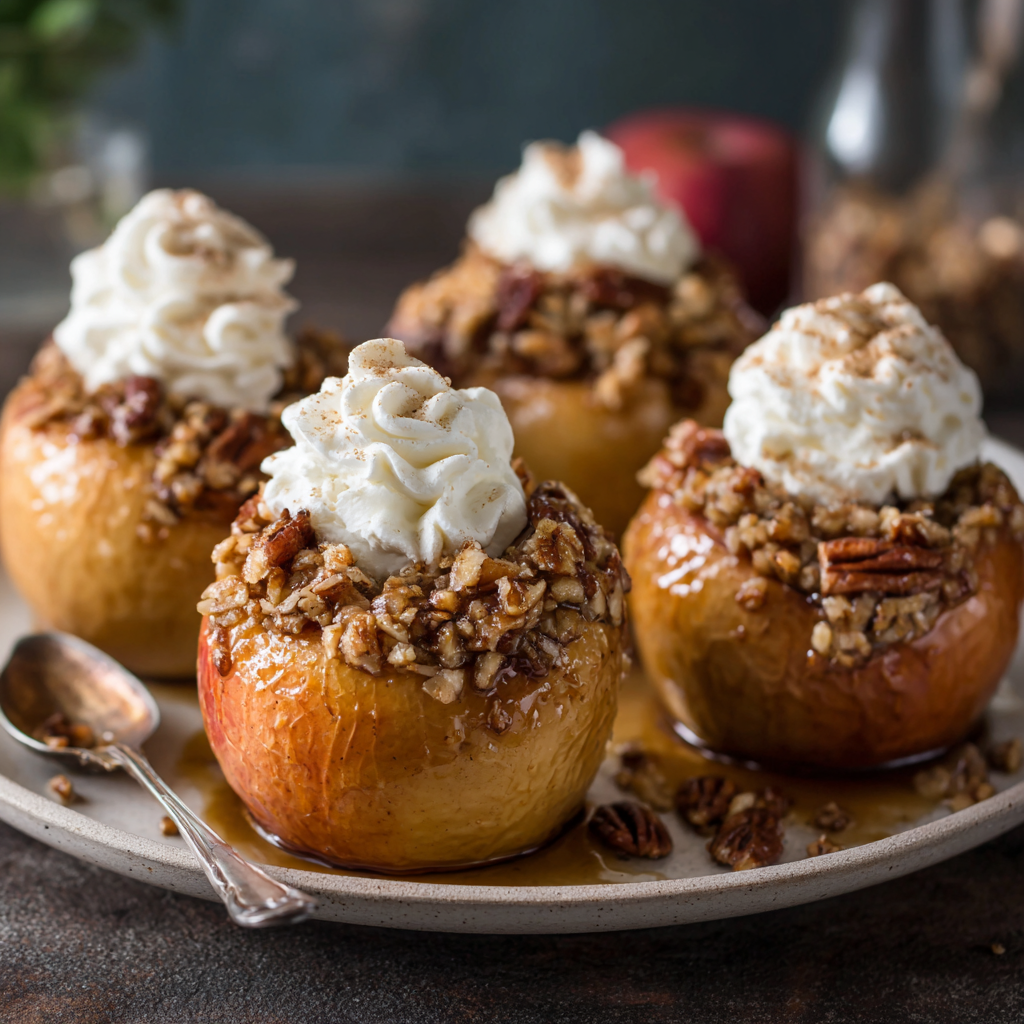
These baked apples are the essence of cozy comfort. Each apple is filled with a warm, nutty mixture of oats, pecans, maple syrup, and cinnamon, then baked until perfectly tender. A rustic dessert that’s naturally sweet and deeply satisfying. Serve warm with a dollop of whipped cream or a scoop of ice cream to make it unforgettable.
Ingredients
4 medium apples (Honeycrisp or Gala work well)
1/2 cup rolled oats
1/3 cup chopped pecans
1/4 cup maple syrup
1/2 teaspoon ground cinnamon
2 tablespoons melted butter
Pinch of salt
Instructions
Preheat oven to 350°F (175°C).
Core apples, leaving the bottom intact to form a well.
In a bowl, mix oats, pecans, maple syrup, cinnamon, butter, and salt.
Spoon the filling into each apple.
Place apples in a baking dish with a splash of water at the bottom. Cover with foil.
Bake for 25–30 minutes until apples are tender. Uncover for the last 5 minutes to brown the tops slightly.
Serve warm with whipped cream or ice cream.
- Prep Time: 10 minutes
- Cook Time: 30 minutes
- Category: Dessert
Nutrition
- Calories: 230 calories per apple
- Fat: 9g
- Carbohydrates: 38g
- Protein: 2g
Gathering Your Cozy Ingredients
Here’s the beautiful part: you likely have most of this already in your pantry. This is a recipe that celebrates simplicity, so let’s talk about each star player.
- 4 medium apples (Honeycrisp or Gala work well) – This is your vessel! You want an apple that holds its shape when baked. Honeycrisp are my top pick—they’re sweet, crisp, and bake up tender but not mushy. Gala and Pink Lady are also fantastic. If you like a tarter bite, a firm Granny Smith creates a lovely contrast with the sweet filling.
- 1/2 cup rolled oats – Also called old-fashioned oats. These give the filling its wonderful chewy, hearty texture. They soak up all the maple-butter goodness and become beautifully tender. Chef’s Insight: For a gluten-free version, just ensure your oats are certified GF!
- 1/3 cup chopped pecans – Toasty, buttery, and packed with crunch. Toasting them beforehand (just 5-7 minutes in a 350°F oven) will unlock their deepest, most incredible flavor. If you’re out, walnuts make a perfect substitute.
- 1/4 cup pure maple syrup – Please, for the love of all things cozy, use the real stuff! The deep, caramel-like flavor of pure maple syrup is irreplaceable. It’s the natural sweetener that makes this dessert feel so special.
- 1/2 teaspoon ground cinnamon – The quintessential spice of comfort. It’s warm, sweet, and makes the entire house smell like a hug.
- 2 tablespoons melted butter – This binds our filling together and adds a rich, luxurious mouthfeel. For a vegan twist, coconut oil works like a dream and adds a subtle, lovely flavor.
- Pinch of salt – Never, ever skip the salt! It’s the secret weapon that makes all the other flavors pop and balances the sweetness perfectly.
Let’s Build Some Deliciousness: Step-by-Step
Ready to create some magic? This process is so satisfying. Let’s do it together, step by step.
- Preheat and Prep: First things first, get that oven preheating to a cozy 350°F (175°C). This is the perfect temperature to cook the apples through without burning our topping. While it’s warming up, grab an 8×8” baking dish or any dish where your apples can sit snugly without falling over.
- Core Those Apples: Now, take your apples. We need to create a little well for all that glorious filling. Using an apple corer or a small paring knife, carefully remove the core. Here’s my #1 chef hack: make sure you stop about a 1/2 inch from the bottom! You want to create a cup, not a tunnel. This keeps all the filling tucked safely inside while it bakes. If you’re feeling fancy, you can use a melon baller to slightly widen the top of the hole.
- Mix the Good Stuff: In a medium bowl, combine the rolled oats, chopped pecans, maple syrup, cinnamon, melted butter, and that all-important pinch of salt. Stir it all together until every oat and pecan is glistening and coated in that syrupy, spiced goodness. Give it a taste—I won’t tell! This is where you can adjust, maybe adding a touch more cinnamon if you’re a superfan.
- Fill ‘Em Up: Using a spoon, generously pack the oat-pecan mixture into each apple. Really press it down as you go to get as much in there as possible. It’s okay if it mounds over the top—that’s going to get deliciously crispy. Place your stuffed apples right into your baking dish.
- Bake to Perfection: Here’s a key step for ultra-tender apples: pour about 1/4 cup of water into the bottom of the baking dish, around the apples. This creates steam, which helps cook the apples evenly and prevents them from drying out. Cover the dish tightly with foil and slide it into your preheated oven. Bake for 25-30 minutes. The foil-steam method is our secret weapon for perfect texture!
- The Grand Finale: After about 25 minutes, carefully remove the foil (watch out for the steam!). The apples should be tender when pierced with a knife. Let them bake uncovered for another 5 minutes. This last blast of heat is what gives the topping its perfect, slightly crispy, golden-brown finish.
How to Serve Your Masterpiece
The beauty of this dish is in its simplicity. I love to serve these baked apples straight from the oven, while they’re still bubbling and fragrant. Carefully transfer each apple to a shallow bowl. Don’t you dare leave behind that syrupy juice at the bottom of the baking dish! Spoon every last drop over the top.
While they are sublime all on their own, a little dollop of freshly whipped cream or a scoop of vanilla bean ice cream takes it to a whole new level of decadence. The contrast of the warm, spiced apple with the cold, creamy ice cream is nothing short of legendary.
Make It Your Own: Delicious Variations
This recipe is a fantastic canvas for your creativity! Here are a few of my favorite twists:
- Vegan Delight: Simply swap the butter for an equal amount of coconut oil. It adds a wonderful subtle flavor that pairs beautifully with the maple and pecans.
- Cranberry-Walnut Twist: Swap pecans for walnuts and add 2 tablespoons of dried cranberries to the filling for a festive, tart pop.
- Ginger-Spiced: Add 1/4 teaspoon of ground ginger or even some finely chopped crystallized ginger to the filling for a warm, zesty kick.
- Chocolate Craver’s Dream: Stir 2 tablespoons of dark chocolate chips into the oat mixture. They’ll melt into gooey pockets of joy.
- Apple “Crumble” For Two: Have extra filling? Chop an extra apple, toss it in the dish, and sprinkle the leftover filling on top. Bake as directed for a deconstructed crumble!
Chef Clara’s Notes & Kitchen Stories
This recipe has evolved so much from those first messy kitchen notes! The first time I made it for a friendsgiving, I was so nervous I overfilled the apples and the filling spilled everywhere in the oven. It smoked. A lot. My friends still tease me about the “Great Apple Smoke-Out of 2018.” The lesson? It’s okay if a little spills, but maybe don’t pack it *quite* as high as I did!
Over time, I learned the water-in-the-pan trick from a reader (thank you, Susan!), and I started toasting my pecans without fail. It’s these little evolutions that make a recipe a living, breathing thing. Don’t be afraid to make it your own. The best dishes come from a bit of experimentation and a lot of love.
Your Questions, Answered!
Q: My apples are still really firm after 30 minutes. What happened?
A: No worries! This usually means your apples were either very large or a particularly dense variety. Just cover them back up with the foil and pop them back in the oven for another 5-10 minutes, checking every 5 minutes for tenderness. Patience is key!
Q: Can I make these ahead of time?
A: Absolutely! You can assemble the apples up to a day in advance. Keep them covered in the baking dish in the fridge. When you’re ready, you might need to add a few extra minutes to the baking time since they’ll be starting from cold.
Q: The filling is a bit dry. How can I fix it?
A: This can happen if the oats absorb the liquid too quickly. Next time, you can add a teaspoon of apple juice or even water to the filling mix. For now, just drizzle a little extra maple syrup over the baked apples before serving. Problem solved deliciously!
Q: My apples exploded! Why?
A: Oh no! This typically occurs if the apple’s bottom was accidentally cut out during coring, allowing steam to build up inside. Next time, just be sure to leave that 1/2-inch base intact. They’ll still be tasty, even if they’re a bit free-form!
Nutritional Information*
Prep time: 10 minutes | Cook time: 30 minutes | Serves: 4
Approx. per serving (1 apple, without additional toppings):
Calories: 230 | Carbohydrates: 38g | Protein: 2g | Fat: 9g
*This is an estimate and may vary based on specific ingredients used.
There you have it! My all-time favorite cozy dessert that proves healthy-ish eating can be an absolute joy. I hope this recipe becomes a new tradition in your home, creating its own warm and delicious memories. If you make it, I’d love to see your creation!
Until next time, happy cooking!
Clara