Your New Favorite Fall Obsession: Pumpkin Crumble Bars
Hey, my fellow flavor adventurers! Clara here. Is there anything better than that first crisp snap in the autumn air? It’s the universal signal to pull out your coziest sweaters, light every cinnamon-scented candle you own, and most importantly, preheat your oven. Fall baking season is officially upon us, and my kitchen is basically a pumpkin-spiced laboratory right now.
But let’s be real for a sec. As much as I adore a classic pumpkin pie—the silky filling, the flaky crust, the whole beautiful ceremony of it—it can feel like a bit of a project. Sometimes, you just want all that cozy, spiced, pumpkin-y goodness in a form that’s a little more… grab-and-go. A dessert you can enjoy with a mug of apple cider on the couch without needing a fork and plate. A treat that’s sturdy enough to pack for a picnic, pretty enough to bring to a Friendsgiving, and easy enough to whip up on a random Tuesday just because you deserve it.
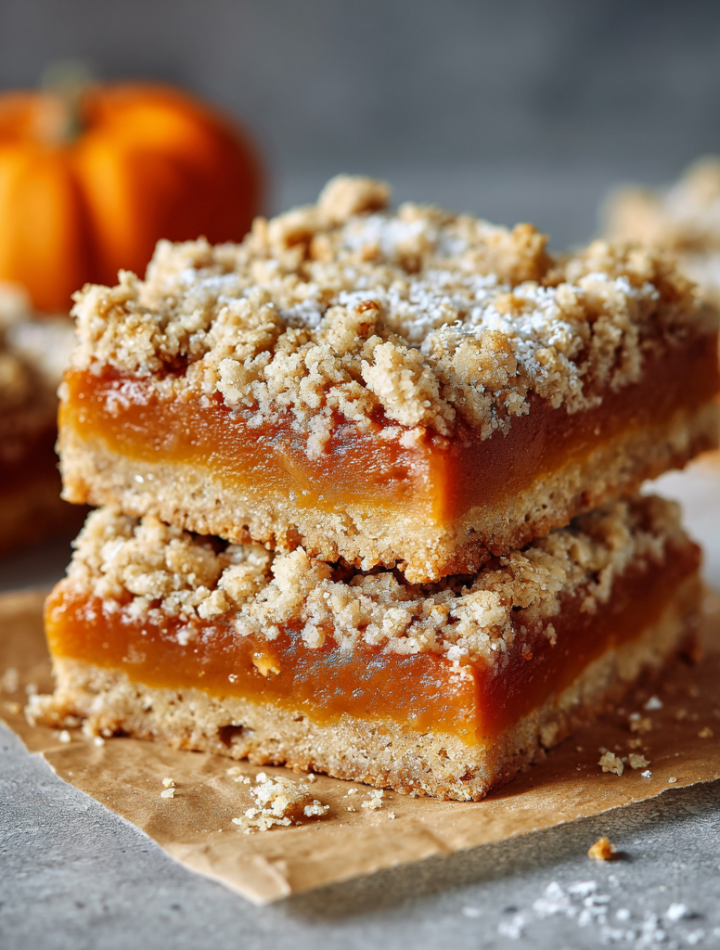
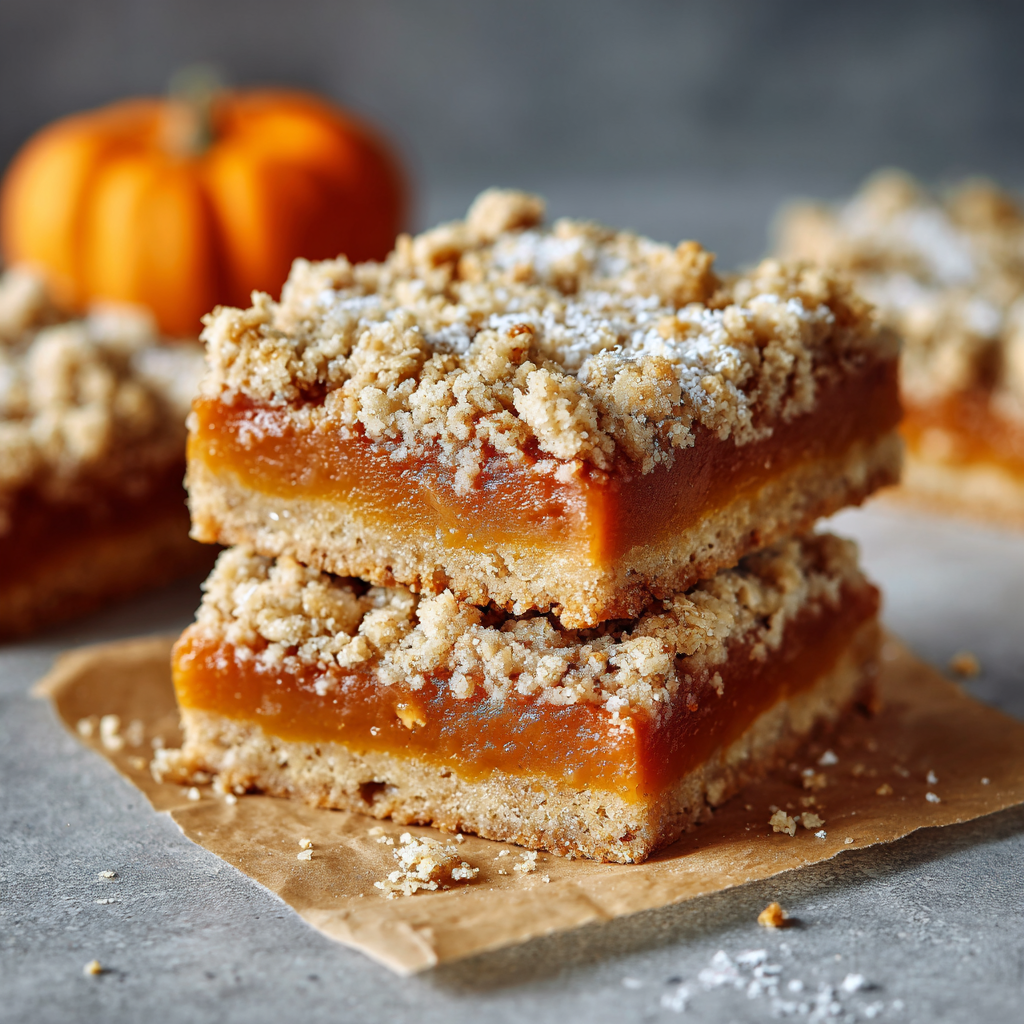
Enter the hero of the season: these utterly irresistible Pumpkin Crumble Bars. Imagine a buttery, shortbread-style crust, a layer of velvety smooth spiced pumpkin filling that tastes like a hug feels, and a golden, crunchy oat crumble topping that adds the perfect textural contrast. They’re the lovechild of a pumpkin pie and an apple crisp, and they are about to become your new fall baking obsession. Let’s make our kitchens smell incredible and our taste buds even happier.
Print
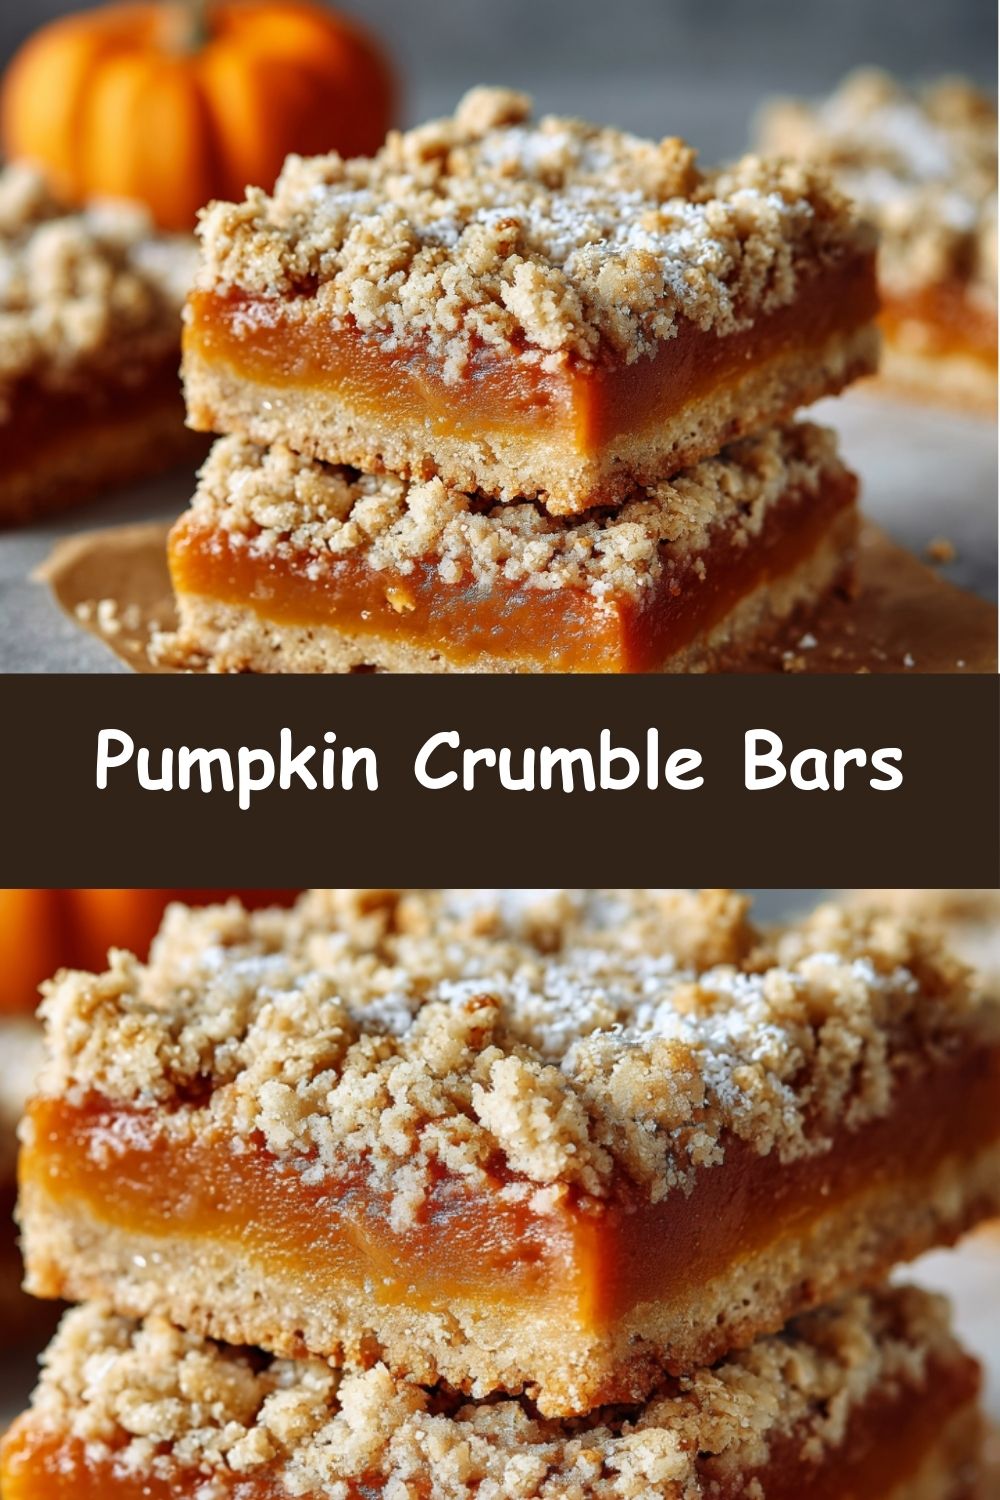
Pumpkin Crumble Bars
- Total Time: 40 minutes
- Yield: 10 servings 1x
Description
These bars combine everything you love about pumpkin pie with the ease of a handheld dessert. A buttery shortbread-style crust lays the foundation, topped with a smooth pumpkin filling and finished with a golden, spiced oat crumble. They’re simple to make, slice beautifully, and are perfect for prepping ahead of time for any fall gathering.
Ingredients
Crust & Crumble
1 1/2 cups all-purpose flour
1 cup old-fashioned oats
3/4 cup brown sugar
1/2 cup cold butter, cubed
1/2 teaspoon cinnamon
Pinch of salt
Pumpkin Filling
1 cup canned pumpkin puree
1/3 cup brown sugar
1 egg
1/2 teaspoon cinnamon
1/4 teaspoon nutmeg
1/4 teaspoon ginger
1/4 cup heavy cream
Instructions
Preheat oven to 350°F (175°C). Line an 8×8 pan with parchment.
Mix flour, oats, sugar, cinnamon, and salt. Cut in butter until crumbly.
Press half the mixture into the bottom of the pan to form the crust.
In a separate bowl, whisk together pumpkin, sugar, egg, spices, and cream.
Pour filling over crust. Sprinkle remaining crumble on top.
Bake for 35–40 minutes, until set and golden. Cool completely before slicing.
- Prep Time: 15 minutes
- Category: Dessert
Nutrition
- Calories: 280
- Fat: 14g
- Carbohydrates: 35g
- Protein: 3g
The Happy Accident That Started It All
This recipe has a fun little origin story, as the best ones often do. It was born from a classic case of “company’s coming in two hours and I have zero dessert planned” panic. I had a can of pumpkin puree in the pantry, a serious craving for something warm and spiced, but zero patience for the delicate dance of blind-baking a pie crust.
I started throwing things into a bowl—oats, flour, brown sugar, a generous amount of butter (always the answer). I pressed half of it into a pan, thinking I was making some kind of square. Then I looked at the other half of the crumble and had a lightbulb moment. What if the topping… was also the bottom? I quickly whisked together a simple pumpkin filling, poured it over the base, and scattered the rest of the crumble on top, sending a silent prayer to the baking gods.
The smell that wafted from my oven was pure magic. When I pulled out that golden, bubbling pan, I knew I had stumbled onto something special. They were an instant hit—disappearing faster than I could even take a decent photo! That happy accident became a staple, and now, I’m so excited to share the refined, foolproof version with you. It’s a reminder that sometimes the best creations come from a little kitchen chaos and a lot of curiosity.
Gathering Your Pumpkin Crumble Bar Squad
Here’s your shopping list! These ingredients are simple, whole, and work together to create pure autumn harmony. I’ve included my favorite chef-y insights and swaps to make this recipe your own.
For the Crust & Crumble Topping:
- 1 ½ cups all-purpose flour: The foundation of our crust and crumble. It gives structure and that lovely shortbread vibe. For a gluten-free version, a 1:1 GF baking blend works wonderfully here.
- 1 cup old-fashioned oats: Please use old-fashioned (rolled oats)! They give the best chewy, substantial texture. Quick oats will work in a pinch but can make the crumble a bit more powdery.
- ¾ cup brown sugar: I use light brown sugar for its warm molasses notes, which are a best friend to pumpkin and spice. Dark brown sugar will work too for a deeper, richer flavor.
- ½ cup cold butter, cubed: This is non-negotiable for the perfect crumbly texture. COLD butter is the secret key! When you cut it into the dry ingredients, it creates little pockets of steam that make the crust and topping tender and flaky.
- ½ teaspoon cinnamon: The warm, familiar spice we all know and love.
- Pinch of salt: Never, ever skip the salt! It balances the sweetness and makes all the other flavors pop.
For the Pumpkin Filling:
- 1 cup canned pumpkin puree: Not pumpkin pie filling, which is pre-sweetened and spiced. We want to control those flavors ourselves! Make sure your can says 100% pure pumpkin.
- ⅓ cup brown sugar: Just enough to sweeten the filling without overpowering the beautiful pumpkin flavor.
- 1 large egg: Our binding agent! It gives the filling structure and helps it set into a creamy, sliceable layer.
- ½ teaspoon cinnamon, ¼ teaspoon nutmeg, ¼ teaspoon ginger: The holy trinity of pumpkin spice! Feel free to add a tiny pinch of cloves or allspice if you’re feeling extra festive.
- ¼ cup heavy cream: This is what takes the filling from “good” to “unbelievably luxe and silky.” It adds richness and a gorgeous creamy texture. For a dairy-free version, full-fat canned coconut cream is a fantastic substitute.
Let’s Build These Bars! A Step-by-Step Guide
Alright, team, let’s get our hands dirty! This process is simple, satisfying, and honestly, kind of therapeutic. Follow these steps for perfect bars every single time.
- Preheat and Prep: First things first, get that oven preheating to 350°F (175°C). This is crucial for even baking. Now, line an 8×8 inch baking pan with parchment paper. I like to leave a little overhang on two opposite sides—this creates “handles” that will make lifting the entire slab of bars out of the pan later an absolute breeze. No struggling with inverted pans here! Lightly grease the parchment too, just for extra insurance.
- Create the Crumble Magic: In a large bowl, whisk together your dry ingredients for the crust/crumble: the flour, oats, brown sugar, cinnamon, and that all-important pinch of salt. Now, add your cold, cubed butter. Here’s my favorite trick: use a pastry cutter, two forks, or even your clean fingertips to work the butter into the dry mix. You’re looking for a texture that resembles coarse, uneven sand with some larger pea-sized butter chunks remaining. Those chunks are gold—they’ll melt and create deliciously flaky pockets.
- Form the Foundation: Grab about half of this crumble mixture (it’s okay to eyeball it!) and dump it into your prepared pan. Now, press it down firmly and evenly into one solid layer. I like to use the flat bottom of a measuring cup to really pack it in—this prevents a crumbly crust that falls apart when you slice it. This pressed layer is your beautiful shortbread crust.
- Whisk the Dreamy Filling: In a separate medium bowl, let’s make the filling. It couldn’t be easier. Add the pumpkin puree, brown sugar, egg, spices, and heavy cream. Grab a whisk and go to town until everything is completely smooth, homogenous, and gorgeous. No streaks of egg or pockets of spice allowed! Give it a taste (I won’t tell). Isn’t that just the flavor of fall?
- Layer It Up: Carefully pour your silky pumpkin filling over the crust you just pressed down. Use a spatula to gently spread it into one even layer, making sure it reaches all the corners. Now, take the remaining half of your crumble mixture and sprinkle it evenly over the top. Don’t press it down! We want it to stay loose and crumbly for that perfect crunchy texture.
- Bake to Golden Perfection: Slide your masterpiece into the preheated oven and bake for 35-40 minutes. You’ll know it’s done when the filling is set (it shouldn’t jiggle wildly in the center) and the top crumble is a beautiful golden brown. Your kitchen will smell like a fall fairy tale.
- The Most Important Step: PATIENCE: I know, I know. This is the hardest part. But you must let the pan cool completely on a wire rack before you even think about slicing. I usually let mine cool for at least an hour, and sometimes I even pop it in the fridge for another 30 minutes to really firm up. This waiting period allows the filling to fully set, ensuring you get clean, beautiful bars instead of a gooey, delicious mess (which, to be fair, still tastes amazing).
How to Serve Your Masterpiece
Once your bars are completely cool, use the parchment paper handles to lift the entire block out of the pan and onto a cutting board. Use a sharp knife to slice them into 9 even squares (or 12 smaller ones if you’re feeding a crowd!). These bars are glorious all on their own, but a little dollop of freshly whipped cream or a scoop of vanilla bean ice cream takes them straight into “restaurant-quality dessert” territory. For a pretty finish, a light dusting of cinnamon or a drizzle of salted caramel sauce never hurt anybody!
Make It Your Own: Delicious Twists & Swaps
The beauty of this recipe is its flexibility! Here are a few ways to play with the formula:
- Chocolate Chip Craving: Stir ½ cup of semi-sweet or dark chocolate chips into the crumble topping before sprinkling it on. Pumpkin and chocolate are a seriously underrated duo.
- Pecan Praline Upgrade: Toast ½ cup of chopped pecans and mix them into the crumble topping for a wonderful nutty crunch.
- Ginger Snap: Add ¼ cup of finely chopped crystallized ginger to the filling for a spicy, chewy kick.
- Venture into Maple: Replace the brown sugar in the filling with pure maple syrup for a deeper, earthier sweetness.
- Gluten-Free & Dairy-Free Delight: Use a 1:1 gluten-free flour blend, certified GF oats, vegan butter, and swap the heavy cream for full-fat coconut cream. It works like a dream!
Clara’s Kitchen Notes & Stories
This recipe has seen a lot of iterations in my kitchen over the years. I once, in a pre-coffee haze, accidentally used pumpkin pie filling instead of puree. The result was… aggressively sweet. We’re talking tooth-achingly so. I had to scrape off the topping, mix it with more oats and flour to balance it out, and re-bake it as a sort of crisp. It was salvageable, but it taught me to always, always read the label on the can! Lesson learned.
I’ve also learned that the quality of your spices makes a massive difference. If your cinnamon and nutmeg have been sitting in the cupboard for years, it’s time for an upgrade! Freshly grated nutmeg, in particular, is a revelation—it’s floral, fragrant, and so much more complex than the pre-ground stuff. Trust me on this one.
Your Questions, Answered!
Q: My crust/crumble seems too dry and won’t clump together. What did I do wrong?
A: This usually means your butter was either not cold enough or it was worked in too thoroughly. The mixture should look dry and crumbly, but if you squeeze a handful, it should hold its shape. If it’s truly too dry, you can add another tablespoon of very cold butter, working it in until you get the right texture.
Q: Can I make these bars ahead of time?
A: Absolutely! They are the perfect make-ahead dessert. Once cooled and sliced, store them in an airtight container in the refrigerator for up to 5 days. You can also freeze them for up to 3 months. Just thaw in the fridge overnight.
Q: My filling layer seems a bit thin. Is that normal?
A: It’s a thinner layer, but it’s packed with flavor! The goal is a perfect balance between the crust, filling, and topping. If you want a slightly thicker filling layer, you can try using a slightly smaller pan (like a 7×11) or increasing the filling by 50% (1.5 cups pumpkin, 1 egg + 1 yolk, etc.), but you may need to adjust the baking time slightly.
Q: The middle of my bars is still gooey after cooling. Help!
A> No worries! This just means they needed a few more minutes in the oven. You can pop the entire pan back in for another 5-7 minutes. If the top is getting too brown, loosely tent it with a piece of aluminum foil. Next time, just bake until the center looks fully set and doesn’t slosh when you gently jiggle the pan.
Nutritional Information*
*Please note: This is an estimated nutritional breakdown provided by an online calculator. Values can vary based on specific ingredients used.
Per bar (based on 9 bars): Calories: ~280 | Carbohydrates: 35g | Protein: 3g | Fat: 14g | Saturated Fat: 8g | Cholesterol: 55mg | Sodium: 120mg | Fiber: 2g | Sugar: 20g