
The Treat That Tastes Like a Giant, Chewy, Peanut Butter Hug
Hey there, my fellow flavor adventurer! Let’s be real for a second. Some days, you just need a treat. Not a fussy, four-hour, twelve-step pastry, but a quick, no-nonsense, soul-soothing snack that hits that magical sweet spot between nostalgia and pure, unadulterated joy. You know the one. The kind of treat that makes you close your eyes and hum after the first bite.
Well, my friend, you’ve just found your kitchen’s new best friend. These aren’t your average, chalky, too-sweet rice cereal bars. Oh no. We’re taking that beloved classic and giving it a major glow-up with a generous scoop of creamy, salty, protein-packed peanut butter. The result? A chewy, rich, and utterly irresistible square of happiness that comes together in one pot and about 15 minutes flat. No baking required, zero fancy equipment needed, and guaranteed to make your entire kitchen smell like a childhood dream. So, grab your favorite spatula and let’s make a mess worth licking. We’re about to create some magic.
The Sticky-Fingered Memory That Inspired It All
I can still remember the exact crinkle of the giant marshmallow bag and the snap, crackle, pop soundtrack of my childhood summers. My best friend, Sarah, and I would con our parents into buying the ingredients, claiming we were embarking on a “culinary project.” Really, we just wanted an excuse to stand over the stove, melting marshmallows and arguing over who got to lick the buttery, gooey spoon afterwards.
We’d press the warm mixture into a pan, our small hands protected by sheets of wax paper, and then came the hardest part: the agonizing wait for them to cool. We’d sit on the linoleum floor, staring at the pan as if we could speed up time with the power of our collective will. That first cut square, still slightly warm and impossibly chewy, was a triumph. It tasted like summer freedom and friendship. This recipe is my grown-up love letter to that memory—a little richer, a little more sophisticated with its peanut butter twist, but still carrying all the joy and simplicity of those sticky-fingered afternoons.
Print
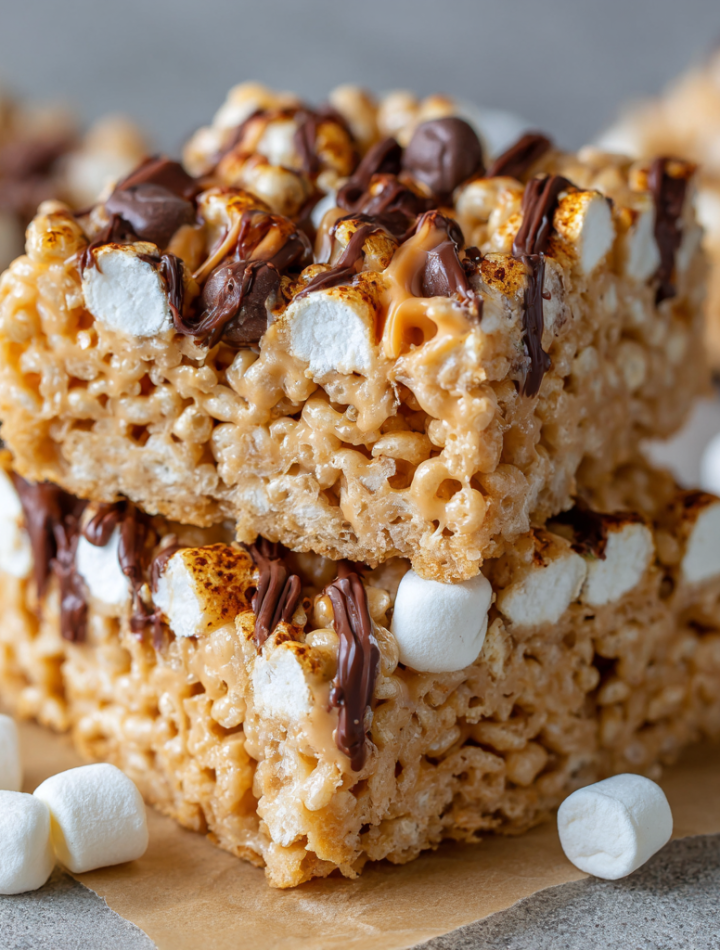
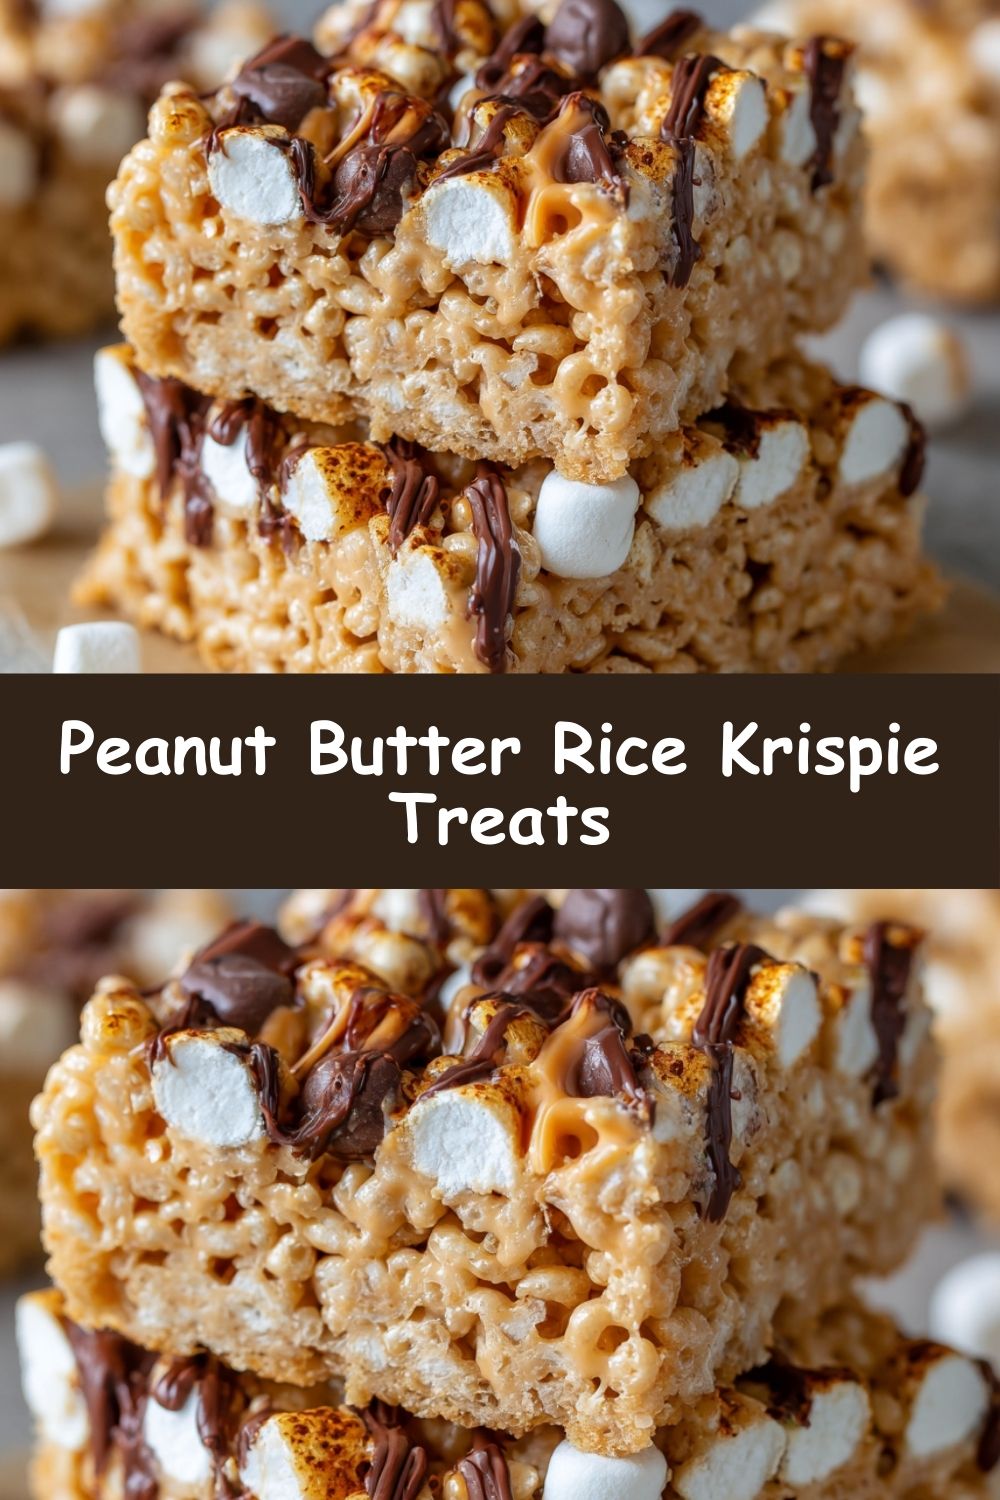
Peanut Butter Rice Krispie Treats
- Total Time: 15 mins
- Yield: 16 Squares 1x
Description
A sweet, salty, and chewy twist on the classic cereal bar—these Peanut Butter Rice Krispie Treats are irresistibly rich and satisfying. Made with creamy peanut butter and marshmallows, they come together in minutes with no baking required. Perfect for parties, lunchboxes, or nostalgic snacking.
Ingredients
3 tbsp unsalted butter
½ cup creamy peanut butter
1 (10 oz) bag mini marshmallows
6 cups crispy rice cereal
Optional: Melted chocolate or a drizzle of peanut butter on top
Instructions
Grease a 9×13-inch baking dish and set aside.
In a large saucepan, melt butter and peanut butter over medium heat. Stir in marshmallows and mix until smooth.
Remove from heat and fold in rice cereal until fully coated.
Press mixture into prepared pan with a spatula or wax paper.
Let cool at room temperature, then slice into squares.
Optional: drizzle melted chocolate or extra peanut butter on top before cooling.
- Prep Time: 10 minutes
- Cook Time: 5 minutes
- Category: Dessert
Nutrition
- Calories: ~160
- Sugar: 14g
- Fat: 6g
- Carbohydrates: 24g
- Protein: 2g
Gather Your Happy-Making Ingredients
Here’s the beautiful part: you only need a handful of simple, whole ingredients to create pure magic. Let’s break them down, because every ingredient has a role to play in our delicious symphony.
- 3 tbsp unsalted butter: This is our rich, creamy base. Using unsalted lets us control the salt level, especially since our peanut butter will bring its own saltiness. Chef’s Insight: For a dairy-free version, a high-quality vegan butter works wonderfully!
- ½ cup creamy peanut butter: The star of the show! It adds deep, nutty flavor, a hit of protein, and makes the treats incredibly rich and satisfying. Substitution Tip: Feel free to use crunchy PB for a bit of texture, or swap it out for almond or sunflower seed butter if you have an allergy.
- 1 (10 oz) bag mini marshmallows: Our sticky, sweet glue. I highly recommend mini marshmallows because they melt faster and more evenly than large ones. Chef’s Hack: For a cleaner option, look for marshmallows made without gelatin or artificial flavors—they work just as well!
- 6 cups crispy rice cereal: The iconic crunch. This is what gives the treat its structure and that classic, airy texture. Substitution Tip: To keep this gluten-free, simply ensure your cereal is a certified GF brand!
- Optional: Melted chocolate or a drizzle of peanut butter on top: Because more is more. A drizzle on top takes these from amazing to absolutely legendary.
Let’s Build Our No-Bake Masterpiece
Ready? This is the fun part. I’ll walk you through every step, sharing all my favorite kitchen hacks to ensure your treats are absolutely perfect.
- Prep Your Pan: First things first, grab that 9×13-inch baking dish and give it a light coating of butter, cooking spray, or a swipe of oil. This is our non-stick insurance policy! Chef’s Hack: For super clean cuts, line the pan with parchment paper first, leaving a little overhang on two sides. You’ll be able to lift the whole block out later!
- The Melting Magic: In a large saucepan (I mean it—go big to avoid spill-overs!), melt your butter and peanut butter over medium-low heat. Stir them together until they become one beautiful, smooth, fragrant mixture. You’ll know it’s ready when your entire kitchen starts to smell like heaven.
- Marshmallow Cloud Time: Now, dump in the entire bag of mini marshmallows. Keep the heat on medium-low and stir, stir, stir! We’re not rushing this. We want the mallows to melt slowly and evenly into a smooth, glossy, white cloud. Chef’s Pro Tip: Do not walk away! Burnt marshmallow is not the flavor we’re going for. Once they’re fully melted and no lumps remain, immediately remove the pot from the heat.
- The Big Fold: Here’s where the arm workout comes in. Pour all six cups of crispy rice cereal into the marshmallow goo. Now, using a sturdy silicone spatula or a wooden spoon coated in a little butter (to prevent sticking!), gently fold the cereal into the mixture. Keep folding until every single piece of cereal is proudly wearing its coat of marshmallow-peanut butter goodness.
- Press Play: Quickly transfer the mixture into your prepared pan. Now, for the pressing! To avoid a sticky situation, lightly grease your spatula or, my favorite trick, put a piece of wax paper or parchment paper on top of the mixture and use your hands to press it evenly into every corner of the pan. Press firmly to compact the treats so they hold together, but don’t smash them into dust!
- The (Optional) Drizzle: If you’re feeling fancy, now is the time! Melt a little chocolate or extra peanut butter and drizzle it artfully over the top. This is your chance to be a pastry artist.
- The Agonizing Wait: I know, I know. This is the toughest step. Walk away. Let the pan cool completely at room temperature until the block is set. Do not put it in the fridge to speed this up, as it can make the treats rock hard and cause the chocolate to sweat.
- Slice and Celebrate! Once it’s completely cool and set, use a sharp knife to slice it into 16 beautiful squares. Wiping the knife clean between cuts gives you those gorgeous, clean edges. Now, do the most important thing: enjoy the fruits of your (minimal) labor!
How to Serve Up These Smiles
These treats are stars all on their own, but presentation is half the fun! I love stacking them on a rustic wooden board for a casual gathering or placing them in pretty paper liners for a party or bake sale. They’re the perfect pack-and-go snack for picnics, hikes, or tucked into a lunchbox to surprise your favorite person (or yourself!). Pair one with a cold glass of almond milk for the ultimate afternoon pick-me-up that feels indulgent but is secretly way better for you than the average candy bar.
Get Creative! 5 Fun Twists to Try
The beauty of this recipe is its incredible versatility. Once you’ve mastered the base, the flavor world is your oyster! Here are a few of my favorite riffs:
- Chocolate Peanut Butter Cup: Stir in ½ cup of mini chocolate chips along with the cereal. It’s like a giant, chewy peanut butter cup!
- “Elvis” Special: Add ¼ cup of crumbled cooked bacon (yes, really!) along with the cereal for the ultimate sweet-salty-smoky crunch.
- Tropical Escape: Swap the peanut butter for coconut butter, and stir in ½ cup of chopped dried mango and toasted coconut flakes with the cereal.
- Superfood Crunch: Add 2 tablespoons of chia seeds or ground flaxseed to the melted butter and PB mixture for an extra nutrient boost.
- S’mores Fest: Use 3 cups of cereal and 3 cups of golden grahams. Fold in ½ cup of chopped chocolate bar along with the cereal.
From My Kitchen to Yours: A Few Final Secrets
This recipe has been my go-for over a decade, and it’s evolved from a messy, sometimes-too-hard, sometimes-too-sticky experiment into the foolproof method you see today. The biggest lesson? Low and slow with the marshmallows is non-negotiable. I once tried to crank the heat to high to save 90 seconds and ended up with a pan of caramel-colored, tough treats. Not my finest hour.
Another fun evolution: the pan size. I used to make these in an 8×8, craving a thicker, more substantial bar. But I found that a 9×13 gives you the perfect ratio of chewy-to-crunchy, and they hold together much better. The best part of this recipe, though, is how it brings people together. I’ve made these with my niece, on first dates (a great test of character, honestly), and for countless potlucks. They never, ever last long. And that’s exactly how it should be.
Your Questions, Answered!
Let’s tackle some common kitchen curiosities to make sure your treat-making is smooth sailing.
- Q: My treats turned out really hard. What happened?
A: The most common culprit is overheating the marshmallow mixture. If you cook the marshmallows for too long or on too high a heat, they become tough and hard when they set. Next time, keep the heat on medium-low and remove the pan from the heat the second the marshmallows are melted and smooth.
- Q: Why are my bars too sticky and chewy?
A: This usually means the mixture needed to be cooked just a tad longer, or you might be in a very humid environment. Ensure you’re melting the marshmallows completely into a smooth liquid before adding the cereal. If it’s a humid day, a tiny pinch of extra cereal can help absorb moisture.
- Q: Can I make these ahead of time?
A: Absolutely! They are a fantastic make-ahead treat. Once cooled and cut, store them in an airtight container at room temperature for up to 3 days. For longer storage, you can freeze them for up to a month! Just separate layers with parchment paper.
- Q: My treats are sticking to the pan! How do I avoid this?
A: Proper pan prep is key! Greasing the pan thoroughly is a must. For absolute guaranteed non-stick success, I’m a huge advocate for the parchment paper sling method—it’s a total game-changer for getting picture-perfect squares.
Quick Nutritional Note
While these are definitely a treat, I love that this version packs a bit more staying power thanks to the protein and healthy fats from the peanut butter. Each bar (assuming 16 servings) has roughly: ~160 calories, 6g fat, 24g carbs, 14g sugar, and 2g protein. Remember, it’s all about balance and joy!