
Craving That Iconic Pink Cookie? Let’s Make Magic Happen.
Hey there, my fellow flavor adventurer! Have you ever found yourself scrolling through social media, utterly hypnotized by those videos of giant, impossibly pink, and frosted-to-perfection sugar cookies? You know the ones I’m talking about—the famous Crumbl cookies that have everyone lining up around the block. That soft, pillowy center, that sweet vanilla-almond kiss of frosting… it’s a specific kind of craving, isn’t it?
Well, what if I told you that you don’t have to wait for the weekly menu drop or brave the line to get your fix? What if you could create a version of these legendary cookies right in your own kitchen, with ingredients you probably already have, and a result that’s so good it might just ruin the original for you? (In the best way possible, of course!)
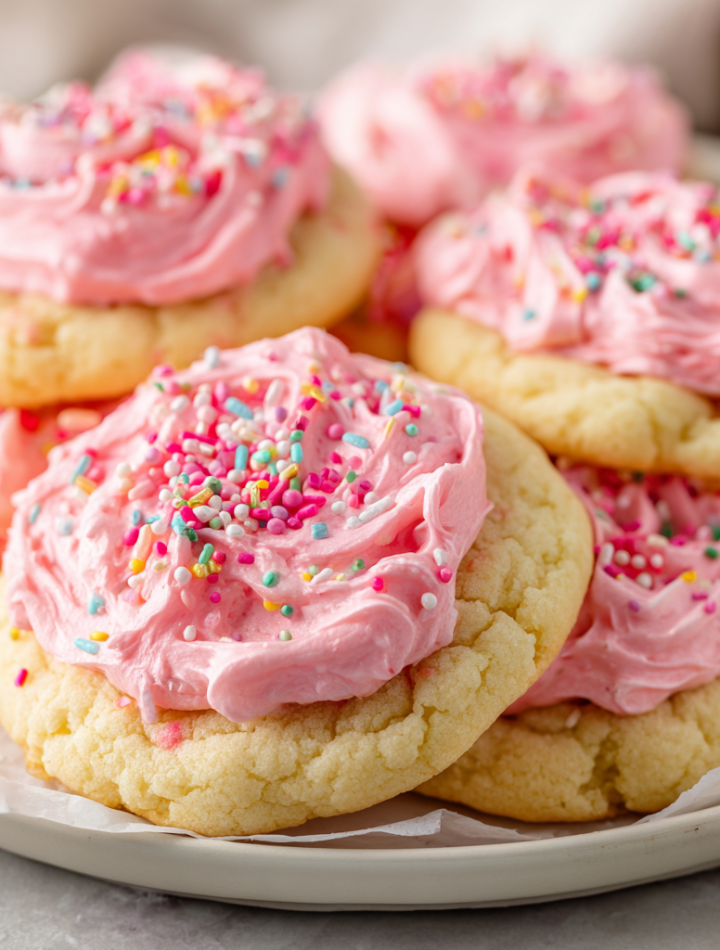
Today, we’re throwing on our aprons and diving headfirst into my Crumbl Copycat Sugar Cookies recipe. This isn’t just any sugar cookie; it’s the ultimate treat. We’re talking a thick, bakery-style base that’s soft and chewy in the middle with just the right amount of tender give, all crowned with a cloud of creamy, dreamy pink frosting that’s the stuff of dessert dreams. The best part? There’s no chilling required. That’s right—we’re about 30 minutes away from warm-cookie-heaven. So, preheat that oven, grab your favorite mixing bowl, and let’s bake something that’s guaranteed to make your taste buds do a happy dance.
The Cookie That Started It All
I have to confess, my first encounter with a Crumbl cookie wasn’t in a sleek store. It was actually a total kitchen fail that led me here! A few years ago, I was determined to bake the “perfect” soft sugar cookie for a friend’s birthday. I tried a fancy recipe that required chilling the dough overnight. In my impatience, I skipped that step entirely (oops!), convinced it would be fine.
The result was a batch of cookies that spread into one giant, thin, crispy… blob. They were delicious in a buttery-crisp way, but they were NOT the thick, bakery-style pillows I was dreaming of. I was so disappointed! That little failure lit a fire in me. I became obsessed with cracking the code. I tweaked leavening agents, played with butter temperatures, and tested more batches of sugar cookie dough than I’d like to admit. Finally, after what felt like a hundred tries, I landed on this perfect ratio. The moment I pulled that first thick, soft, perfectly pale batch out of the oven, I did a victory lap around my kitchen. It was a reminder that sometimes the sweetest victories come from our biggest kitchen flops!
Print
Crumbl Copycat Sugar Cookies
- Total Time: 30 minutes
- Yield: 12 large cookies 1x
Description
Soft, buttery, and topped with that signature sweet pink frosting—these Crumbl-style sugar cookies taste just like the real thing, maybe even better. Thick, chewy centers with a creamy vanilla-almond frosting make them a dreamy treat for any sweet tooth. No chill time needed, just mix, bake, and frost!
Ingredients
Sugar Cookie Base
1 cup unsalted butter, softened
1 cup granulated sugar
1 large egg
1 tsp vanilla extract
½ tsp almond extract
2 ¾ cups all-purpose flour
2 tsp baking powder
½ tsp salt
Frosting
½ cup unsalted butter, softened
2 cups powdered sugar
2 tbsp heavy cream (or milk)
½ tsp vanilla extract
¼ tsp almond extract
Pink food coloring (just a drop for that Crumbl look)
Instructions
Preheat oven to 350°F (175°C) and line a baking sheet with parchment paper.
Cream butter and sugar together until light and fluffy.
Mix in egg, vanilla, and almond extract.
In a separate bowl, whisk flour, baking powder, and salt. Gradually add to wet ingredients until a soft dough forms.
Scoop dough into large balls (about ¼ cup each), flatten slightly, and place on baking sheet.
Bake 9–11 minutes. Edges should be set but centers soft—don’t overbake.
Let cookies cool completely before frosting.
For the frosting, beat butter until smooth. Add powdered sugar, cream, and extracts. Mix until fluffy. Tint with pink food coloring.
Frost each cooled cookie generously and let set.
- Prep Time: 10 minutes
- Cook Time: 10 minutes
- Category: Dessert
Nutrition
- Calories: 350
- Sugar: 27g
- Sodium: 140mg
- Fat: 18g
- Carbohydrates: 44g
- Protein: 3g
Gathering Your Cookie Crew: The Ingredients
This recipe is beautifully simple, but each ingredient plays a starring role. Here’s the cast of characters that will come together to create pure magic:
For the Sugar Cookie Base
- 1 cup unsalted butter, softened – This is non-negotiable for that rich, buttery flavor. “Softened” is key! It should be cool to the touch but leave a slight indent when you press it. If it’s melted or too warm, your cookies will spread. Pro tip: if you forget to take it out, cube it and let it sit for 15-20 minutes.
- 1 cup granulated sugar – The classic sweetener that gives the cookies their structure and that slight crispness on the edges.
- 1 large egg – Our binding agent, bringing everything together and adding moisture for that soft, chewy texture.
- 1 tsp vanilla extract – The backbone of warmth and flavor. Use the real stuff if you can!
- ½ tsp almond extract – This is the secret weapon! It adds that unmistakable, almost mysterious bakery-style flavor that makes these cookies taste so authentic.
- 2 ¾ cups all-purpose flour – The foundation. I like to fluff my flour with a spoon before scooping and leveling it off with a knife to avoid dense, dry cookies.
- 2 tsp baking powder – This is our leavening hero! It’s what gives these cookies their lift and soft, cake-like texture without the need for chilling.
- ½ tsp salt – The flavor enhancer. It balances the sweetness and makes all the other flavors pop. Don’t skip it!
For That Signature Pink Frosting
- ½ cup unsalted butter, softened – Again, perfectly softened butter is crucial for a smooth, lump-free, fluffy frosting.
- 2 cups powdered sugar – Also known as confectioner’s sugar. It dissolves easily and creates that smooth, sweet base.
- 2 tbsp heavy cream (or milk) – Heavy cream will give you a richer, thicker, and creamier frosting. Milk works perfectly too for a slightly lighter version.
- ½ tsp vanilla extract & ¼ tsp almond extract – We’re mirroring the flavors in the cookie to create a harmonious bite.
- Pink food coloring (just a drop!) – Gel food coloring is my go-to because it gives vibrant color without thinning out the frosting. A little goes a very long way!
Let’s Bake: Your Step-by-Step Guide to Cookie Bliss
Alright, team! Let’s turn these simple ingredients into something spectacular. Follow these steps, and you’ll be a cookie hero in no time.
- Preheat and Prep: Fire up your oven to 350°F (175°C). This is so important for even baking! Line a large baking sheet with parchment paper. Not only does this prevent sticking, but it also makes cleanup a dream. No parchment? A silicone baking mat works wonders too.
- Cream the Good Stuff: In a large bowl, use a hand mixer or a stand mixer with a paddle attachment to cream together the softened butter and granulated sugar. Now, don’t rush this! We’re not just mixing; we’re creaming. Beat it on medium-high speed for a good 2-3 minutes, until the mixture is light, pale yellow, and fluffy. This incorporates air, which is part of what gives our cookies that perfect texture.
- Add the Wet Team: Scrape down the sides of the bowl with a spatula (a chef’s best friend for ensuring everything gets mixed evenly!). Add in the egg, vanilla extract, and that magical almond extract. Mix on medium speed until everything is beautifully combined and smooth.
- Whisk the Dry Team: In a separate, medium-sized bowl, whisk together the all-purpose flour, baking powder, and salt. Whisking beforehand ensures the baking powder and salt are evenly distributed throughout the flour, so every bite is consistent.
- Bring It All Together: With your mixer on low speed, gradually add the dry ingredients to the wet ingredients. Mix just until the flour disappears and a soft dough forms. Seriously, stop as soon as you don’t see any more dry flour. Overmixing is the enemy of tender cookies! The dough will be soft and slightly sticky—that’s exactly what we want.
- Scoop and Shape: This is where we get that iconic large size! Use a large cookie scoop or a ¼-cup measuring cup to portion out the dough. Roll each portion into a ball, then place it on your prepared baking sheet. Gently press down on each ball to slightly flatten it. These are big cookies, so give them plenty of room to spread—I do about 4-6 per standard sheet.
- Bake to Perfection: Pop them in your preheated oven and bake for 9-11 minutes. Now, here’s the biggest chef hack I can give you: DO NOT OVERBAKE. The cookies are done when the edges are just set and are very lightly golden. The centers will still look soft, puffy, and underdone. That’s perfect! They will continue to cook on the hot baking sheet as they cool.
- The Cool Down: Let the cookies cool on the baking sheet for at least 10-15 minutes before transferring them to a wire rack to cool completely. I know it’s tempting, but you MUST let them cool entirely before frosting. Otherwise, that beautiful buttercream will just melt into a sad, runny puddle.
- Whip Up the Frosting: While the cookies are cooling, make the frosting. In a clean bowl, beat the softened butter until it’s completely smooth. Gradually add the powdered sugar, about ½ cup at a time, mixing on low speed first to avoid a sugar cloud explosion in your kitchen! Once incorporated, add the heavy cream (or milk) and the extracts. Crank the mixer to medium-high and beat for 1-2 minutes until it’s light, fluffy, and wonderfully spreadable. Add that single drop of pink food coloring and mix until the color is uniform.
- Frost and Feast! Once the cookies are completely cool, use a butter knife or an offset spatula to slather a generous amount of frosting on each one. Swirl it, swoop it, make it pretty! Let the frosting set for a few minutes before stacking or storing. Then, dig in and prepare to be amazed.
How to Serve Your Masterpiece
These cookies are a showstopper all on their own! I love serving them on a big, beautiful platter so everyone can ogle that vibrant pink frosting. They’re the ultimate treat with a cold glass of milk for that classic combo, or alongside a cup of hot coffee or tea to balance the sweetness. For a truly over-the-top dessert experience, warm a frosted cookie in the microwave for about 10 seconds. It gently softens the cookie and makes the frosting ever so slightly melty… pure heaven.
Get Creative: Fun Recipe Twists
Feel like playing? This recipe is a fantastic canvas for your creativity!
- Chocolate Drizzle: Melt some semi-sweet or white chocolate chips and drizzle it over the pink frosting for a beautiful and delicious finish.
- Sprinkle Party: Immediately after frosting, cover the cookies with festive sprinkles for a birthday or holiday version.
- Lemon Twist: Swap the almond extract in the frosting for lemon extract and use yellow food coloring for a bright, zesty, springtime cookie.
- Dairy-Free Delight: Use plant-based butter and a non-dairy milk (like oat or almond milk) in both the cookie and frosting for an equally delicious vegan-friendly version.
- Cookie Sandwich: Frost the bottom of one cookie and press another on top to create the ultimate, decadent cookie sandwich.
Clara’s Chef Notes & Kitchen Stories
This recipe has been through so many iterations in my kitchen! The first time I made these for my partner, I was so excited that I frosted one while it was still slightly warm. The frosting slid right off the cookie and onto the plate in a big, buttery mess. We ended up eating it with a spoon, which was still delicious, but not exactly the photo-worthy moment I was hoping for. So learn from my mistake—patience is a virtue with baking!
I’ve also learned that the brand of baking powder can sometimes affect the rise. If you find your cookies aren’t spreading or rising as much as you’d like, make sure your baking powder is fresh. A good test is to drop a little into hot water; if it fizzes vigorously, it’s good to go!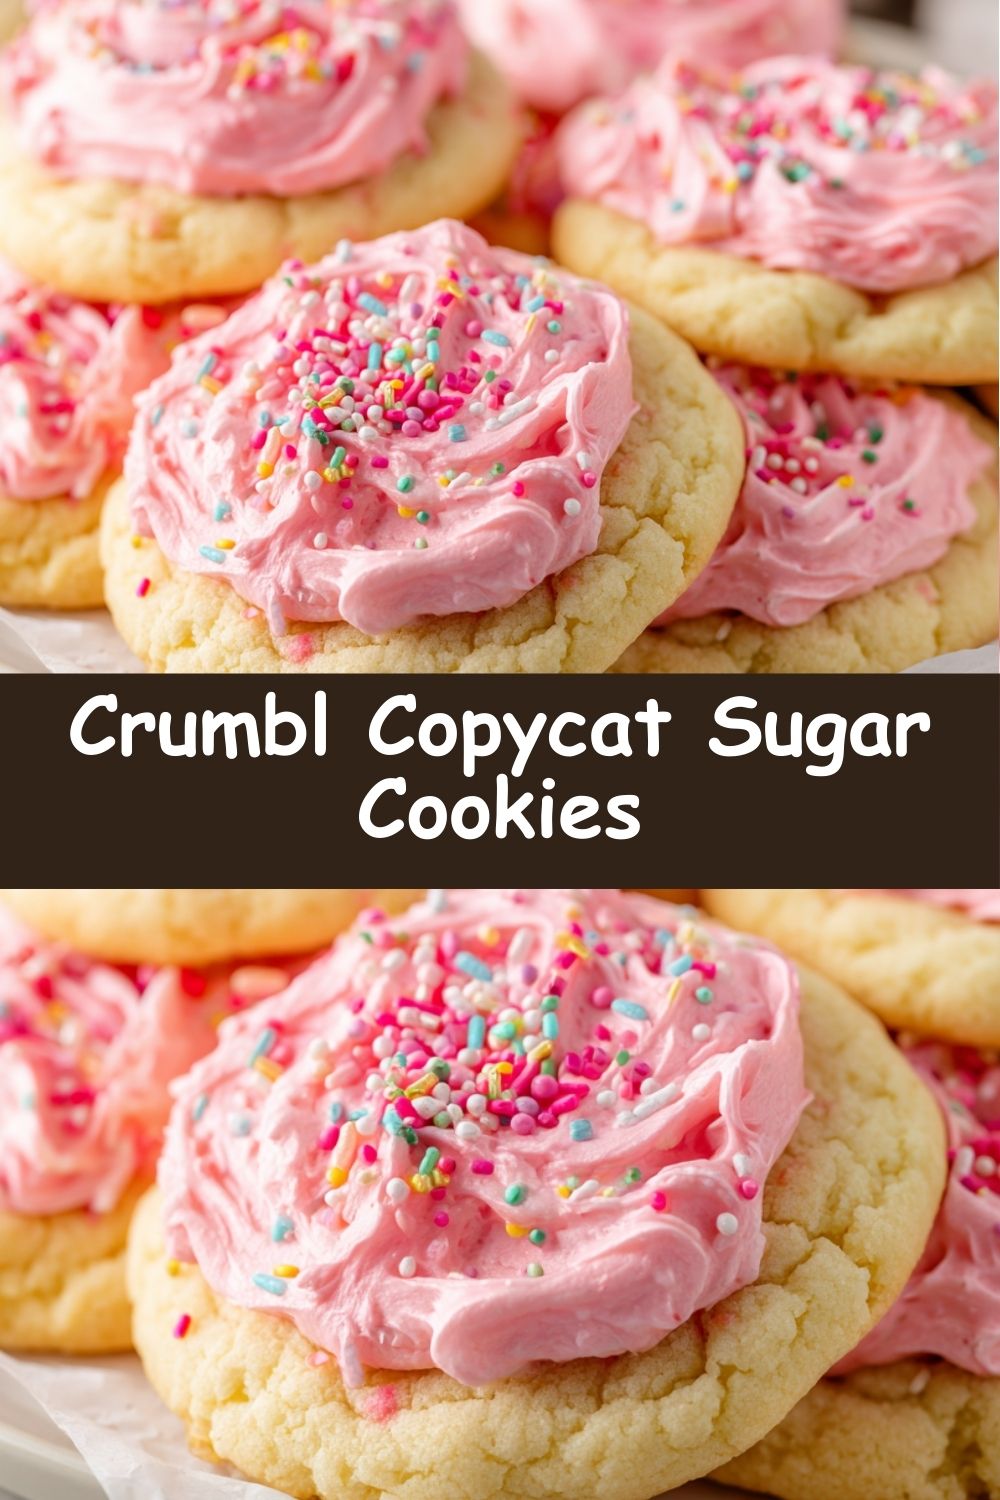
Your Questions, Answered!
Q: My cookies spread too much and got flat. What happened?
A: The most likely culprit is your butter! If it was too warm or melted, it will cause the cookies to spread. Next time, ensure your butter is just softened. Also, double-check your measurements—too little flour can lead to flat cookies.
Q: My cookies are cakey and puffy, not chewy. Why?
A> This usually means you可能有 added a bit too much flour. When measuring, fluff the flour with a spoon, spoon it into your measuring cup, and level it off with a knife. Scooping directly with the measuring cup can pack in too much flour. Also, be sure you’re using baking powder, not baking soda!
Q: My frosting is too runny/thick. How can I fix it?
A: Frosting is all about balance! If it’s too runny, add a little more powdered sugar, a tablespoon at a time, until it thickens up. If it’s too thick and difficult to spread, add more cream or milk, just a teaspoon at a time, until it reaches your desired consistency.
Q: Can I make the dough ahead of time?
A> Absolutely! You can scoop the dough balls, place them on a baking sheet, and freeze them solid. Then, transfer them to a freezer bag. When you’re ready to bake, just place the frozen dough balls on a parchment-lined sheet and add 1-2 minutes to the baking time. No need to thaw!
Nutritional Information (Approximate, Per Cookie)
Let’s keep it real—this is a treat, and it’s meant to be enjoyed as part of a happy, balanced life! Here’s the approximate nutritional info, but remember, it can vary based on specific ingredients used.
- Calories: 350
- Fat: 18g
- Saturated Fat: 11g
- Carbohydrates: 44g
- Sugar: 27g
- Protein: 3g
- Sodium: 140mg
Prep Time: 10 minutes | Bake Time: 10 minutes | Total Time: 30 minutes | Yield: 12 large, glorious cookies