Your New Favorite Holiday Tradition: The Ultimate Festive Brownie
Hey there, my festive friend! Clara here, from my kitchen to yours. Is there anything that truly captures the magic of the holidays quite like the smell of something rich and chocolatey baking in the oven? It’s like a warm, delicious hug for your entire house. I’m talking about that moment you pull a pan of brownies out of the oven—the top is gloriously crackly, the center is promisingly fudgy, and the scent of melted chocolate and a hint of peppermint makes everyone suddenly materialize in the kitchen, plates magically in hand.
Today, we’re not just making any brownie. We’re creating a holiday showstopper. These aren’t your average, everyday brownies; these are dressed to impress. We’re talking decadent, melt-in-your-mouth fudgy squares that are rich enough to satisfy your deepest chocolate cravings but playful enough to feel perfectly festive. Whether you’re hosting the big party, need a knockout dessert for the potluck, or want to gift something made with serious love (and chocolate), this holiday brownie recipe is your new secret weapon. So, tie on your favorite apron, put on some cheerful tunes, and let’s bake something that will make your taste buds do a happy little snow dance!
A Pan of Brownies and a Blizzard of Memories
This recipe always takes me right back to my first holiday season in my own little apartment. I was determined to host a “Friendsgiving” dinner, but my culinary skills were, let’s say, a work in progress. The main course was… edible. But dessert? Dessert was a near-disaster. I attempted a fancy Yule log that looked more like a collapsed tree trunk. With guests arriving in an hour, I started to panic.
Then I remembered my grandma’s number one rule: when in doubt, make brownies. They’re forgiving, they’re fast, and they make everyone happy. I whipped up a batch of my trusty base recipe, but in a moment of holiday-inspired bravery, I swirled in some crushed candy canes I found in the back of the cupboard. The result was pure magic. Those imperfect, peppermint-kissed brownies were the absolute hit of the night. They were demolished in minutes, and my friends still talk about them. It was a powerful little lesson that the best holiday moments aren’t about perfection—they’re about joy, sharing, and a really good dose of chocolate.
Print
Holiday Brownie Recipe
- Total Time: 50 minutes
- Yield: 16 brownies 1x
Description
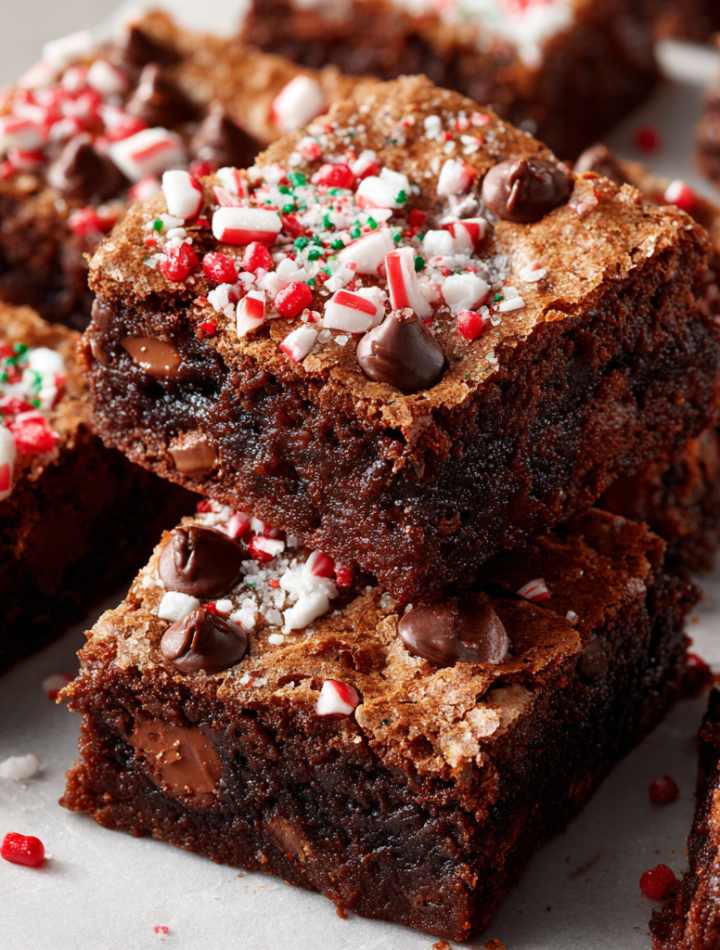
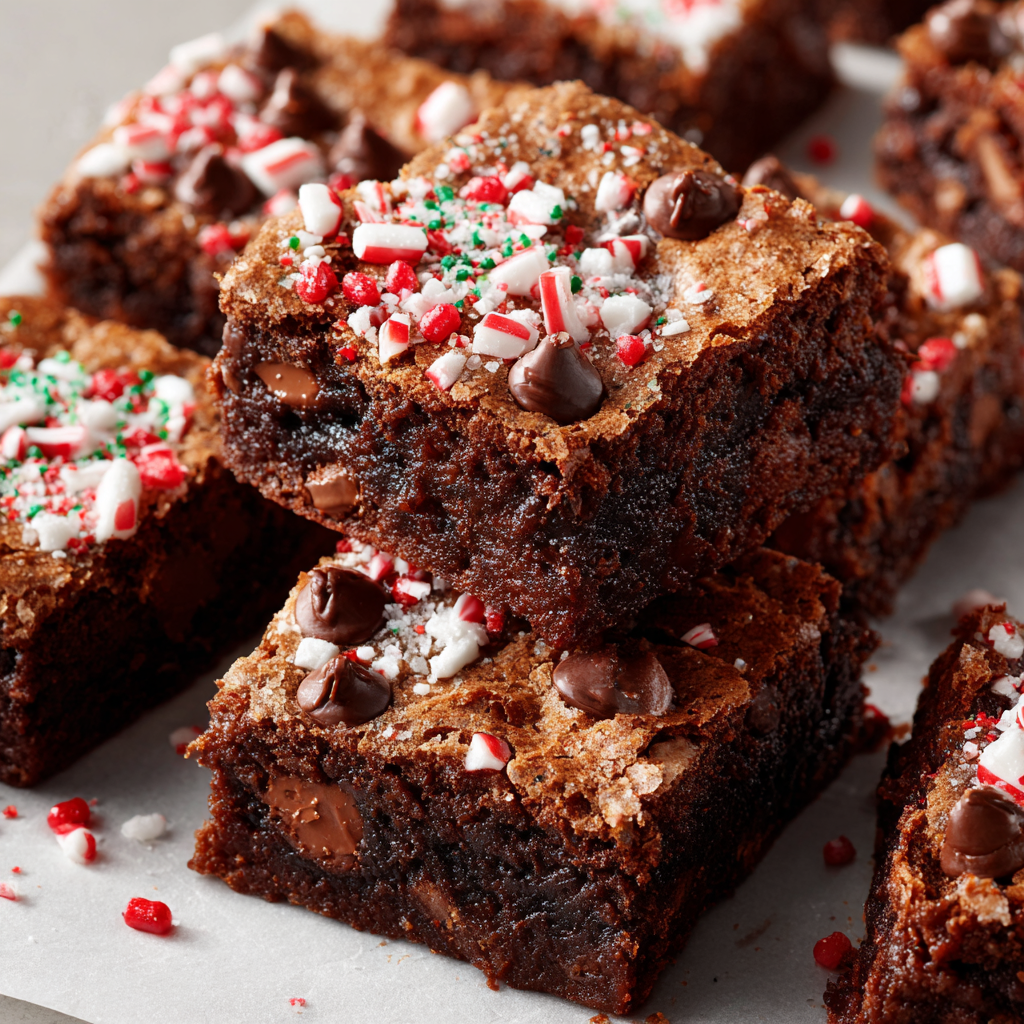
These festive holiday brownies are rich, fudgy, and dressed up with seasonal flair—think gooey chocolate centers, crackly tops, and a touch of peppermint or sprinkles to make them shine. Whether you serve them at a party, box them up for gifts, or keep them all to yourself, they’re a holiday must-bake.
Ingredients
1 cup (2 sticks) unsalted butter
8 oz semi-sweet chocolate (chopped or chips)
1 ¼ cups granulated sugar
¾ cup brown sugar
4 large eggs
1 tsp vanilla extract
1 tsp peppermint extract (optional for a holiday twist)
¾ cup all-purpose flour
½ cup unsweetened cocoa powder
½ tsp salt
½ tsp baking powder
1 cup chocolate chips or chunks
Optional toppings: crushed peppermint, festive sprinkles, white chocolate drizzle
Instructions
Preheat oven to 350°F (175°C). Line a 9×13 baking dish with parchment paper or grease lightly.
In a saucepan over low heat, melt butter and chocolate together, stirring until smooth. Let cool slightly.
In a large bowl, whisk together sugars and eggs until light and creamy (about 1 minute).
Stir in vanilla and peppermint extract, then add the melted chocolate mixture.
Sift in flour, cocoa powder, baking powder, and salt. Fold gently to combine—don’t overmix.
Fold in chocolate chips or chunks.
Pour batter into prepared pan and smooth the top.
Bake for 30–35 minutes, or until the center is just set. A toothpick should come out with moist crumbs, not wet batter.
Let cool before cutting. Top with crushed candy canes, sprinkles, or a drizzle of white chocolate for extra holiday cheer.
- Prep Time: 15 minutes
- Cook Time: 30 minutes
- Category: Dessert
Nutrition
- Calories: 290
- Sugar: 24g
- Fat: 16g
- Carbohydrates: 34g
- Protein: 3g
Gathering Your Brownie Brigade: The Ingredients
Here’s the dream team of ingredients that’s going to create our fudgy masterpiece. Using quality stuff here makes a world of difference, especially with the chocolate!
- 1 cup (2 sticks) unsalted butter – This is the foundation of our rich, fudgy texture. Using unsalted lets us control the salt level perfectly. For a dairy-free swap, a good vegan butter works wonderfully!
- 8 oz semi-sweet chocolate (chopped or chips) – This is the star! Use a baking bar you love eating for the best flavor. Chopping it yourself gives you beautiful melty pockets, but chips are a totally fine time-saver.
- 1 ¼ cups granulated sugar – Our workhorse sweetener that helps create that iconic, shiny, crackly top we all crave.
- ¾ cup brown sugar – The secret weapon for depth of flavor and an extra-moist, chewy crumb. The molasses in it is a game-changer.
- 4 large eggs – Make sure they’re at room temperature! This helps them incorporate into the batter more smoothly, giving us a better rise and texture.
- 1 tsp vanilla extract – The classic flavor enhancer that makes the chocolate taste even more chocolatey.
- 1 tsp peppermint extract (optional) – This is our holiday twist! A little goes a long way for that festive, cool flavor. If you’re not a mint fan, just leave it out—the brownies will still be incredible.
- ¾ cup all-purpose flour – Just enough to hold our beautiful chocolatey chaos together without making it cakey.
- ½ cup unsweetened cocoa powder – Double the chocolate, double the fun! Use a natural cocoa powder for the best classic brownie flavor.
- ½ tsp salt – Crucial for balancing all that sweetness and making the flavors pop. Don’t skip it!
- ½ tsp baking powder – Just a tiny lift to give us that perfect texture between fudgy and cakey.
- 1 cup chocolate chips or chunks – Because more chocolate is always the answer. This gives you those glorious gooey pockets in every single bite.
- Optional toppings: crushed peppermint, festive sprinkles, white chocolate drizzle – This is where we get to play and make them look as festive as they taste!
Let’s Get Baking: The Step-by-Step Magic
Okay, team! Let’s do this. Read through these steps once before you start—it’s like a little roadmap to brownie bliss.
Step 1: First things first, preheat your oven to 350°F (175°C). This gives it plenty of time to get to the perfect, steady temperature. Now, grab your 9×13 inch baking dish. My pro-tip? Line it with parchment paper, leaving a little overhang on two sides. This is your ultimate life hack for getting the entire pan of brownies out perfectly for easy, clean slicing. If you don’t have parchment, a light coating of butter or non-stick spray will do the trick.
Step 2: Let’s melt our chocolatey foundation. In a medium saucepan over low heat, melt the butter and the 8oz of semi-sweet chocolate together, stirring constantly until it’s one smooth, glorious pool of liquid heaven. Take it off the heat the moment it’s melted. We don’t want to scorch it! Let this cool for about 10 minutes. This is important—if it’s too hot, it’ll start cooking the eggs when we add it later. Not the vibe we’re going for.
Step 3: While that’s cooling, grab a large bowl and whisk together the granulated sugar, brown sugar, and eggs. Now, whisk with some energy! You want to do this for a good 1-2 minutes until the mixture becomes pale, a bit thicker, and lovely and creamy. This step is key for that signature crackly top. Whisk in the vanilla and peppermint extract (if using).
Step 4: Time to marry our mixtures! Slowly pour the slightly cooled chocolate and butter mixture into the egg and sugar mixture, whisking constantly as you pour. You’ll end up with a thick, shiny, beautiful batter.
Step 5: Now, let’s gently bring it all together. Place a sieve over the bowl and sift in the flour, cocoa powder, salt, and baking powder. Sifting is worth the extra minute—it prevents lumps and ensures everything is evenly distributed. Now, put the whisk away and grab a spatula. Gently fold the dry ingredients into the wet until you just barely see no more streaks of flour. Do NOT overmix! Overmixing is the enemy of a fudgy brownie—it develops gluten and leads to a tougher, cakier texture. A few streaks are okay!
Step 6: Fold in the 1 cup of chocolate chips or chunks. Because, again, more chocolate.
Step 7: Pour this magnificent batter into your prepared pan and use your spatula to spread it into an even layer. Now’s the time to add any toppings you want to bake right in, like a sprinkle of extra chips or crushed peppermint.
Step 8: Bake for 30-35 minutes. Now, the hardest part: the wait! Ovens vary, so start checking at the 30-minute mark. You’re looking for the edges to look set and the center to still have a very slight jiggle. The most classic test? A toothpick inserted into the center should come out with a few moist crumbs clinging to it, not wet batter. If it’s clean, they’re overbaked! Remember, they continue to cook as they cool in the pan.
Step 9: This is a non-negotiable chef’s command: LET THEM COOL. I know, the temptation is real. But allowing them to cool completely in the pan (at least 1-2 hours) is what gives them their perfect fudgy texture and makes them possible to cut into clean squares. Use this time to clean up and build the anticipation!
How to Serve These Holiday Stars
Once they’re completely cool, use the parchment paper overhang to lift the entire brownie slab onto a cutting board. Slice them into 16 generous squares. For the ultimate holiday presentation, drizzle them with melted white chocolate and a immediate shower of crushed candy canes and festive red and green sprinkles right before serving. They look absolutely gorgeous piled high on a rustic wooden board or arranged in a holiday tin. A little dusting of cocoa powder or powdered sugar works too for a simple, elegant look.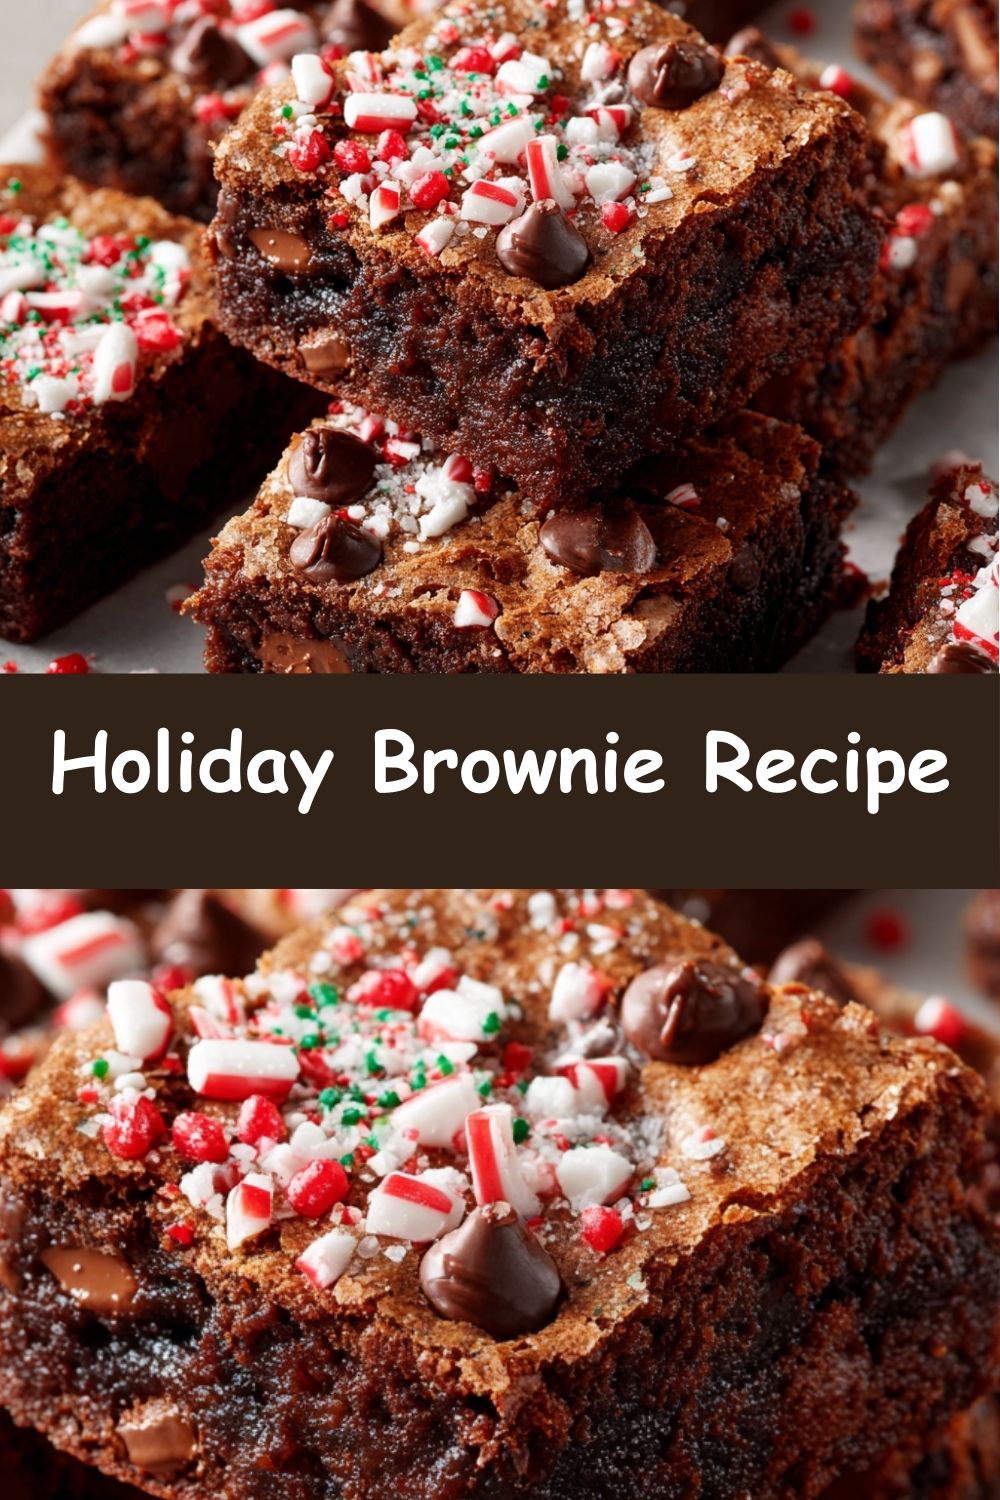
Mix It Up! Fun Holiday Variations
Feel like playing? This recipe is a fantastic canvas for your creativity!
- Peppermint Patty: Swirl ½ cup of peppermint baking chips into the batter along with the chocolate chips.
- Orange Chocolate Delight: Swap the peppermint extract for 1 tablespoon of fresh orange zest and a ½ teaspoon of orange extract for a classic, sophisticated combo.
- Nutty Elf: Fold in ¾ cup of toasted pecans or walnuts for a wonderful crunch.
- Blondie Swap: For a non-chocolate base, omit the cocoa powder and replace the semi-sweet chocolate with white chocolate. Fold in dried cranberries and white chocolate chips for a red-and-white festive look.
- Gluten-Free Joy: Simply swap the all-purpose flour for your favorite 1:1 gluten-free flour blend. I’ve had great success with this!
Clara’s Chef Notes & Kitchen Stories
This recipe has been my go-to for years, and it’s evolved with me. I once, in a frantic pre-party hurry, tried to double the recipe and bake it in the same pan thinking “eh, it’ll be fine.” Reader, it was not fine. I created a volcanic eruption of chocolate that dripped onto the oven floor and set off the smoke alarm. My guests were greeted with a smoky haze and my proud declaration of “I made lava!” So, learn from my mistake: if you want to double it, use two pans!
The other best tip I can give you is to use a plastic knife to cut your cooled brownies. It sounds weird, but it works like a dream—no sticking, and you get incredibly clean edges every single time. Trust me on this one!
Your Brownie Questions, Answered!
Q: My brownies are cakey and not fudgy. What did I do wrong?
A: The most common culprit is overmixing the batter after adding the flour, or accidentally over-measuring the flour. Always spoon your flour into the measuring cup and level it off—don’t scoop directly from the bag! Also, make sure you didn’t overbake them. Remember, a few crumbs on the toothpick is our goal!
Q: Why didn’t I get a shiny, crackly top?
A: That shiny top is created by properly dissolving the sugar in the eggs. Make sure you whisk the eggs and sugars together vigorously for the full 1-2 minutes until they’re pale and thickened. This step is non-negotiable for that perfect crackle!
Q: Can I make these gluten-free?
A: Absolutely! As mentioned in the variations, a 1:1 gluten-free flour blend works perfectly here. I’ve used Bob’s Red Mill and Cup4Cup with fantastic results.
Q: How should I store these, and can I freeze them?
A: Keep them in an airtight container at room temperature for up to 4 days. They also freeze beautifully! Wrap individual squares in plastic wrap and then place them in a freezer bag for up to 3 months. Thaw at room temperature whenever a chocolate emergency strikes.
Nutritional Information*
*This is an estimate provided for informational purposes only. Actual values may vary based on specific ingredients used.
Per brownie (approx., 1 of 16): Calories: 290 | Fat: 16g | Saturated Fat: 9g | Carbohydrates: 34g | Fiber: 2g | Sugar: 24g | Protein: 3g | Sodium: 90mg
Prep Time: 15 minutes | Bake Time: 30-35 minutes | Total Time: 50 minutes (+ cooling) | Yield: 16 brownies