Let’s Bake Some Holiday Magic: My Famous Peppermint Chocolate Chip Cookies
Hey there, my fellow flavor adventurer! Clara here, from my cozy, probably slightly flour-dusted kitchen to yours. Is there anything that captures the pure, unadulterated joy of the holiday season quite like the smell of cookies baking in the oven? That warm, buttery, sugary scent that seems to hug the entire house? It’s the ultimate welcome sign for friends, family, and all the good vibes.
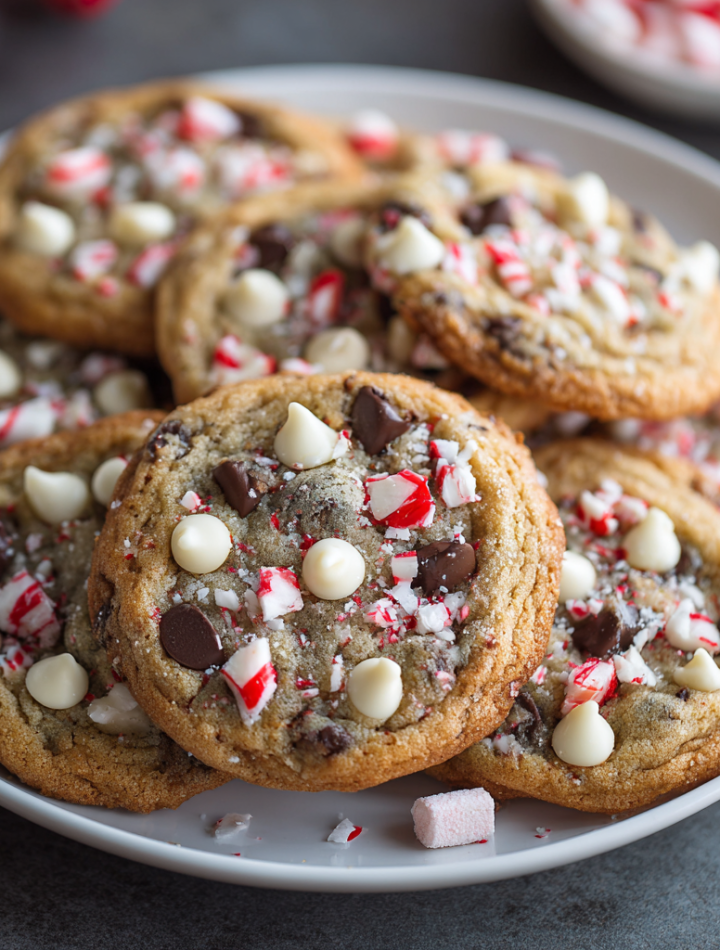
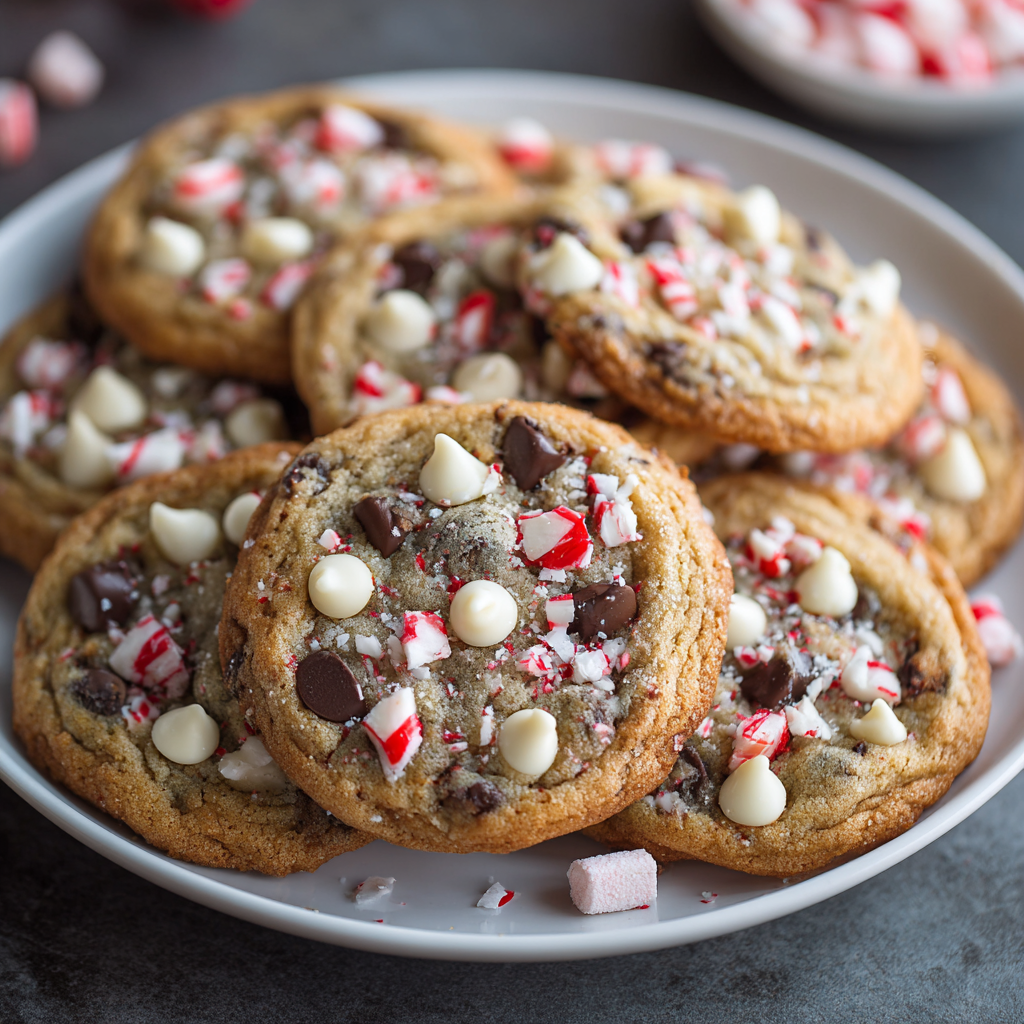
But we’re not just making any cookie today. Oh no. We’re leveling up. We’re taking the beloved classic chocolate chip cookie and giving it a full-blown, holly-jolly, candy-cane-crunching GLOW UP. Imagine this: a soft, chewy, buttery cookie base that melts in your mouth. Now, pack it with pools of rich dark chocolate and sweet white chocolate chips. Then, just when they think it can’t get better, hit them with the cool, refreshing crunch of peppermint from crushed candy canes. It’s a festive flavor party in every single bite, and I am so ridiculously excited to share this recipe with you.
This is the cookie that disappears from the platter first at every holiday party I throw. It’s the one my friends now explicitly request, and the one that makes my kitchen smell like a North Pole bakery. So, preheat those ovens, grab your favorite mixing bowl, and let’s create some cookie magic that’s as fun to make as it is to eat. This is healthy for the soul, and that’s the best kind of nourishment there is.
The Cookie That Started a Tradition
This recipe was born from a happy little kitchen accident a few years ago. I had planned to make my go-to chocolate chip cookies for a big, chaotic, and wonderful Friendsgiving potluck. As I was creaming the butter, I realized I was almost out of vanilla extract! Panic mode: engaged. The only thing I had in my spice cupboard that seemed remotely festive was a tiny bottle of peppermint extract I’d bought for hot chocolate. I thought, “Well, why not?” and added a splash.
Then, as if led by some sugary destiny, my eyes landed on the leftover candy canes from the previous Christmas, tucked away in a cabinet. In a moment of pure inspiration (or madness!), I grabbed a rolling pin and went to town on them, folding the sparkling red and white碎片 into the dough. The result? Pure magic. Those cookies were the talk of the party, and a brand new holiday tradition was born in my kitchen. Now, I can’t imagine December without whipping up a double batch of these minty, chocolatey wonders.
Print
Peppermint Chocolate Chip Cookies
- Total Time: ~55 minutes
- Yield: About 48 cookies 1x
Description
These holiday-ready peppermint chocolate chip cookies are packed with dark and white chocolate chips, crushed candy canes, and soft, chewy centers that melt in your mouth. This doubled batch delivers bold peppermint crunch, rich chocolate flavor, and a few fun twists to elevate them from classic to unforgettable.
Ingredients
1 cup unsalted butter, softened (2 sticks)
1 cup granulated sugar
⅔ cup packed light brown sugar
3 tsp vanilla extract
2 large eggs
3 cups all-purpose flour (408 g)
1 tsp sea salt
1 tsp baking soda
1 ½ cups white chocolate chips
1 ½ cups dark or semi-sweet chocolate chips
10 candy canes, crushed (about ½ cup + 2 tbsp)
Optional twist-ins:
– ½ tsp peppermint extract (for extra minty punch)
– ½ cup mini marshmallows (for gooey texture)
– 1 tbsp cornstarch (for thicker, bakery-style cookies)
Instructions
In a large bowl, cream butter, sugar, and brown sugar until light and fluffy.
Mix in vanilla, eggs, and peppermint extract (if using).
In a separate bowl, whisk together flour, salt, baking soda, and cornstarch. Slowly add dry ingredients to the wet mix.
Fold in both chocolate chips and ¾ of the crushed candy canes. (Save the rest for topping.)
Optional: Fold in mini marshmallows for extra softness.
Chill dough in the fridge for at least 30 minutes.
Preheat oven to 350°F (175°C). Line baking sheets with parchment paper.
Scoop dough into 1.5-inch balls and place 2 inches apart. Top each with a pinch of remaining crushed candy cane.
Bake for 9–11 minutes until edges are set but centers still soft. Cool on the pan for 5 minutes before transferring to a rack.
- Prep Time: 15 minutes
- Cook Time: 10 minutes
- Category: Dessert
Nutrition
- Calories: 190
- Sugar: 16g
- Sodium: 90mg
- Carbohydrates: 24g
- Protein: 2g
Gather Your Ingredients
Here’s everything you’ll need to create these festive masterpieces. This is a double batch because, trust me, you’ll want plenty to share (and a few to sneak for yourself!).
- 1 cup (2 sticks) unsalted butter, softened – This is the foundation of our rich, chewy cookie. Pro Chef Tip: “Softened” means cool to the touch but your finger can leave a gentle indent. Don’t melt it! If you forget to take it out of the fridge, cut it into tablespoons and let it sit for 15-20 minutes.
- 1 cup granulated sugar – For that classic sweetness and helps create a slightly crisp edge.
- ⅔ cup packed light brown sugar – The molasses in brown sugar is the secret to a moist, soft, and chewy center. Pack it firmly into your measuring cup!
- 3 tsp vanilla extract – A generous amount enhances all the other flavors. Use the real stuff if you can!
- 2 large eggs – They bind everything together and add structure. Make sure they’re at room temperature to blend seamlessly with the butter.
- 3 cups all-purpose flour (408 g) – I highly recommend using a kitchen scale for flour! If you’re scooping, fluff your flour with a spoon, spoon it into your measuring cup, and level it off. This prevents dense, dry cookies.
- 1 tsp sea salt – Do not skip this! Salt is the flavor superhero that makes the chocolate and peppermint pop and cuts the sweetness perfectly.
- 1 tsp baking soda – Our leavening agent for the perfect amount of rise and spread.
- 1 ½ cups white chocolate chips – Their creamy sweetness is a dream paired with peppermint.
- 1 ½ cups dark or semi-sweet chocolate chips – I prefer dark for a richer, less sweet contrast, but semi-sweet is a classic crowd-pleaser.
- 10 candy canes, crushed (about ½ cup + 2 tbsp) – The star of the show! Unwrap them and crush them in a zip-top bag with a rolling pin. Leave some bigger pieces for great texture.
Optional (but highly encouraged!) Twist-Ins:
- ½ tsp peppermint extract – For my fellow mint lovers! This gives an extra layer of cool, refreshing flavor that’s just *chef’s kiss*.
- ½ cup mini marshmallows – They create little pockets of gooey, melty goodness. It’s a surprise win!
- 1 tbsp cornstarch – My secret weapon for ultra-soft, thick, bakery-style cookies that stay chewy for days.
Let’s Get Baking: Step-by-Step Instructions
Okay, team! Let’s do this. Read through these steps once before you start—it’s like a little roadmap to cookie success.
- Cream the Butter & Sugars: In a large bowl, use an electric mixer (or some serious arm power with a wooden spoon!) to cream together the softened butter, granulated sugar, and brown sugar. Mix on medium speed for a good 2-3 minutes until it becomes light, fluffy, and pale in color. This step is crucial for incorporating air, which gives our cookies a wonderful texture. Chef Hack: Scrape down the sides of the bowl halfway through to ensure everything is getting mixed evenly.
- Add the Wet Ingredients: Beat in the vanilla extract, eggs (one at a time, letting the first incorporate fully before adding the second), and the optional peppermint extract if you’re using it. Mix until everything is smooth and well-combined.
- Whisk the Dry Ingredients: In a separate, medium-sized bowl, whisk together the flour, sea salt, baking soda, and the optional cornstarch. Whisking beforehand ensures the leavening and salt are evenly distributed, so you don’t get a bitter bite of baking soda.
- Combine Wet & Dry: With your mixer on low speed, gradually add the dry ingredients to the wet ingredients. Mix until just combined and no large streaks of flour remain. Do not overmix! Overworking the dough is the #1 cause of tough cookies.
- Fold in the Goodies: This is the fun part! Use a spatula to gently fold in the white chocolate chips, dark chocolate chips, and about ¾ of your crushed candy canes. If you’re feeling adventurous, now is the time to fold in those mini marshmallows too.
- Chill the Dough: This is a non-negotiable step, friends! Cover the bowl and chill the dough in the refrigerator for at least 30 minutes (up to 48 hours). Chilling solidifies the butter, which prevents the cookies from spreading too much into sad, flat pancakes in the oven. It also allows the flavors to meld together beautifully.
- Preheat & Prep: While the dough chills, preheat your oven to 350°F (175°C). Line your baking sheets with parchment paper. This is my favorite trick for easy cleanup and preventing any sticking.
- Scoop & Top: Use a cookie scoop or a tablespoon to portion the dough into 1.5-inch balls. Place them about 2 inches apart on your prepared baking sheets—they need room to spread! Gently press a pinch of the reserved crushed candy canes onto the top of each dough ball. This makes them look gorgeous and gives an extra burst of peppermint crunch.
- Bake to Perfection: Bake for 9-11 minutes. The cookies are done when the edges are lightly golden and set, but the centers still look soft, puffy, and slightly underbaked. They will continue to cook on the hot baking sheet. Chef’s Secret: For perfectly round cookies, immediately after pulling them from the oven, take a round cookie cutter or a large glass slightly larger than the cookie and gently swirl it around the edge to “scoot” the cookie into a perfect circle.
- Cool (The Hardest Part!): Let the cookies cool on the hot baking sheet for at least 5 minutes. This allows them to set enough to handle. Then, transfer them to a wire rack to cool completely. I know it’s tempting, but try to let them set for a few more minutes—that molten chocolate is HOT!
How to Serve These Festive Cookies
Presentation is part of the fun! Pile these cookies high on a rustic wooden board or a festive holiday platter. They look absolutely stunning with the red and white candy cane pieces peeking through. For an extra special touch, place them in little cellophane bags tied with a ribbon as the sweetest edible gift for neighbors, teachers, or your mail carrier. Of course, they are also best served with a giant glass of cold milk, a mug of hot cocoa, or a cup of coffee while watching your favorite holiday movie.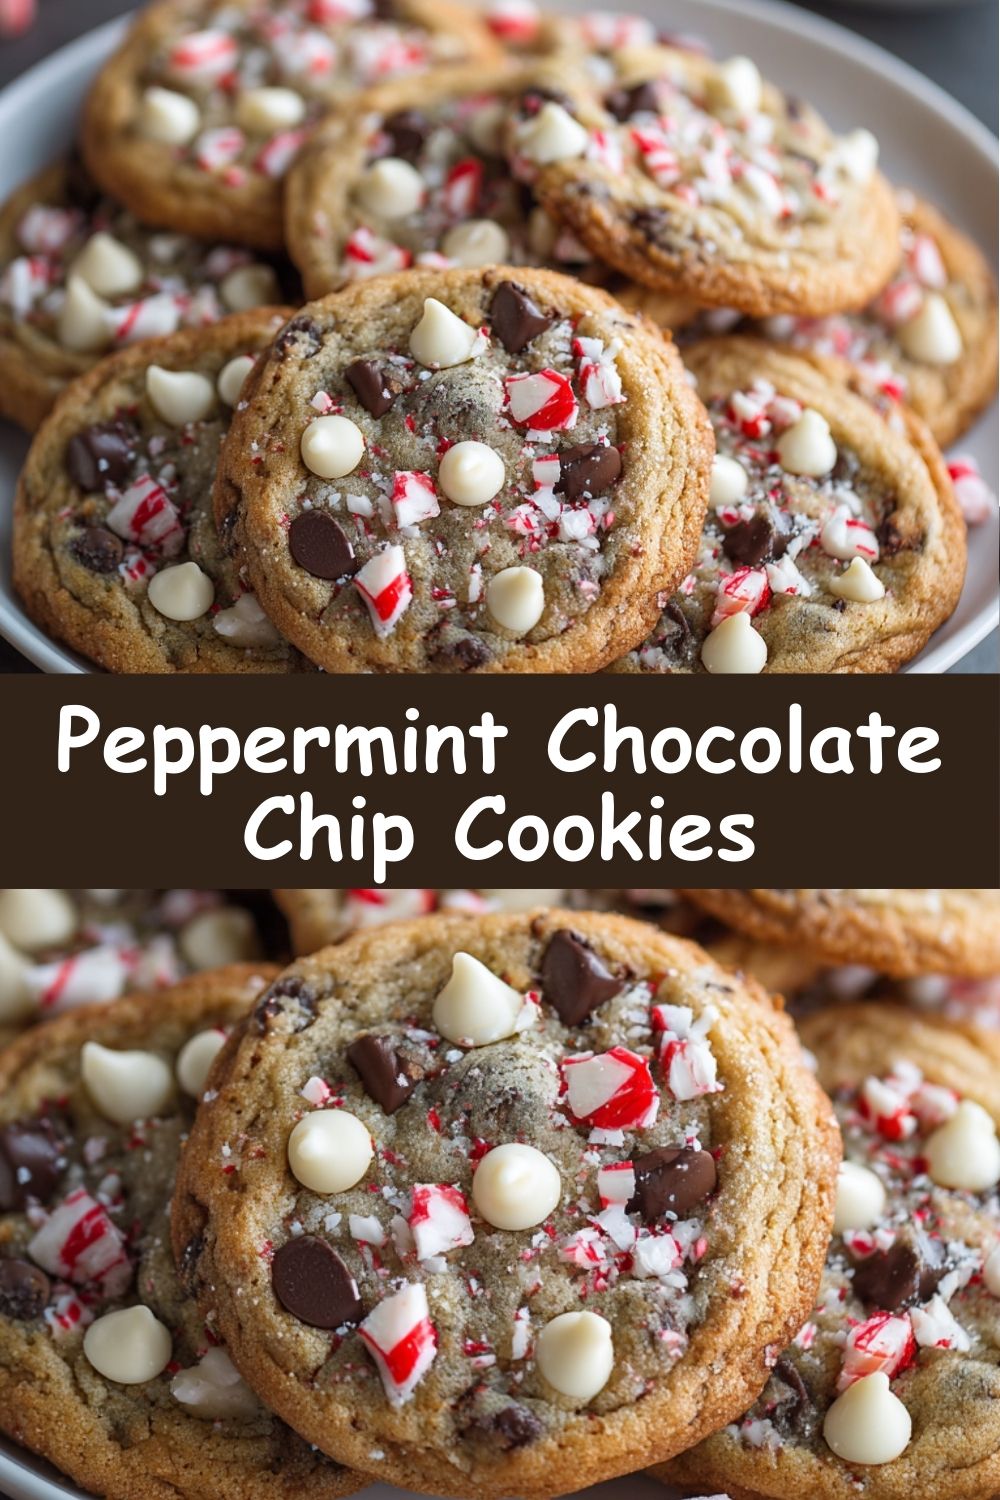
Mix It Up! Recipe Variations
Feel like playing? Here are some delicious ways to make this recipe your own:
- Gluten-Free Swap: Use a 1:1 gluten-free all-purpose flour blend in place of the regular flour. I’ve had great success with Bob’s Red Mill and Cup4Cup blends.
- Dairy-Free Delight: Use plant-based butter sticks and dairy-free chocolate chips. The candy canes are usually naturally dairy-free, but always double-check the label!
- Peppermint Bark Version: Skip the chocolate chips and fold in 1 ½ cups of chopped peppermint bark pieces instead for a double minty-chocolate experience.
- Minty Thins: For a crisper cookie, press the dough balls down slightly before baking and add an extra minute or two to the baking time.
- “Coal” Cookies: Use only dark chocolate chips and roll the dough balls in black sanding sugar before baking for a fun Grinch-themed treat.
Clara’s Chef Notes
This recipe has evolved so much since that first frantic Friendsgiving batch! I’ve learned that the cornstarch is a total game-changer for texture, and the mini marshmallows were a suggestion from a reader that I now swear by. One of my favorite kitchen fails was the time I forgot to chill the dough and ended up with one giant, cookie-sheet-sized peppermint blob. It still tasted amazing (we just broke it into pieces and called it “peppermint bark brittle”), but it was a great reminder that patience in baking is usually rewarded! These cookies freeze beautifully, too. I almost always freeze half the dough balls on a parchment-lined sheet, then transfer them to a freezer bag. Then, I can bake off just a few warm cookies whenever the craving strikes, which is… often.
FAQs & Troubleshooting
Q: My cookies spread too much and came out flat. What happened?
A: This is usually caused by butter that was too warm or dough that wasn’t chilled enough. Make sure your butter is softened but not melty, and please, please don’t skip the chill time! Also, check that your baking soda isn’t expired.
Q: Can I make the dough ahead of time?
A: Absolutely! The dough will keep, covered, in the fridge for up to 48 hours. The flavor actually gets better! You can also freeze the scooped dough balls for up to 3 months. Bake from frozen, just adding 1-2 minutes to the baking time.
Q: The peppermint flavor is too strong/not strong enough for me. How can I adjust it?
A: It’s all about personal preference! For a milder mint flavor, omit the peppermint extract and rely solely on the candy canes. For an intense, cool burst, use the full ½ tsp of extract. You can always start with ¼ tsp and add more to taste.
Q: My candy canes melted and disappeared into the cookies. How do I get those pretty red streaks?
A> This can happen if the candy canes are crushed too finely. You want a mix of fine powder and larger, pea-sized pieces. Also, pressing some onto the top of the dough ball right before baking ensures they stay visible and crunchy.
Nutritional Information (Per Cookie, Approximate)
Calories: 190 | Fat: 10g | Carbs: 24g | Sugar: 16g | Protein: 2g | Sodium: 90mg
Prep Time: 15 min | Chill Time: 30 min | Bake Time: 10 min | Total Time: 55 min | Yield: ~48 cookies