 Let’s Make the Ultimate Party Hero: Parmesan Chicken Sliders!
Hey there, my fellow flavor adventurer! Clara here, from my kitchen to yours. Have you ever been to a gathering where one dish disappears so fast it might as well have been a magic trick? You know the one. The platter that lands on the table, and within minutes, all that’s left are a few crumbs and a circle of very happy, satisfied people. That, my friend, is the power of the slider. And today, we’re taking everything we adore about the cozy, comforting, cheesy glory of classic Chicken Parmesan and transforming it into the ultimate shareable, craveable, downright irresistible bite: Parmesan Chicken Sliders.
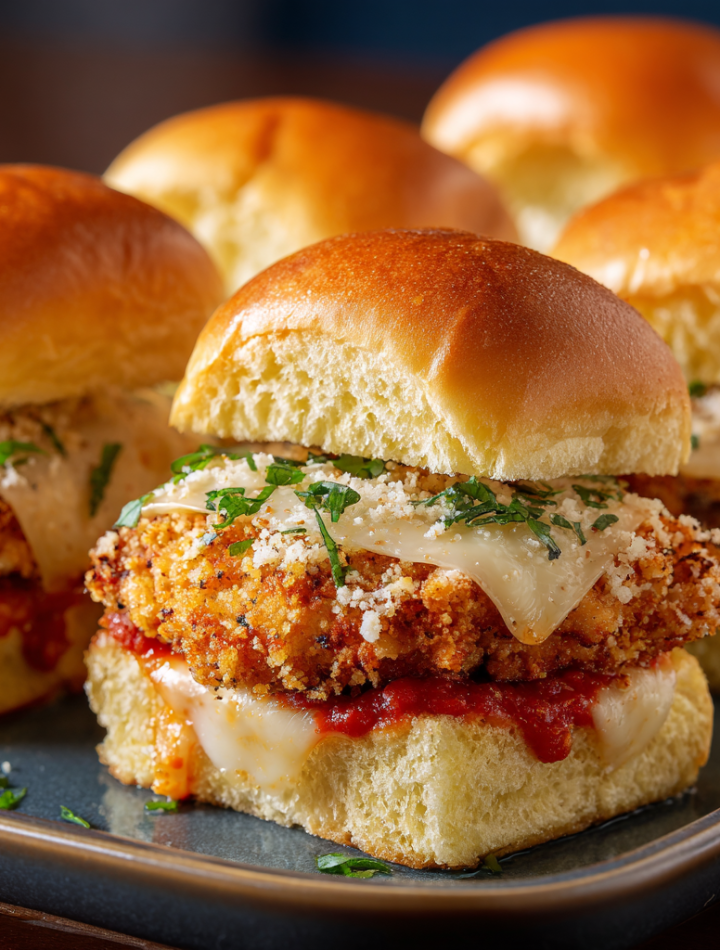
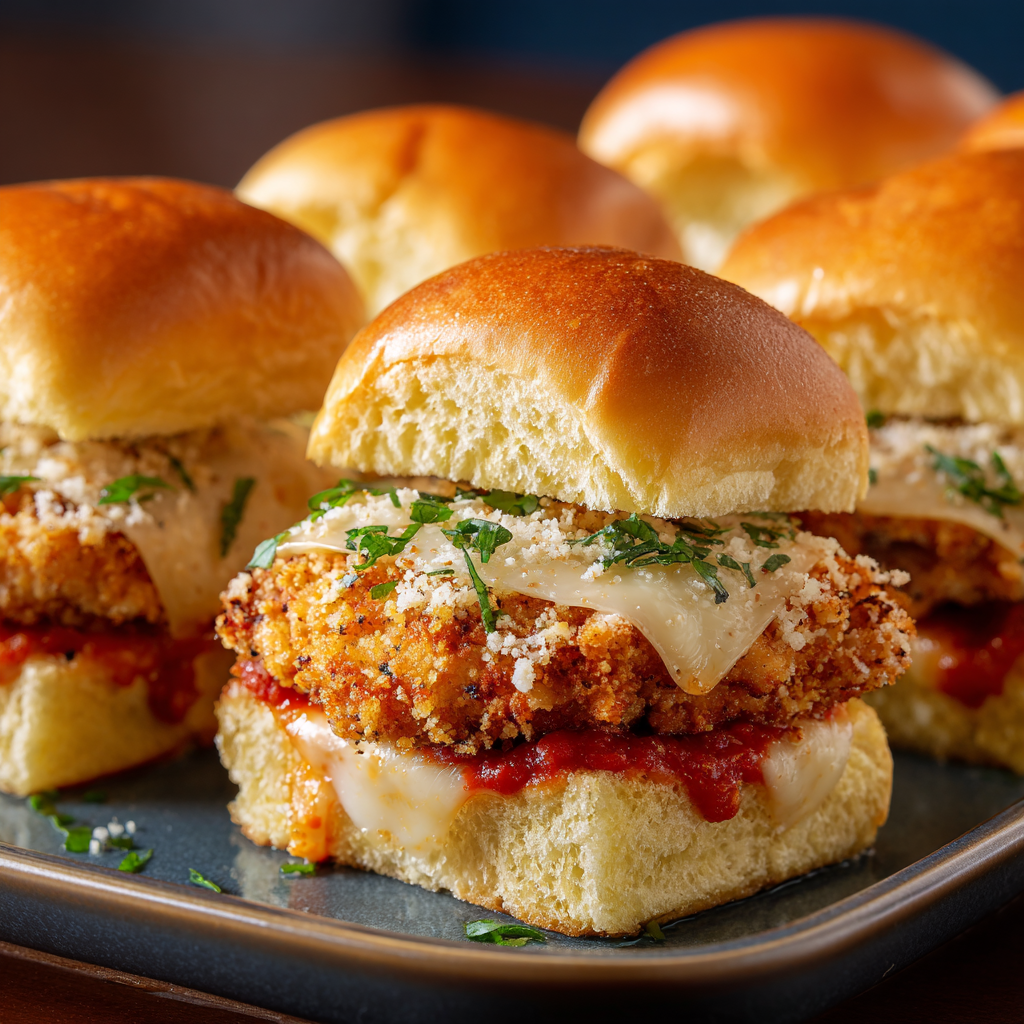
Imagine this: tender, perfectly seasoned chicken, a generous slather of zesty marinara, and a blanket of melty, stretchy mozzarella, all tucked into a soft, pillowy slider bun. But wait, we’re not done. The crowning glory? A buttery, garlic-Parmesan wash that gets brushed over the top and bakes into a golden, fragrant crust that you will dream about. This isn’t just a recipe; it’s your new secret weapon for game days, potlucks, weeknight wins, or any time you want a meal that feels like a giant, delicious hug. So, tie on your favorite apron, and let’s cook up some serious joy together. I promise, this is one recipe that’s absolutely, 100% worth licking the spoon—and the bowl, and the brush!
The Night These Sliders Saved Dinner
I have to tell you about the origin story of these sliders in my world. It was a classic “fridge looks bleak” kind of evening. I had a pack of chicken tenderloins, a half-used jar of marinara from pasta night, and a sad-looking bag of slider buns that were nearing their expiration date. My motivation was at an all-time low, and my husband was giving me that “what’s for dinner?” look that every home cook knows so well.
Instead of ordering a pizza (which was tempting!), I decided to get creative. I chopped, I layered, I whisked together a quick butter topping, and I shoved the whole glorious mess into the oven, crossing my fingers. What emerged 20 minutes later was nothing short of a miracle. The aroma of garlic and Parmesan filled the entire apartment, and the cheese was bubbling over the sides in the most inviting way. We didn’t even bother plating them properly; we just stood over the baking dish, pulling apart sliders and burning our mouths because we couldn’t wait. It was messy, it was joyful, and it was a powerful reminder that the best meals aren’t about fancy techniques—they’re about transforming simple ingredients into something magical. That night, these sliders didn’t just save dinner; they created a core memory. Now, they’re my go-to for creating that same feeling for others.
Print
Parmesan Chicken Sliders
- Total Time: 40 mins
- Yield: 12 sliders 1x
Description
Think crispy chicken parmesan—miniaturized. These Parmesan Chicken Sliders are everything you love about the classic Italian dish, tucked into soft slider buns and baked with melty mozzarella, zesty marinara, and a buttery garlic-Parmesan topping. Ideal for game nights, potlucks, or a cozy family dinner.
Ingredients
2.5 lbs chicken breast tenderloins
15 oz package slider buns (12-count)
1¼ cups marinara sauce
6 slices mozzarella cheese (or shredded)
¼ cup unsalted butter, melted
½ tsp garlic salt
1½ tsp dried parsley
1½ tbsp grated Parmesan cheese
Optional Twists:
Add red pepper flakes for heat
Swap in provolone or fontina for cheese variation
Add fresh basil or arugula after baking for a peppery bite
Instructions
Cook the Chicken: Season and cook chicken tenderloins until golden and cooked through (bake, pan-fry, or air fry).
Prep the Buns: Slice slider buns horizontally (keep attached). Place bottom half in a baking dish.
Assemble: Layer cooked chicken on buns, top with marinara, then mozzarella slices. Cover with the top buns.
Make the Topping: In a bowl, mix melted butter, garlic salt, dried parsley, and Parmesan. Brush over the buns.
Bake: Cover with foil and bake at 350°F (175°C) for 15 minutes. Uncover and bake another 5 minutes until golden and bubbly.
- Prep Time: 15 mins
- Cook Time: 25 mins
- Category: Snack
Nutrition
- Sugar: 3g
- Sodium: 420mg
- Fat: 12g
- Carbohydrates: 18g
- Protein: 20g
Gathering Your Slider Squad: The Ingredients
Here’s your shopping list for cheesy, golden perfection. Remember, cooking is an adventure, so feel free to make it your own!
- 2.5 lbs chicken breast tenderloins: These are my MVP here. They’re naturally portioned for sliders and cook up super fast and evenly. No tenderloins? No problem! Just slice two large chicken breasts into strips. Chef Insight: Pat them dry with a paper towel before seasoning for the crispiest result!
- 15 oz package slider buns (12-count): I love the soft, sweet King’s Hawaiian rolls for this, but any soft slider bun will work beautifully. The key is to get them connected so you can assemble one giant slider “cake”!
- 1¼ cups marinara sauce: Use your favorite jarred sauce to keep it easy, or if you’re feeling fancy, whip up a quick homemade batch. This is the zesty heart of the dish!
- 6 slices mozzarella cheese (or 1 ½ cups shredded): Slices are great for full coverage, but shredded offers that wonderful cheesy pull. For a next-level flavor, try provolone or fontina!
- ¼ cup unsalted butter, melted: This is the base of our magical, golden topping. Unsalted lets us control the sodium level perfectly.
- ½ tsp garlic salt: This seasons the butter with a punch of garlicky goodness. If you only have garlic powder, just add a pinch of regular salt to the mix.
- 1½ tsp dried parsley: It adds a pop of color and a subtle herby flavor. Fresh parsley works too—you’ll need about a tablespoon, chopped.
- 1½ tbsp grated Parmesan cheese: The salty, umami kick that makes the topping truly unforgettable. Use the good stuff from the refrigerated section for the best flavor.
Building Your Slider Masterpiece: Step-by-Step
Alright, team! Let’s get assembling. This process is so much fun and satisfyingly simple.
Step 1: Cook the Chicken
First, we need to get our chicken golden and cooked through. Season your tenderloins generously with a little salt and pepper. You can cook these a few ways:
– Pan-Frying: My favorite for maximum flavor! Heat a tablespoon of olive oil in a large skillet over medium-high heat. Cook the tenderloins for 3-4 minutes per side until beautifully golden and cooked through.
– Baking: Lay them on a parchment-lined baking sheet, drizzle with oil, and bake at 375°F (190°C) for 15-18 minutes.
– Air Frying: A fantastic healthy hack! Spritz with oil and air fry at 375°F (190°C) for 10-12 minutes, flipping halfway.
Chef Hack: Let the cooked chicken rest on a cutting board for a few minutes before chopping. This keeps all those juicy juices locked in!
Step 2: Prep the Bun Foundation
Without separating the individual rolls, slice the entire package of slider buns in half horizontally, so you have one giant top and one giant bottom. Place the bottom half snugly into a 9×13 inch baking dish. This is our edible serving platter!
Step 3: The Joyful Layering Process
Now for the fun part! Layer your cooked chicken evenly over the bottom bun base. Next, spoon and spread the marinara sauce over the chicken. Don’t be shy! Finally, lay down your cheesy armor—place the slices of mozzarella (or sprinkle the shredded cheese) evenly over the saucy chicken. Gently place the top “lid” of buns over the cheesy mountain.
Step 4: Create the Golden Elixir
In a small bowl, whisk together the melted butter, garlic salt, dried parsley, and grated Parmesan. This mixture is liquid gold. Using a pastry brush, generously brush this buttery, garlicky goodness all over the top of the buns. Get into every nook and cranny! This will create that unforgettable, crispy, flavorful crust.
Step 5: Bake to Bubbly Perfection
Preheat your oven to 350°F (175°C). Cover the baking dish tightly with aluminum foil. This initial covered bake is crucial—it steams the sliders, heating everything through and melting the cheese into gooey perfection without burning the tops. Bake covered for 15 minutes. Then, remove the foil and bake for another 5-7 minutes, or until the tops are a gorgeous golden brown and you can hear the sauce bubbling happily. Your kitchen will smell like an Italian restaurant paradise.
How to Serve These Beauties
The moment of truth! Carefully remove the baking dish from the oven. Let it sit for just 2-3 minutes—this makes them easier to slice and prevents everyone from burning the roofs of their mouths (a lesson I’ve learned the hard way!). Use a large, sharp knife to slice along the perforations of the buns, creating 12 perfect individual sliders. You can serve them right from the dish for a rustic, family-style vibe, or transfer them to a serving platter. I love to garnish the top with a scattering of fresh basil or arugula for a pop of color and a fresh, peppery contrast to the rich, cheesy goodness. Serve immediately and watch them vanish!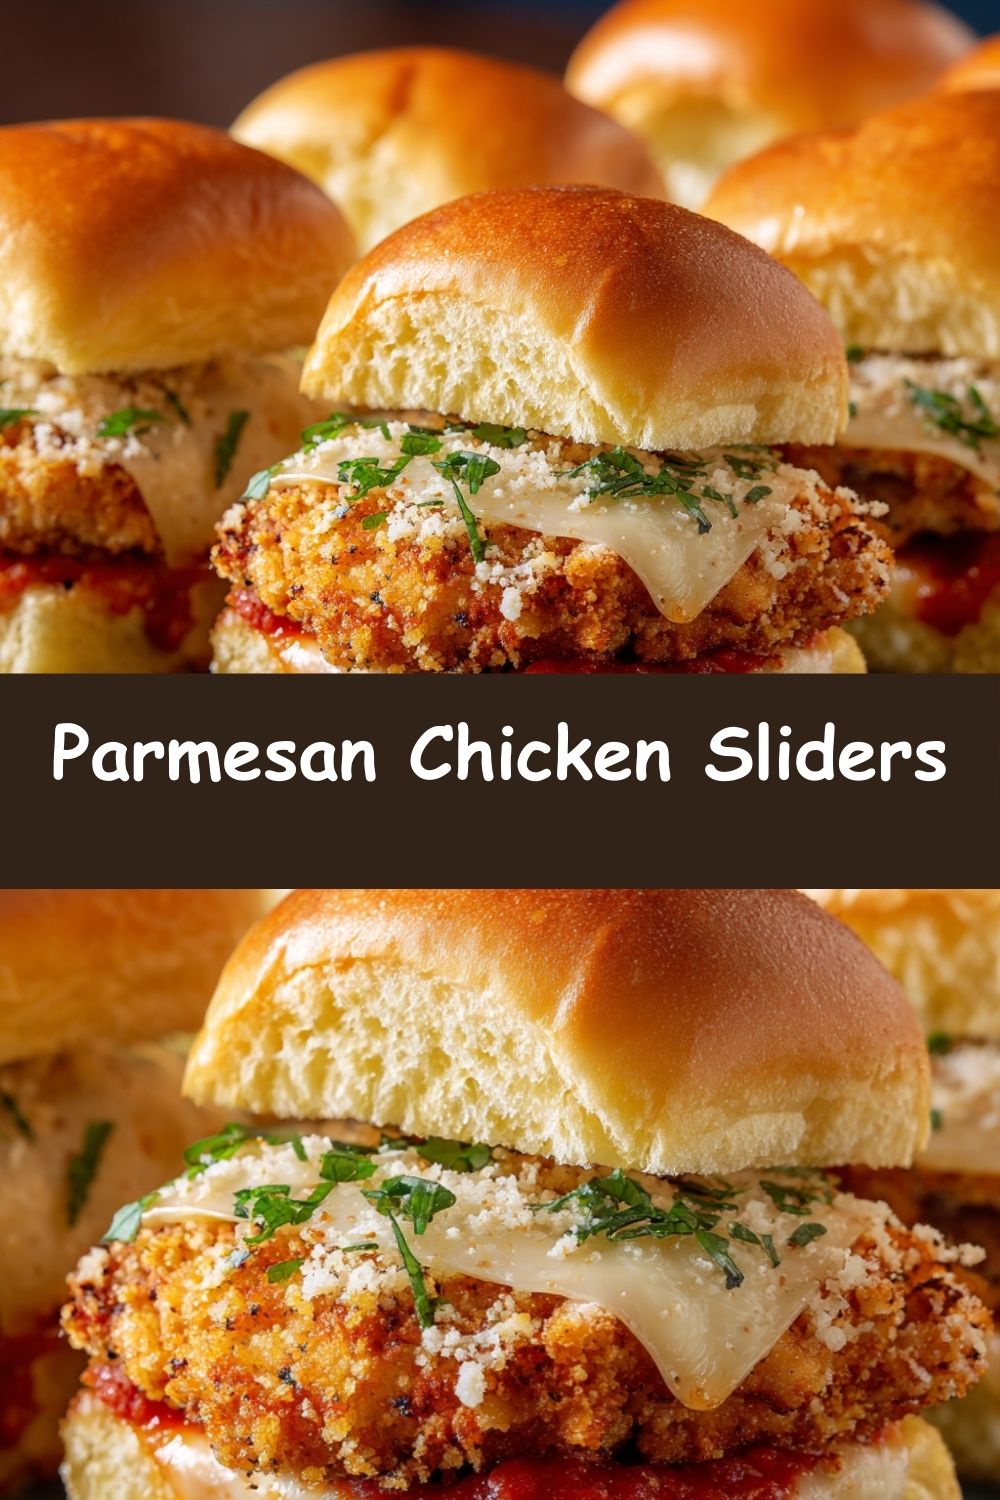
Mix It Up! Creative Twists
Once you’ve mastered the classic, the playground is open! Here are a few of my favorite riffs:
- Spicy Arrabbiata Twist: Use a spicy arrabbiata marinara sauce and add a pinch of red pepper flakes to the butter topping for a serious kick.
- The Supreme: Add a layer of pepperoni or cooked Italian sausage under the chicken for a meat-lover’s delight.
- Pesto Paradise: Swap out half the marinara for a layer of basil pesto. The herbal, garlicky flavor is incredible.
- Veggie Power-Up: Sauté some sliced mushrooms and bell peppers and layer them with the chicken for an extra dose of veggies.
- Gluten-Free Friendliness: Use your favorite gluten-free slider buns and ensure all your other ingredients are certified GF.
Clara’s Chef Notes & Kitchen Stories
This recipe is a living, breathing thing in my kitchen. It’s evolved from that first “what’s in the fridge?” experiment into a true staple. I’ve learned a few things along the way: First, don’t stress about cooking the chicken perfectly. Even if you slightly overcook it, being smothered in sauce and cheese and steamed in the bun keeps it wonderfully moist. Second, the butter wash is non-negotiable. It seems like a small step, but it’s the difference between a good slider and a “can I have the recipe?!” slider. It creates that bakery-style, soft-yet-crisp top that everyone goes crazy for.
One time, I was in a huge rush and tried to skip the foil step, baking it uncovered the whole time. Big mistake! The tops got too dark before the inside was warm. The foil is your friend—it ensures a gentle, even heat. Trust the process! Now, I always double the recipe for big parties and bake them in two dishes. They’re always the first to go.
FAQs & Troubleshooting Your Sliders
Q: Can I assemble these sliders ahead of time?
A: Absolutely! You are my kind of planner. Assemble the sliders completely, including brushing on the butter topping. Instead of baking, cover the dish tightly with plastic wrap and refrigerate for up to 24 hours. When you’re ready, take the dish out of the fridge while you preheat the oven (about 20 minutes), remove the plastic, cover with foil, and bake. You might need to add 5-10 minutes to the covered baking time since you’re starting from cold.
Q: My sliders got a bit soggy on the bottom. How can I prevent that?
A: This can happen if your marinara sauce is very watery. A great trick is to use a thicker, high-quality sauce. You can also lightly toast the bottom half of the buns in the baking dish for 5 minutes in the oven before assembling. This creates a protective barrier against the sauce!
Q: Can I use frozen chicken?
A: I highly recommend thawing and cooking the chicken first. Using frozen chicken will release a ton of water during baking, making your sliders very soggy. For the best texture, always use fully cooked chicken.
Q: The cheese on top of mine didn’t melt much. What gives?
A: If you’re using shredded cheese, it often contains anti-caking agents that can inhibit melting. For the ooiest, gooiest, most photogenic melt, use fresh mozzarella slices or cheese you’ve shredded yourself from a block.
Nutritional Information*
*This is an estimate for 1 slider using the ingredients listed. Values will vary based on specific brands and modifications.
- Calories: ~280 kcal
- Protein: 20g
- Fat: 12g
- Carbohydrates: 18g
- Sugar: 3g
- Sodium: 420mg