These Crack Chicken Sliders Are the Reason Your Party Will Be Famous
Hey there, my fellow flavor adventurer! Let’s be real for a second. Have you ever been to a gathering, taken one bite of something so insanely good that your brain just goes quiet, and then immediately started plotting how to sneak the entire tray into your purse? No? Just me? Well, prepare to meet your new obsession, because these Crack Chicken Sliders are that dish.
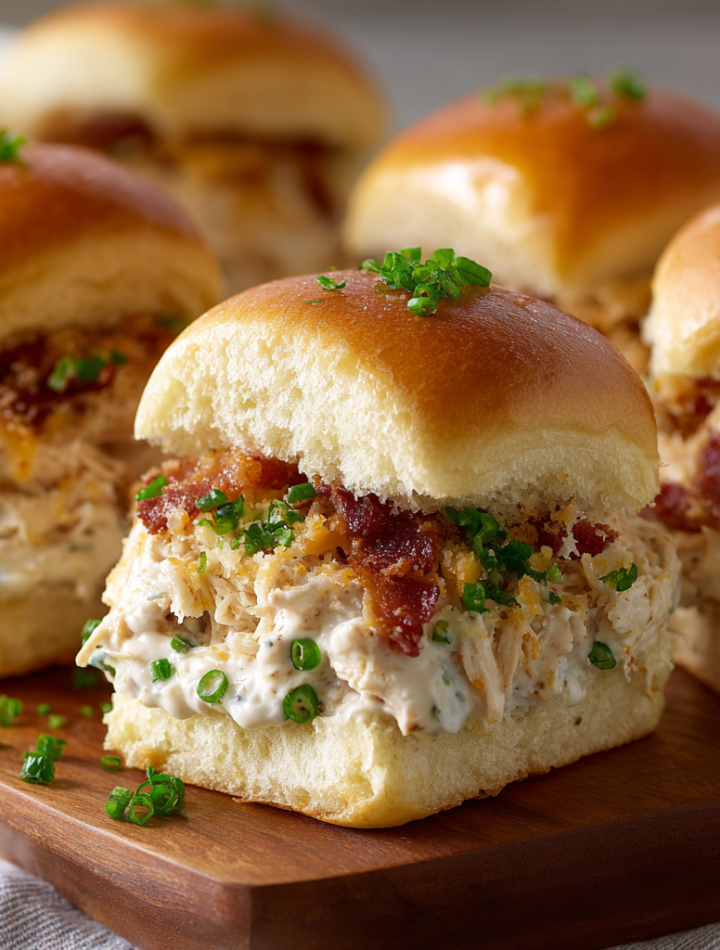
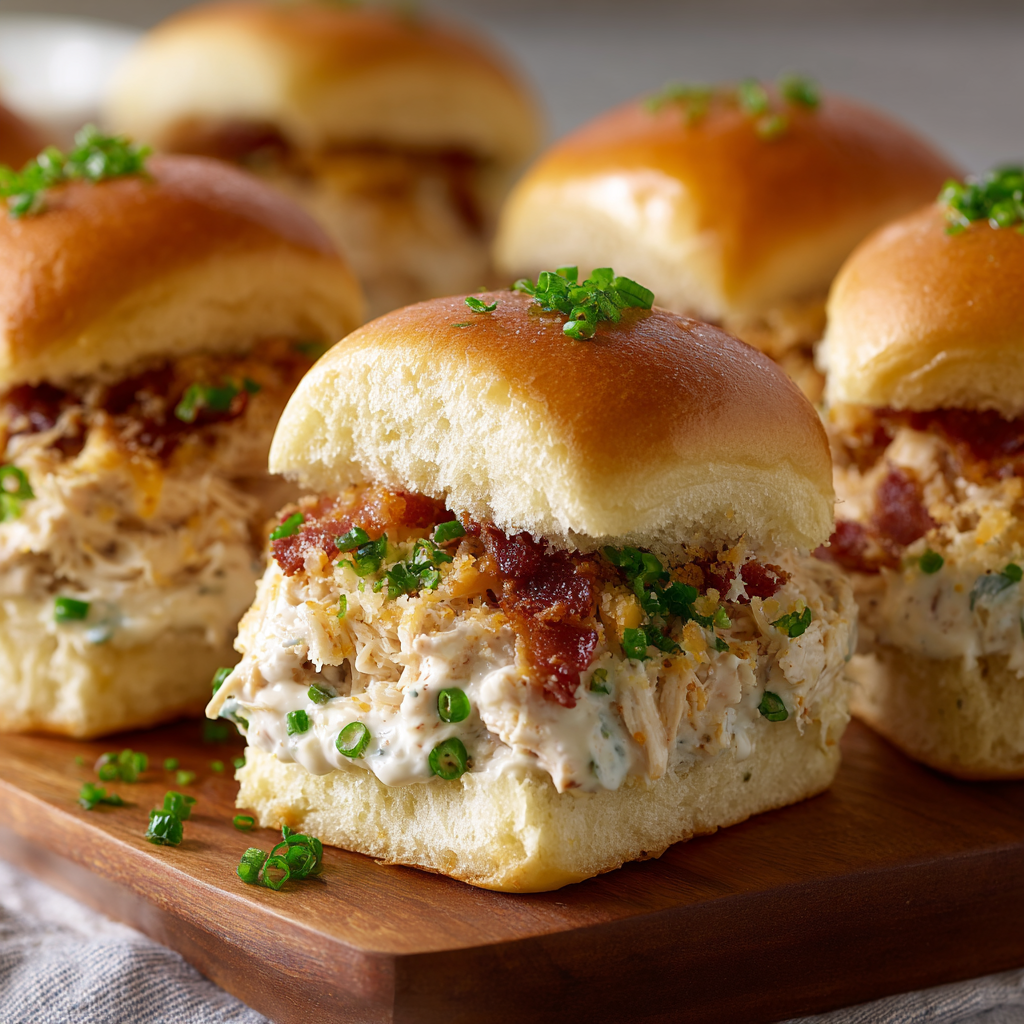
We’re talking about the kind of food that creates legends. The kind that makes people subtly hover near the oven, asking “Is it ready yet?” with hopeful, hungry eyes. These sliders are a glorious mountain of creamy, ranch-seasoned shredded chicken, loaded with crispy bacon, sharp cheddar cheese, all hugged by the sweet, soft embrace of Hawaiian rolls. And just when you think it can’t get better, we paint the top with a shimmering, golden glaze of buttery, Parmesan-chive goodness that bakes into a crackly, savory crust.
I’m Clara, and at Unknown, we believe that feel-good food should be anything but boring. This recipe is the epitome of that philosophy. It’s indulgent, yes, but made with real, whole ingredients you can feel good about. It’s the ultimate crowd-pleaser for game day, potlucks, or a ridiculously satisfying weeknight dinner that the whole family will actually agree on. So, preheat that oven, grab your favorite mixing bowl, and let’s cook up some magic that’s totally worth licking the spoon—and the bowl, and the pan.
The Game Day That Started It All
I’ll never forget the first time these sliders came into my life. It was a chaotic, wonderful, and bitterly cold Sunday. My apartment was packed with friends, all draped in blankets and yelling at the TV. I, of course, was in my happy place: the kitchen, orchestrating a symphony of snacks.
I had a bunch of leftover roasted chicken from the night before, a package of Hawaiian rolls calling my name, and a serious need to create something warm and comforting that could feed a small army. I started throwing things together—a block of cream cheese here, a packet of ranch seasoning there (a guilty pleasure I absolutely keep in my pantry for emergencies), and of course, bacon. Because everything is better with bacon.
I slid the pan into the oven, not entirely sure what would emerge. Twenty minutes later, the buttery, herby aroma had pulled everyone away from the game. They gathered around the kitchen island, and the moment I sliced into that golden-brown top, the first batch vanished in under sixty seconds. There was a moment of silent, chewing bliss, followed by a chorus of “What IS this?” and “You need to blog this. Immediately.” And just like that, a star was born. Now, they’re a non-negotiable request for every single gathering.
Print
Crack Chicken Sliders
- Total Time: 40 mins
- Yield: 12 sliders 1x
Description
Loaded with creamy ranch-seasoned chicken, crispy bacon, melty cheese, and a buttery Parmesan-chive topping, these Crack Chicken Sliders are dangerously addictive. Piled high on soft Hawaiian rolls, they’re the kind of crowd-pleasing snack that disappears before halftime.
Ingredients
For the Filling:
16 oz cream cheese, softened
1 oz ranch dressing mix
2 tsp onion powder
1 tsp black pepper
⅓ cup green onions, chopped
2½ cups cooked chicken breast, shredded
12 oz cooked bacon, chopped
2½ cups mild cheddar cheese, shredded
For the Sliders:
12-count Hawaiian rolls, sliced horizontally
6 tbsp unsalted butter, melted
2 tbsp grated Parmesan cheese
2 tsp fresh chives, finely chopped
Optional Twists:
Add ½ tsp smoked paprika for depth
Use pepper jack for a kick
Drizzle with hot honey post-bake for sweet-heat contrast
Instructions
Preheat oven to 350°F (175°C). Lightly grease a 9×13 baking dish.
Make the filling: In a bowl, mix cream cheese, ranch mix, onion powder, and pepper until smooth. Stir in green onions, shredded chicken, bacon, and cheddar until combined.
Assemble sliders: Place bottom half of rolls in the baking dish. Spread chicken mixture evenly. Top with roll tops.
Make topping: Mix melted butter with Parmesan and chives. Brush over rolls.
Bake: Cover with foil and bake for 15 minutes. Uncover and bake an additional 5–7 minutes until golden and melty.
- Prep Time: 15 mins
- Cook Time: 25 mins
- Category: Snack
Nutrition
- Calories: 390
- Sugar: 4g
- Sodium: 580mg
- Fat: 28g
- Carbohydrates: 14g
- Protein: 19g
Gathering Your Slider Squad: The Ingredients
Here’s everything you’ll need to create this masterpiece. Don’t stress about having the exact brand of everything—cooking is about creativity and using what you’ve got!
For the Incredible Filling:
- 16 oz cream cheese, softened – This is the lush, creamy base of our filling. Pro Chef Tip: PLEASE take the time to let it soften at room temperature for at least an hour. This is the #1 secret to a smooth, lump-free filling that’s easy to spread. If you’re in a pinch, you can microwave it for 15-20 seconds on low power, but room temp is best!
- 1 oz packet ranch dressing mix – This little packet is a flavor bomb of herbs, garlic, and onion. It’s the secret weapon that does all the heavy seasoning lifting. For a homemade twist, you can use 2 tbsp of my DIY Ranch Seasoning Blend.
- 2 tsp onion powder – This amplifies the savory, umami notes and adds a little extra depth to the ranch flavor.
- 1 tsp black pepper – Freshly cracked is ideal for the best flavor! It adds a tiny, welcome kick.
- ⅓ cup green onions, chopped – They add a necessary pop of fresh, mild onion flavor and a lovely green color. The scallion-gang forever!
- 2½ cups cooked chicken breast, shredded – The star of the show! I use leftover Shredded Chicken from meal prep or a store-bought rotisserie chicken to make this incredibly fast. Shred it with two forks or your hands!
- 12 oz cooked bacon, chopped – CRISPY. Make it crispy. It adds that irresistible salty, smoky crunch. Feel free to use pre-cooked bacon to save time, but frying your own is always worth it.
- 2½ cups mild cheddar cheese, shredded – I like mild cheddar so it doesn’t overpower the other flavors, but sharp cheddar works great too! Chef Hack: Always shred your own cheese from a block. Pre-shredded cheese is coated in anti-caking agents that prevent it from melting as smoothly and gloriously.
For the Sliders Themselves:
- 12-count package Hawaiian rolls, sliced horizontally – The sweet, pillowy softness of these rolls is the perfect contrast to the savory, salty filling. It’s a match made in heaven. Don’t separate the individual rolls! We keep them connected to create one giant, glorious slider cake that we slice after baking.
- 6 tbsp unsalted butter, melted – This is for the iconic, shiny, golden-brown topping. Unsalted lets us control the sodium level, especially since the ranch and bacon are already salty.
- 2 tbsp grated Parmesan cheese – It melts into the butter and creates little savory, cheesy specks of flavor on the crust.
- 2 tsp fresh chives, finely chopped – A little fresh herb magic for the top. It makes it look pretty and tastes amazing. If you only have dried, use ¾ tsp.
Let’s Build Some Slider Magic: Step-by-Step
Ready? This comes together so quickly. Let’s do this!
Step 1: Preheat and Prep. Fire up your oven to 350°F (175°C). Take a 9×13 inch baking dish and give it a light coating of non-stick spray or a quick brush of butter. This ensures nothing sticks and your sliders slide right out.
Step 2: Create the Creamy Filling. In a large mixing bowl, add your beautifully softened cream cheese, the packet of ranch seasoning, onion powder, and black pepper. Grab a spatula and mix until it’s completely smooth and no lumps remain. This is where your patience with softening the cream cheese pays off! Now, fold in the green onions, shredded chicken, chopped bacon, and shredded cheddar cheese. Mix until everything is evenly distributed and coated in that creamy, ranch-y goodness. Taste it! Is it amazing? Yes, it is.
Step 3: Assemble the Slider “Cake”. Take your whole sheet of Hawaiian rolls and, using a long serrated bread knife, carefully slice them in half horizontally, so you have one large top and one large bottom. Place the bottom half snugly into your prepared baking dish. Now, spread that incredible chicken filling evenly over the entire bottom layer, all the way to the edges. Gently press it down. Place the top half of the rolls on top, like putting a lid on a box of happiness.
Step 4: The Golden Glaze. In a small bowl, melt your butter. Stir in the grated Parmesan and fresh chives. Take a pastry brush and generously paint this liquid gold all over the top of the rolls. Get every nook and cranny! This will create the most beautiful, flavorful, and crispy top crust.
Step 5: Bake to Perfection. Cover the entire baking dish tightly with aluminum foil. This is crucial! It traps the steam and gently heats the sliders through without over-browning the top too quickly. Bake covered for 15 minutes. Then, remove the foil and bake for another 5-7 minutes, or until the top is a deep, golden brown and the cheese you can see around the edges is bubbly and magnificent.
Step 6: The Hardest Part—Wait! Remove the pan from the oven. Let it cool for about 5-10 minutes. I know, the aroma is torture, but this resting time allows the filling to set just enough so that when you slice them, they hold their shape perfectly instead of oozing everywhere. Use your serrated knife again to slice along the perforations of the rolls into 12 individual sliders.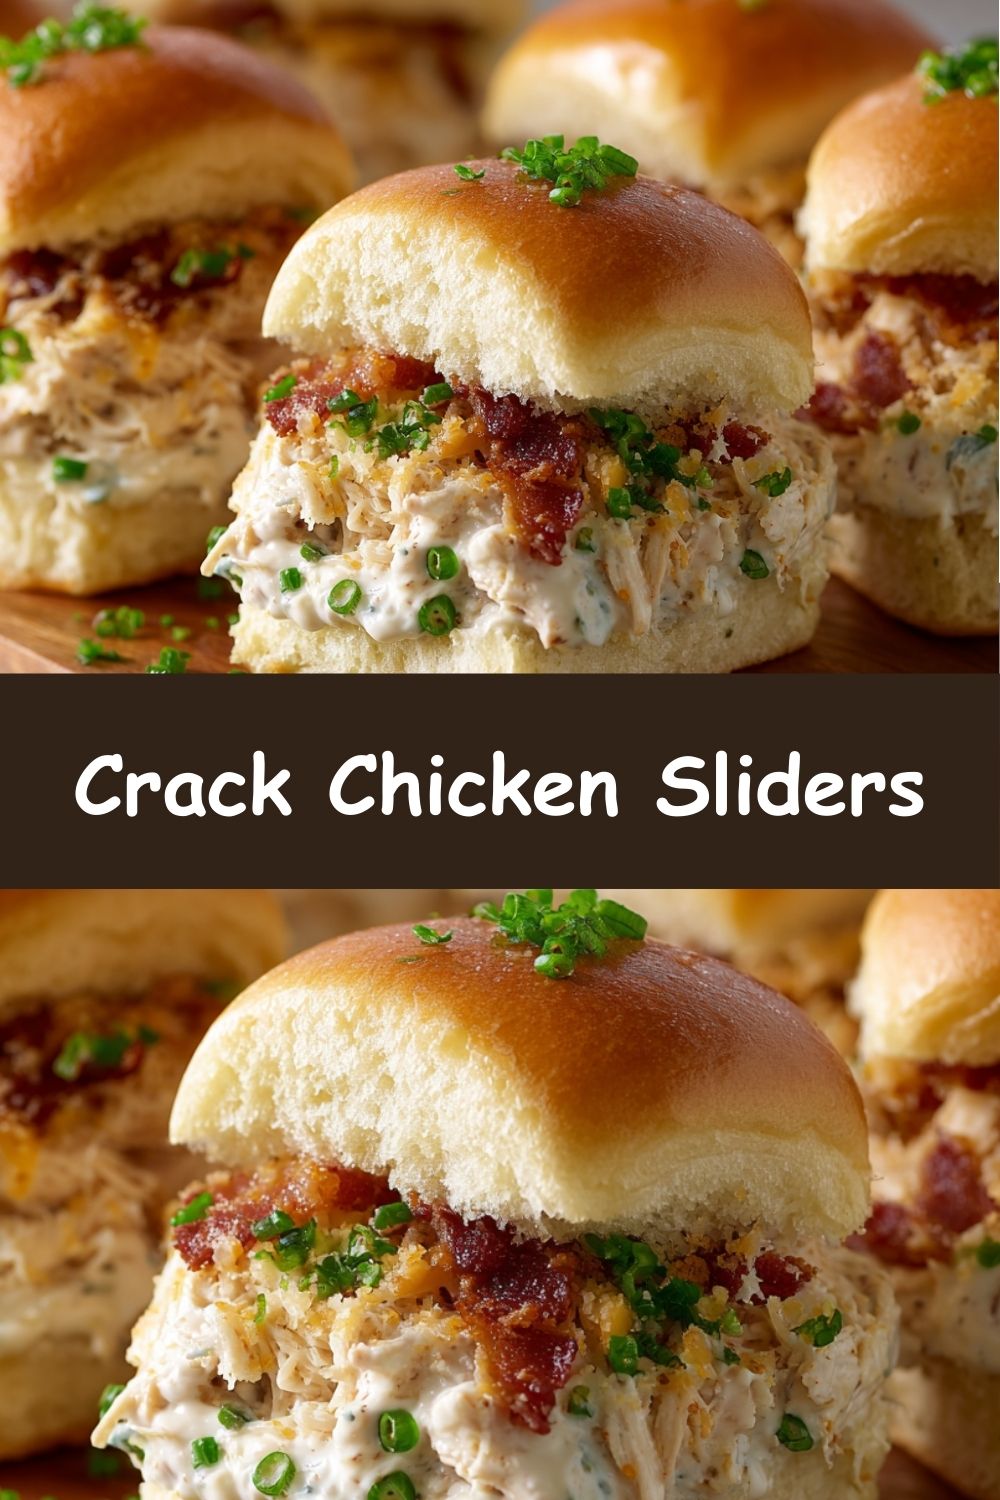
How to Serve These Bad Boys
Presentation is part of the fun! You can serve them right from the baking dish for a casual, family-style vibe. For a party, I love to transfer them to a large wooden board or platter and scatter a few extra chopped chives and green onions over the top for a fresh pop of color. Have little bowls of extra ranch dressing for dipping and some spicy pickles on the side for that perfect tangy crunch. They are messy, gooey, and absolutely perfect served warm alongside a big, crisp green salad to balance it all out.
Make It Your Own: Delicious Variations
The beauty of this recipe is its flexibility! Here are a few ways to twist it:
- Spicy Southwest: Swap the cheddar for pepper jack cheese. Add a 4oz can of diced green chiles (drained) to the filling and a pinch of cayenne to the butter topping.
- Buffalo Chicken: Replace the ranch seasoning with ½ cup of buffalo sauce and a packet of dry Italian seasoning mix. Use a blue cheese or mozzarella blend instead of cheddar.
- Thanksgiving Leftovers: Use shredded turkey instead of chicken, and swap the ranch seasoning for 1 tsp each of dried sage and thyme. Add a handful of dried cranberries to the filling for a sweet twist!
- Lighten It Up: Use Neufchâtel (⅓ less fat) cream cheese, reduced-fat cheese, and turkey bacon. It’s still incredibly delicious!
Clara’s Chef Notes & Kitchen Stories
This recipe has evolved so much since that first game day! I used to meticulously separate each roll, fill them individually, and then wrestle them all back into the pan. It was a mess and took forever. The “slider cake” method was a total game-changer—so much faster and you get every bit of filling in every single bite.
One time, I was so excited to get these in the oven that I forgot to put the bottom layer of rolls in the pan. I just dumped the entire filling into the empty dish and was about to put the top on when I realized my mistake. We had to do a frantic, messy scoop-and-salvage operation. It still tasted great, but it was not pretty! So learn from my hilarious mistake: always start with the bread.
Don’t be afraid to make this your own. Add a handful of frozen corn, some sautéed mushrooms, or different herbs. Cooking is an adventure, and this recipe is the perfect canvas for yours.
Your Questions, Answered!
Q: Can I make these crack chicken sliders ahead of time?
A: Absolutely! You can assemble the entire dish up to 24 hours in advance. Cover it tightly with plastic wrap or foil and keep it in the fridge. When you’re ready to bake, let it sit on the counter for 20-30 minutes to take the chill off, then brush with the butter topping and bake as directed. You might need to add a few extra minutes to the baking time since it’s starting from cold.
Q: My filling is lumpy! How can I fix it?
A> This almost always means the cream cheese was too cold. If you’re prepping ahead, lumps are okay—they’ll melt away in the oven. If you need to fix it now, you can try warming the whole mixture very gently in a saucepan over low heat, stirring constantly, or use a hand mixer on low speed to beat the lumps out.
Q: Can I freeze these?
A: You can, but the texture of the rolls can become a bit soggy upon thawing and reheating. For best results, I’d recommend freezing the filling alone in an airtight container for up to 2 months. Thaw in the fridge overnight, then assemble and bake with fresh rolls.
Q: The top is browning too fast! What do I do?
A> Ovens can vary wildly. If your top is getting too dark before the inside is hot, simply put the foil back on top for the remainder of the baking time. The foil acts as a shield.
Nutritional Information*
*Please note: This is an estimated calculation based on the specific ingredients I used. Your results may vary.
Per Slider: Calories: 390kcal | Carbohydrates: 14g | Protein: 19g | Fat: 28g | Saturated Fat: 14g | Sugar: 4g | Sodium: 580mg