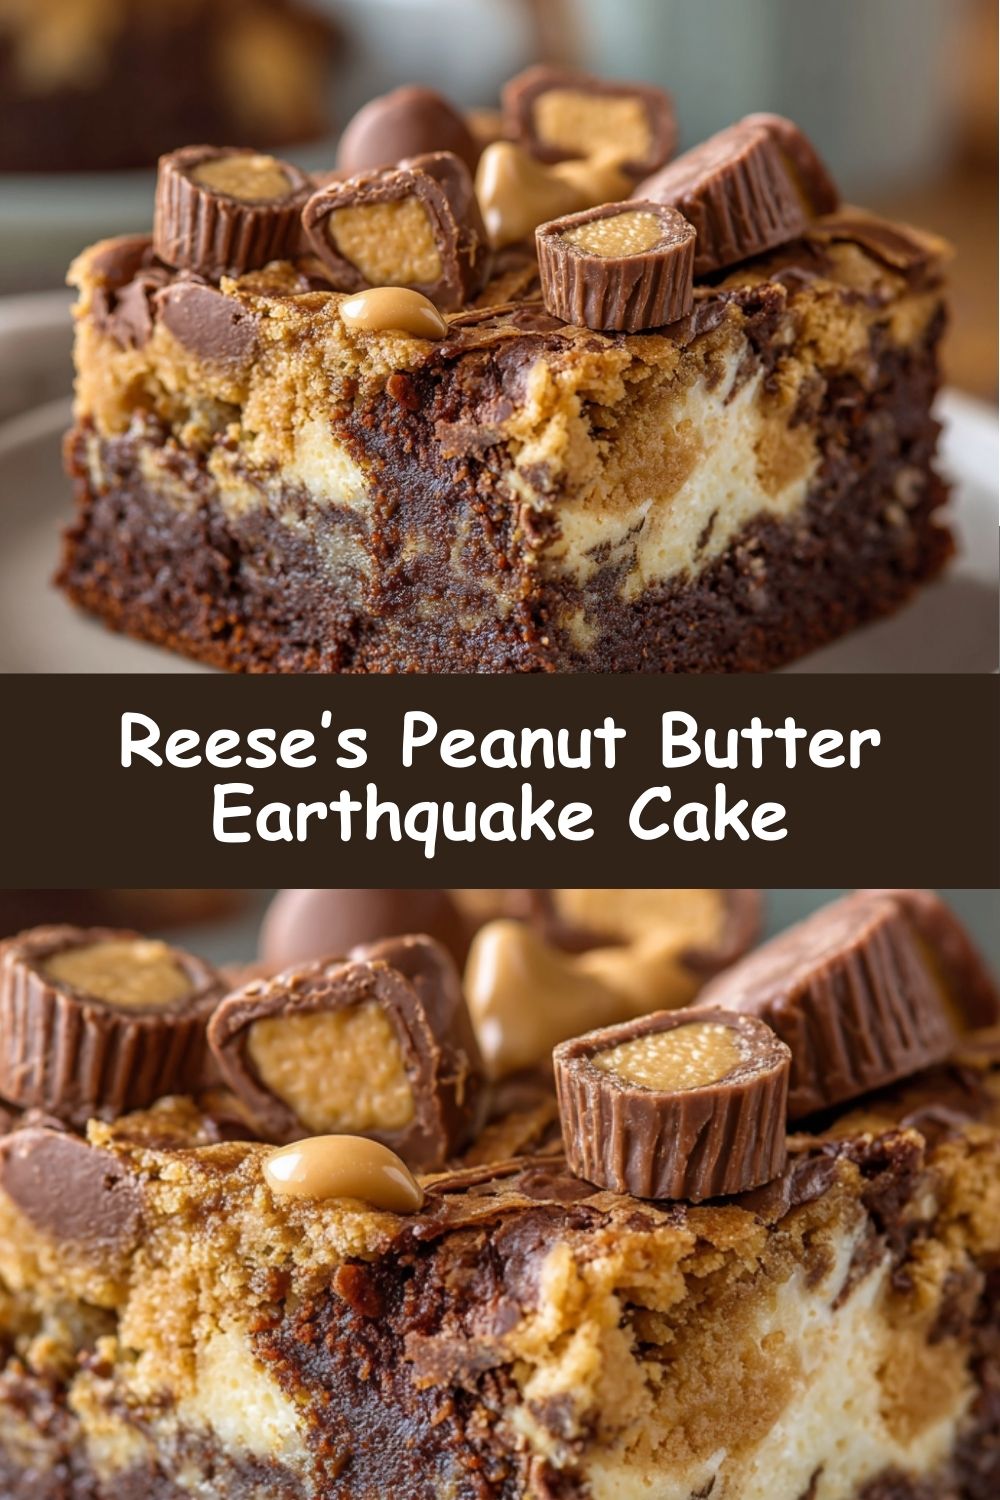
Reese’s Peanut Butter Earthquake Cake: The Ultimate No-Fuss Dessert
Hey there, my fellow flavor adventurer! Clara here, from my messy, flour-dusted kitchen to yours. Let’s be real for a second: sometimes, you just need a dessert that feels like a warm, gooey hug. A dessert that doesn’t ask for perfection, but promises maximum, soul-soothing deliciousness. You know the kind I’m talking about—the one that makes you close your eyes and sigh with pure, unadulterated joy on the first bite.
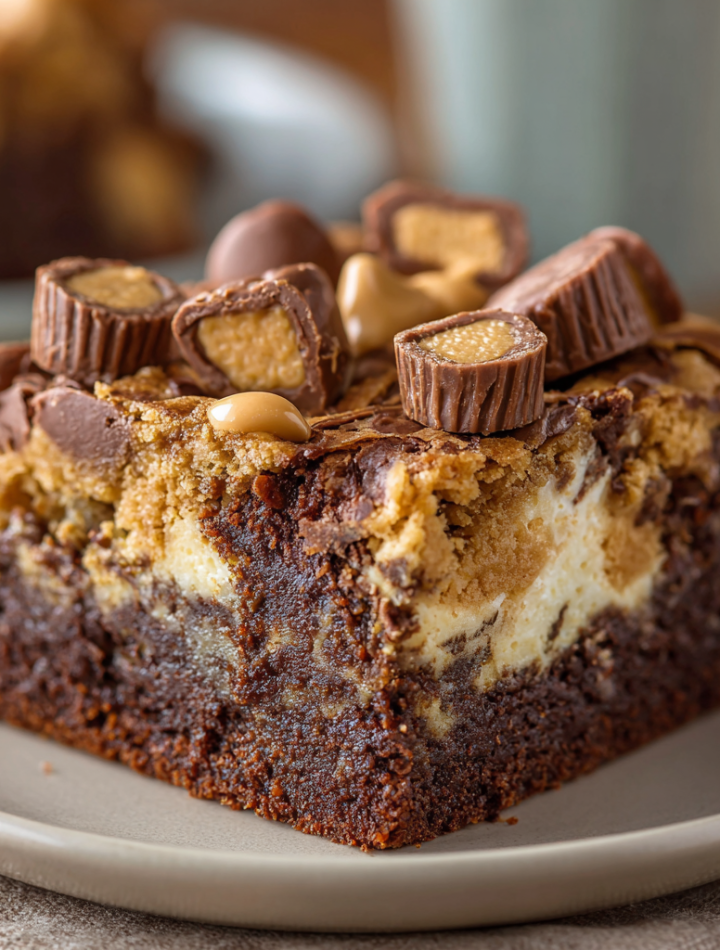
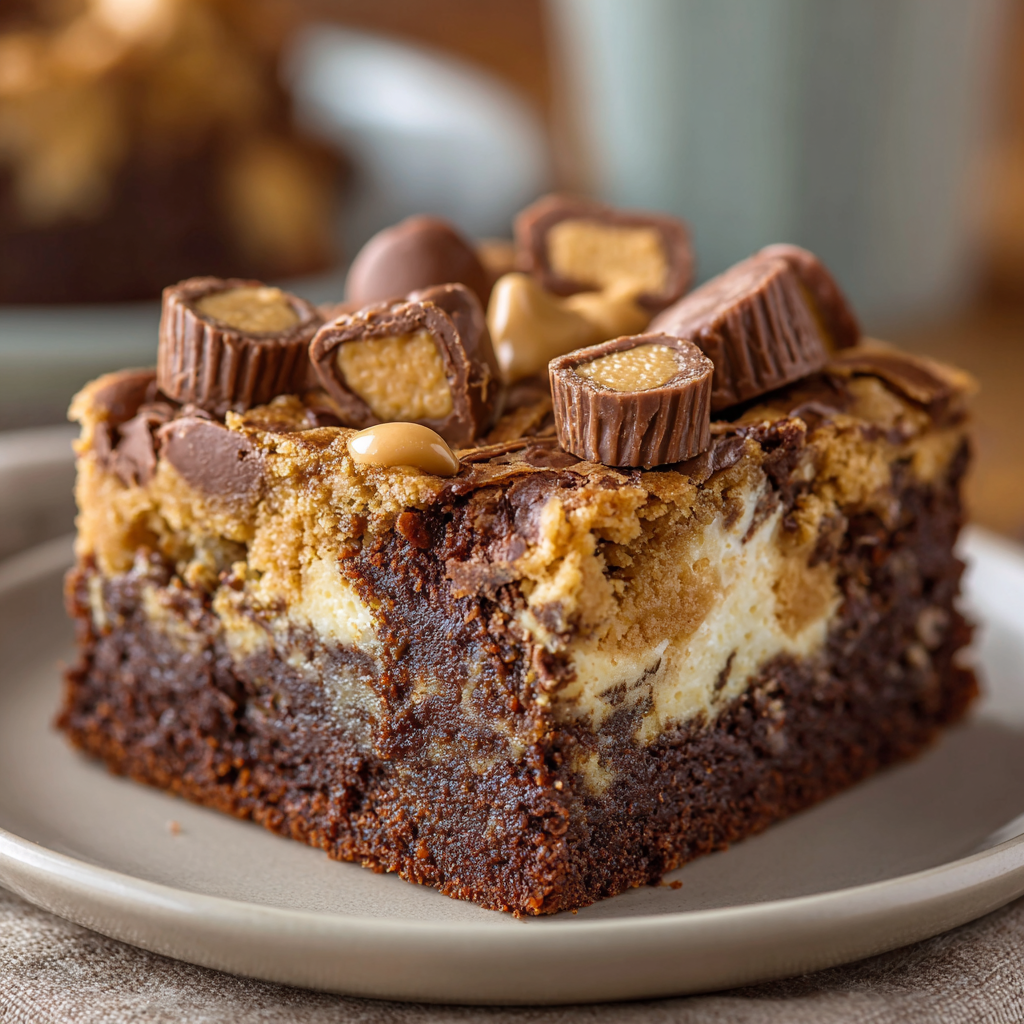
Well, my friend, you’ve just stumbled upon the queen of all those desserts. Welcome to the glorious, decadent, and slightly chaotic world of my Reese’s Peanut Butter Earthquake Cake. The name says it all. This isn’t a dainty, perfectly iced layer cake. This is a tectonic event in a 9×13-inch pan. We’re talking a rich, fudgy chocolate base, a creamy, sweet peanut butter and cream cheese fault line running through it, and a topping of melty chocolate chips that erupts like delicious lava. It’s the kind of dessert that steals the show at potlucks, becomes the star of birthday parties, and solves all of life’s “I need something chocolate, now” emergencies.
The best part? This beauty is deceptively simple. We’re starting with a trusty boxed cake mix, which means half the work is already done for us. This recipe is all about the magic that happens when you layer, swirl, and bake. There’s no fancy technique, no stress about over-mixing. In fact, a little imperfection is what makes it so perfect. So, grab your favorite mixing bowl, and let’s create a delicious earthquake together. I promise, your taste buds will thank you for the adventure.
Print
Reese’s Peanut Butter Earthquake Cake – Gooey, Fudgy, Irresistible
- Total Time: ~55 minutes
Description
This cake is exactly what it sounds like: a rich, chocolatey explosion of flavor with a creamy peanut butter swirl that shakes up every bite. From the melty chocolate chips to the soft cream cheese center, it’s an indulgent dessert that steals the show. Easy to make, impossible to forget.
Ingredients
1 box chocolate cake mix (plus ingredients listed on the box)
½ cup melted butter
8 oz cream cheese, softened
1 cup peanut butter
3 cups powdered sugar
1 cup chocolate chips (plus more for topping)
Mini Reese’s peanut butter cups (for topping)
Instructions
Preheat oven to 350°F (175°C). Grease a 9×13-inch baking dish.
Prepare the cake mix according to the box directions and pour into the pan.
In a separate bowl, beat cream cheese, peanut butter, melted butter, and powdered sugar until smooth.
Spoon the peanut butter mixture over the cake batter in dollops, then swirl gently with a knife (don’t fully mix).
Sprinkle chocolate chips over the top.
Bake for 35–40 minutes or until the edges are set but the center is still gooey (like a molten cake).
Cool slightly, then top with mini Reese’s and extra chocolate chips. Serve warm or chilled.
- Prep Time: 15 minutes
- Cook Time: 35–40 minutes
- Category: Dessert
Nutrition
- Calories: 520
- Fat: 28g
- Carbohydrates: 58g
The Story Behind the Shake-Up: A Kitchen Disaster Turned Triumph
I have to confess, the first time I made a version of this cake, it was a complete and beautiful accident. It was my best friend’s birthday, and I had grand plans for an elaborate, multi-layer chocolate and peanut butter masterpiece. I had visions of smooth buttercream and delicate piping. But you know how life goes—I was running late, my kitchen looked like a tornado had hit it, and I realized I was out of a key ingredient for my frosting. Panic started to set in.
But then, I took a deep breath and channeled my inner kitchen MacGyver. I had a chocolate cake mix, a brick of cream cheese that was begging to be used, and a near-empty jar of peanut butter that I was determined to scrape clean. Instead of layers, I just started dolloping the peanut butter mixture right onto the batter. I swirled it haphazardly with a butter knife, threw it in the oven, and crossed my fingers.
When I pulled it out, it wasn’t the elegant cake I’d pictured. It was cracked, swirly, and looked like the ground had literally shifted during baking. I was sure I’d failed. But then we tasted it. The “ugly” cake was an absolute revelation—the gooey center, the contrasting textures, the way the chocolate and peanut butter married in every single bite. It was a million times better than my original, fussy plan. It taught me a lesson I carry to this day: sometimes, the best creations come from a happy little kitchen earthquake. This recipe is a tribute to that happy accident.
Gathering Your Delicious Avalanche Ingredients
Here’s everything you’ll need to make this seismic dessert event happen. I’ve included some of my favorite insights and swaps to make it your own!
- 1 box chocolate cake mix (plus the ingredients listed on the box): This is our fantastic shortcut! I usually go for a devil’s food or dark chocolate mix for maximum richness. Chef’s Insight: The ingredients on the box are typically eggs, oil, and water. Using milk instead of water and melted butter instead of oil can make the cake base even more decadent!
- ½ cup melted butter: This gets mixed into our peanut butter layer, adding incredible richness and helping it achieve that dreamy, gooey texture.
- 8 oz cream cheese, softened: This is non-negotiable for the perfect texture! Please, please make sure your cream cheese is at room temperature. If it’s cold, you’ll end up with lumpy filling instead of a smooth, creamy swirl. Take it out of the fridge at least an hour before you start.
- 1 cup peanut butter: Creamy peanut butter works best for a seamless swirl, but if you’re a texture lover like me, chunky is a fun option for a bit of a peanut crunch! Substitution Tip: Feel free to use natural peanut butter, but give it a really good stir first. SunButter works wonderfully for a nut-free version.
- 3 cups powdered sugar: This sweetens the peanut butter layer perfectly. If you prefer a slightly less sweet cake, you can reduce this to 2 ½ cups.
- 1 cup chocolate chips (plus more for topping): I’m a semi-sweet girl, but dark chocolate or milk chocolate chips are also fantastic. This is your chance to use your favorite!
- Mini Reese’s peanut butter cups (for topping): The grand finale! Chopping them up a bit before scattering them on top ensures you get a piece in every single bite.
Let’s Bake: Creating Your Culinary Masterpiece
Ready to make some magic? Follow these steps, and don’t forget to read my little chef hacks along the way—they make all the difference!
- Preheat and Prep: Fire up your oven to 350°F (175°C). Grab your trusty 9×13-inch baking dish and give it a good greasing with butter or non-stick spray. I like to add a parchment paper sling (just a strip going both ways with overhang) for super easy lifting later, but it’s not essential. Chef’s Hack: A well-greased pan is your best friend here. We want those delicious edges to crisp up but not stick!
- Mix the Base: In a large bowl, prepare your chocolate cake mix exactly according to the package directions. Pour this beautiful, dark batter evenly into the bottom of your prepared pan. Try to get it as level as you can—this is the foundation for our earthquake.
- Create the Peanut Butter Fault Line: Now, for the star of the show! In a separate medium bowl, combine the softened cream cheese, peanut butter, and melted butter. Use an electric hand mixer (or a stand mixer with the paddle attachment) to beat this on medium speed until it’s completely smooth and creamy. Scrape down the sides of the bowl. Now, gradually add the powdered sugar, beating on low speed at first to avoid a sugar-dust cloud, then increasing to medium until everything is perfectly incorporated and silky. Chef’s Commentary: This filling is so good you’ll want to eat it with a spoon. I won’t tell if you do a little taste test.
- The Art of the Swirl: Here’s where the “earthquake” happens! Take spoonfuls of the peanut butter mixture and dollop it randomly all over the top of the chocolate cake batter. Don’t worry about being neat! Now, take a butter knife or a skinny spatula and gently swirl the two batters together. The key word is gently. You want beautiful marbled streaks, not a homogenous mud-colored mix. Make a few figure-eight patterns and call it a day. Chef’s Hack: Less is more with the swirling. About 5-6 passes through the batter is plenty.
- Chocolate Chip Avalanche: Generously sprinkle that entire cup of chocolate chips over the top. They’ll sink in a little as the cake bakes, creating pockets of molten chocolate throughout.
- Bake to Gooey Perfection: Carefully place the pan in your preheated oven and bake for 35-40 minutes. You’re looking for the edges to be fully set and pulling away from the sides of the pan, but the center should still have a slight jiggle. It will look a little underdone, and that’s exactly what we want! This is the secret to that irresistible, fudgy, molten-center texture. A toothpick inserted near the edge should come out clean, but inserted in the center will come out coated in delicious goo. Chef’s Commentary: Resist the urge to overbake! This cake sets up a lot as it cools. Overbaking is the only way to truly mess this up.
- The Grand Finale: Remove the cake from the oven and let it cool in the pan on a wire rack for at least 20-30 minutes. This is the hardest part—waiting! While it’s still warm, scatter the chopped mini Reese’s cups and any extra chocolate chips over the top. The residual heat will soften them just enough. Now, dig in!
How to Serve This Epic Cake
This cake is a star no matter how you present it! For the ultimate experience, serve it slightly warm. The gooey center is pure bliss. I love scooping it right out of the pan with a large spoon into bowls, almost like a warm pudding cake. If you’re serving it at a party, let it cool completely so you can cut neat(ish) squares. A little dusting of extra powdered sugar or a scoop of vanilla ice cream on the side takes it to a whole new level. The contrast of cold, creamy ice cream with the warm, fudgy cake is a match made in dessert heaven.
Shake Things Up: Recipe Variations
Feel like customizing your earthquake? Here are a few of my favorite twists:
- Cookies & Cream Quake: Use a white or yellow cake mix. Swap the peanut butter for 1 cup of crushed Oreo crumbs mixed into the cream cheese filling. Use white chocolate chips on top!
- Salted Caramel Tremor: Add a ½ cup of salted caramel sauce to the cream cheese mixture and swirl more caramel on top after baking along with the Reese’s.
- Nutella Nirvana: Replace the peanut butter with an equal amount of Nutella for a heavenly chocolate-hazelnut version.
- Dark Chocolate Delight: For a more grown-up vibe, use a dark chocolate cake mix, dark chocolate chips, and a slightly less sweet natural peanut butter.
Clara’s Chef Notes & Kitchen Confessions
This recipe has become a staple in my home, and it’s evolved in the funniest ways. My partner now requests it for his birthday every year instead of a traditional cake. One time, I was so excited to make it for friends that I accidentally used salted butter instead of unsalted in the peanut butter layer. Guess what? It was amazing! The hint of salt made the sweet peanut butter and chocolate pop even more. So don’t stress the small stuff.
I’ve also learned that this cake has a mind of its own. Sometimes the swirl sinks, sometimes it stays on top. Every time, it’s delicious. It’s a beautiful reminder that cooking is an adventure, not a science experiment. So have fun with it, and don’t be afraid to make a beautiful, delicious mess.
Your Questions, Answered! FAQs & Troubleshooting
Q: My center is still super liquidy after 40 minutes. What should I do?
A: Oven temperatures can vary! If the edges aren’t set and the center is still very liquid, give it another 5-10 minutes. Remember, we want a *jiggle*, not a *wave*. If the edges are baking too quickly, you can loosely tent the pan with aluminum foil to prevent burning.
Q: Can I make this cake ahead of time?
A: Absolutely! It’s actually fantastic the next day. Bake it, let it cool completely, then cover it tightly and store it in the refrigerator. The flavors meld and intensify. You can serve it cold, at room temperature, or gently warmed in the microwave.
Q: My peanut butter layer is lumpy. What happened?
A: This almost always means your cream cheese was too cold. Next time, make sure it’s truly softened at room temperature. For a quick fix now, you can try pressing the filling through a fine-mesh sieve, but it’s honestly still going to taste incredible—a few lumps never hurt anyone!
Q: Is there a way to make this from scratch without a cake mix?
A> Of course! Use your favorite homemade chocolate cake recipe that would fit a 9×13 pan. You want a batter that is on the thinner side, not a super thick batter, so it can support the swirl. A simple “dump-and-stir” cocoa-based cake works perfectly.
Nutritional Information*
*This is an approximate calculation per serving and will vary based on specific ingredients used. This is a treat, and we celebrate it as such!
- Calories: ~520
- Fat: ~28g
- Carbohydrates: ~58g
- Protein: ~7g
- Sugar: A celebratory amount!
Prep Time: 15 minutes | Cook Time: 35-40 minutes | Total Time: ~55 minutes