Your New Party Superpower: Mini Bacon Ranch Cheeseballs
Hey there, my fellow flavor adventurer! Tell me if this sounds familiar: you’re hosting a little get-together, or maybe you’re just in charge of bringing “a little something” to a potluck. You want it to be a showstopper, something that makes people’s eyes go wide and has them sneaking back for just one more bite. But you also don’t want to be stuck in the kitchen all day, juggling a million steps and a mountain of dirty pans.
I’ve been there more times than I can count. The struggle between wanting to impress and wanting to actually enjoy the party is real! That’s why I’m practically buzzing with excitement to share one of my all-time favorite, no-fail, always-a-hit recipes with you today: Mini Bacon Ranch Cheeseballs.
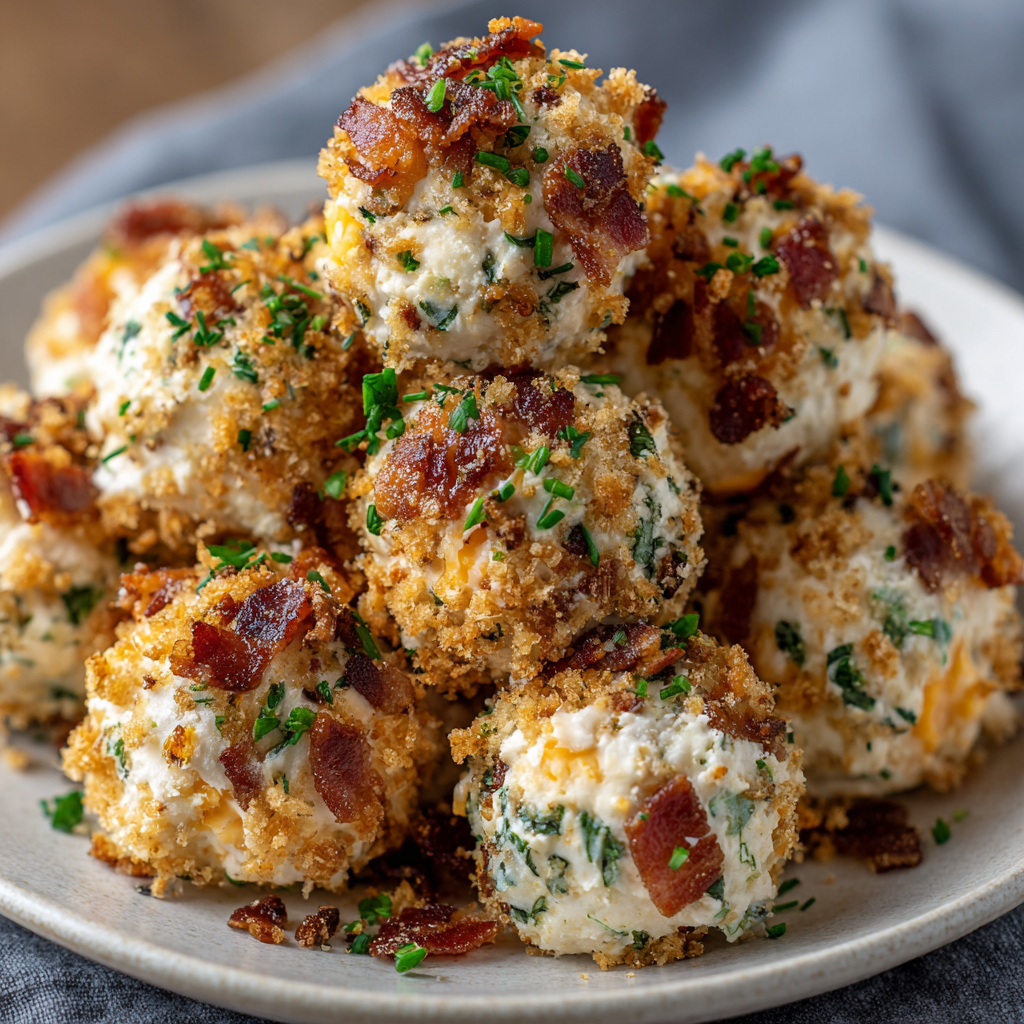
These little guys are the ultimate party heroes. They’re creamy, savory, packed with that iconic ranch flavor we all secretly (or not so secretly) adore, and rolled in a confetti of crispy bacon and fresh, confetti-like herbs. They’re poppable, make-ahead magic, and I promise you, they will disappear from the plate faster than you can say, “Wait, did you try the cheeseballs?” Let’s dive in and create some edible magic that’s as fun to make as it is to eat!
A Happy Little Kitchen Accident
This recipe actually came from a happy little kitchen accident. A few years back, I was tasked with bringing an appetizer to my friend Sarah’s legendary game day party. I had grand plans for an elaborate baked brie situation, but life had other ideas. I was running late, my kitchen looked like a tornado had touched down, and my brie was… let’s just say it was past its prime.
In a slight panic, I stared into my fridge. A block of cream cheese, a bag of shredded cheddar, and a rogue packet of ranch seasoning stared back. A pound of bacon sat waiting in the fridge. In a moment of “what-do-I-have-to-lose” inspiration, I mashed it all together. I rolled the mixture into little balls, thinking they’d be easier for people to grab than one big, messy scoop. I tossed them in the leftover bacon bits and some parsley I had on hand, hoping for the best.
Friends, they were the first thing to vanish. People were raving about them! That chaotic, last-minute creation became my most requested party recipe. It taught me that the best dishes often aren’t the most complicated ones; they’re the ones made with a dash of creativity and a whole lot of heart.
Print
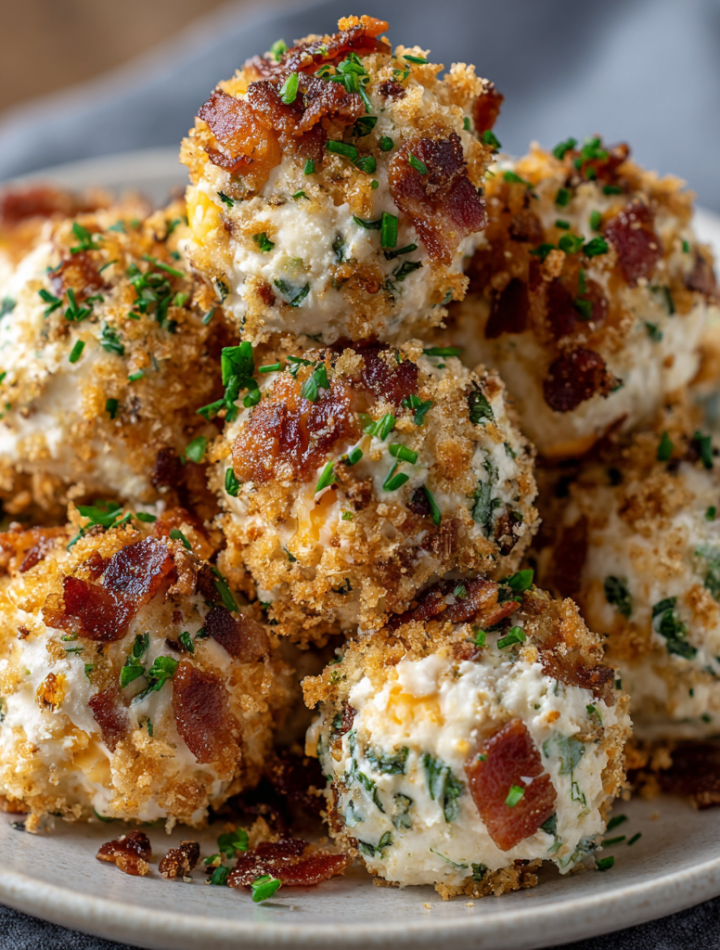
Mini Bacon Ranch Cheeseballs
- Total Time: 20 minutes + chill time
- Yield: 20–24 mini cheeseballs 1x
Description
These Mini Bacon Ranch Cheeseballs are bite-sized, flavorful appetizers perfect for parties, holidays, or game day. Packed with creamy cheese, tangy ranch seasoning, and crispy bacon, they’re easy to make ahead and always a crowd favorite!
Ingredients
- 8 oz cream cheese, softened
- 1 cup shredded sharp cheddar cheese
- 1 tablespoon ranch seasoning mix
- 1/4 teaspoon garlic powder
- 1/4 teaspoon black pepper
- 1/2 cup cooked and crumbled bacon
- 1/4 cup chopped fresh chives or green onions
- 1/4 cup chopped pecans or crushed pretzels (optional)
- Pretzel sticks (for serving)
Instructions
- In a medium bowl, combine softened cream cheese, cheddar cheese, ranch seasoning, garlic powder, and black pepper. Mix until well combined.
- Cover and refrigerate for at least 30 minutes to firm up the mixture.
- In a shallow bowl, mix together bacon, chives, and pecans or pretzels (if using).
- Roll cheese mixture into small 1-inch balls.
- Roll each ball in the bacon mixture to coat.
- Insert a pretzel stick into each cheeseball before serving.
- Serve immediately or refrigerate until ready to serve.
Notes
- Make ahead and store in the fridge for up to 2 days before serving.
- Skip pretzel sticks for a finger-food or toothpick version.
- Use flavored cream cheese for extra variety (like chive or jalapeño).
- Customize coatings with herbs, crushed nuts, or everything bagel seasoning.
- Prep Time: 20 minutes
- Cook Time: 0 minutes
- Category: Appetizer
- Method: No-Cook
- Cuisine: American
Nutrition
- Serving Size: 1 cheeseball
- Calories: 90
- Sugar: 1g
- Sodium: 190mg
- Fat: 8g
- Saturated Fat: 4g
- Unsaturated Fat: 3g
- Trans Fat: 0g
- Carbohydrates: 2g
- Fiber: 0g
- Protein: 3g
- Cholesterol: 20mg
Keywords: mini bacon ranch cheeseballs, party appetizer, bite-sized cheese balls, easy holiday snacks, no-cook appetizer, bacon cheese balls, ranch cheese balls, make-ahead party food
Gathering Your Flavor Dream Team
Here’s your shopping list for these irresistible bites. The beauty of this recipe is in its flexibility, so I’ve included my favorite chef insights and swaps for each ingredient.
- 8 oz Cream Cheese, softened: This is the creamy, dreamy base that holds everything together. Pro-Tip: Let it sit on the counter for at least 30-60 minutes before you start. A rock-hard block will make your arms very, very tired when mixing! For a lighter version, Neufchâtel cheese works beautifully.
- 1 cup Shredded Cheddar Cheese: I love a sharp cheddar for a bigger flavor punch, but mild cheddar works great, too. Chef’s Secret: Always shred your own cheese from a block if you can! Pre-shredded bags are coated with anti-caking agents that can sometimes make your mixture a bit grainy and less smooth.
- 1 packet (or 2 tbsp) Ranch Seasoning Mix: This is the flavor powerhouse! That classic, herby, tangy taste is what makes these so addictive. If you’re watching sodium, you can use a reduced-sodium packet or make your own blend with dried dill, parsley, garlic powder, and onion powder.
- 1/4 cup Green Onions or Chives, finely chopped: These add a necessary pop of fresh, mild onion flavor that cuts through the richness. I use the green parts for a milder taste and a gorgeous green speckle throughout the cheeseballs.
- 6–8 slices Bacon, cooked and finely crumbled: CRISPY bacon is key here! It adds that salty, smoky, crunchy element that is absolutely non-negotiable. My Hack: I bake my bacon on a sheet pan at 400°F (200°C) for about 15-20 minutes. It gets perfectly crispy without the splatter mess of the stovetop. Reserve some of the bacon grease for cooking other dishes—it’s liquid gold!
- 1/4 cup Fresh Parsley, finely chopped: Don’t skip the fresh herbs! The parsley adds a bright, clean flavor and makes the outside coating look incredibly festive and fresh.
- Optional: 1/4 cup crushed Pecans or Almonds: If you’re a texture person like me, this is for you. Adding a nutty crunch takes these to a whole new level and gives a wonderful contrast to the creamy interior.
- For Serving: Your favorite crackers, crispy celery sticks, cool cucumber rounds, or sweet bell pepper slices. They’re the perfect vehicle for getting this cheesy goodness into your mouth!
Let’s Get Rolling: Your Step-by-Step Guide
Ready to make some magic? Put on some fun music, because we’re about to have a blast in the kitchen. I’ll walk you through every step with my best tips and tricks to ensure cheeseball perfection.
- The Great Mix-Off. In a medium-sized bowl, combine your softened cream cheese, shredded cheddar cheese, ranch seasoning, and about half of your chopped green onions. Why only half? We’re saving the rest for the gorgeous outer coating, which gives us more flavor and visual appeal! Now, roll up your sleeves and get mixing. I like to use a sturdy spatula first, then sometimes I just dive in with clean hands to make sure everything is perfectly incorporated. You want no streaks of white cream cheese left—just a uniform, beautifully speckled, flavorful base.
- The Chill Factor. This might be the most tempting step to skip, but trust me on this one: pop the bowl into the fridge for 15-20 minutes. This firms up the mixture, making it infinitely easier to roll into neat little balls instead of sticky, messy blobs. It’s the difference between frustration and finesse! Use this time to clean up your prep area or get your coating station ready.
- Create Your Coating Station. While the cheese mixture is chilling, grab a shallow bowl or a plate. Combine your finely crumbled bacon, the remaining green onions, the fresh parsley, and your crushed nuts if you’re using them. Mix it all together with a fork. Look at that beautiful confetti of flavor! This is what will give our cheeseballs their signature “wow” factor.
- The Rolling Party. Take your chilled cheese mixture out of the fridge. Using a tablespoon or a small cookie scoop (my secret weapon for uniform sizes!), portion out the mixture. I like to aim for about 1 tablespoon per ball. Roll them gently between your palms until they’re smooth and round. If the mixture starts getting too soft and sticky, just pop it back in the fridge for another 10 minutes. No stress!
- The Grand Finale: Coating Time! Now for the fun part! Take each naked cheeseball and gently roll it around in your bacon-herb mixture. Press lightly to make sure all those delicious bits stick. I like to give them a little roll in my hands again after coating to really seal the deal. Place each finished masterpiece on a plate or a baking sheet lined with parchment paper.
- Serve and Savor. And that’s it! You can serve them immediately to a very eager crowd, or you can cover them and refrigerate until your guests arrive. They are perfectly happy waiting in the fridge for several hours, making you look like the most cool, calm, and collected host ever.
Plating Your Masterpiece
Presentation is part of the fun! Don’t just plop these on a plate. Arrange them on a beautiful wooden board or a elegant white platter to make the colors of the bacon and herbs really pop. Scatter your chosen dippers—like crisp celery sticks, vibrant bell pepper strips, and an assortment of crackers—artistically around the cheeseballs. I sometimes even add a small bowl of extra ranch dressing for the true ranch enthusiasts in the crowd. It’s all about creating an inviting, abundant, and delicious-looking spread!
Mix It Up! Creative Twists on the Classic
Once you’ve mastered the classic, the flavor world is your oyster! Here are a few of my favorite ways to mix things up:
- Everything Bagel Bliss: Swap the bacon and herb coating for a generous roll in Everything Bagel Seasoning. It’s a salty, seedy, oniony dream come true.
- Jalapeño Popper Vibe: Add 1-2 tablespoons of finely minced pickled jalapeños and a pinch of smoked paprika to the cheese mixture. Roll the balls in crushed pork rinds for a gluten-free, keto-friendly crunch.
- Greek-Inspired Gems: Use feta cheese instead of cheddar and a Greek seasoning blend instead of ranch. Roll them in a mix of chopped sun-dried tomatoes and kalamata olives.
- Southwestern Kick: Mix in 1/4 cup of finely chopped black olives and a teaspoon of cumin to the cheese base. Coat with a mixture of crushed tortilla chips and cilantro.
Clara’s Kitchen Chronicles
Over the years, this recipe has become my go-to for a reason. It’s evolved from that first panicked batch into something I can make with my eyes closed. One of my favorite kitchen memories involving these was when my niece, who is notoriously picky, decided to “help” me make them. She was covered in cream cheese and bacon bits by the end, but the pride on her face when her dad tried one and said it was the best thing he’d ever eaten? Priceless.
I’ve learned that a small cookie scoop is a game-changer for keeping the sizes even and your hands relatively clean. I’ve also found that these freeze surprisingly well! Just place the uncoated balls on a parchment-lined tray, freeze until solid, then transfer to a freezer bag. When you need them, let them thaw slightly in the fridge, then roll them in the coating. Party crisis averted!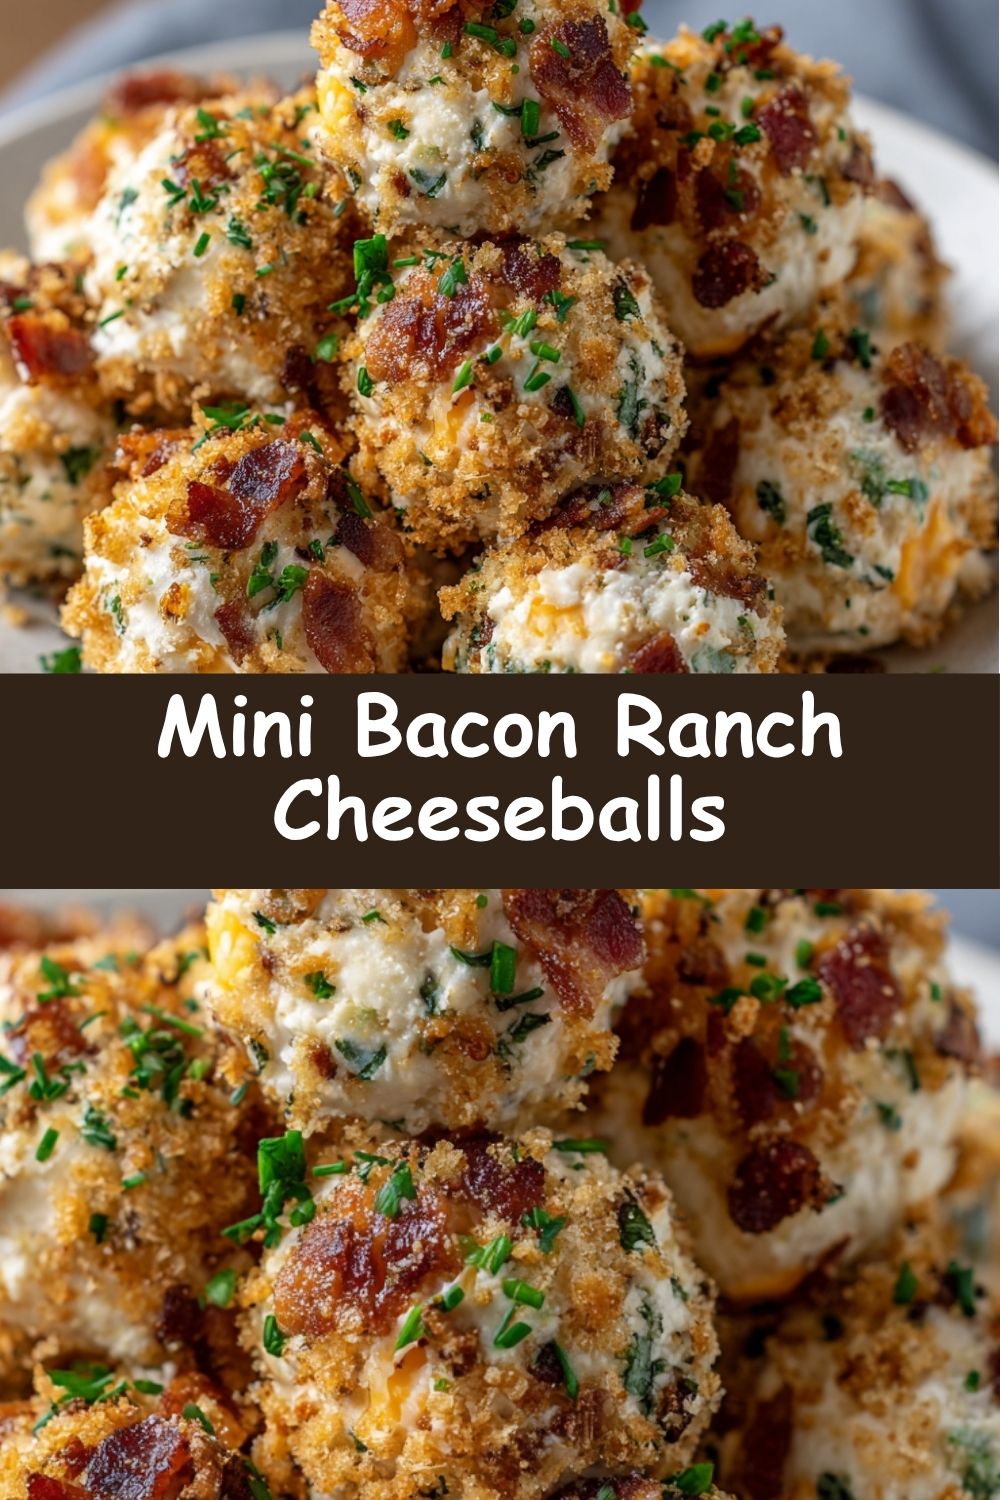
Your Questions, Answered!
I’ve gotten a lot of questions about this recipe over the years, so I’ve gathered the most common ones here to help you out.
Q: My cheese mixture is too soft and sticky to roll. What did I do wrong?
A: Don’t worry, this is the most common issue! It usually means the cream cheese was a bit too soft to begin with, or the mixture just needs more chill time. The fix is easy: just pop the whole bowl back into the fridge for another 20-30 minutes. You can also lightly dampen your hands with cold water before rolling to prevent sticking.
Q: Can I make these ahead of time?
A: Absolutely! In fact, I highly recommend it. They are the ultimate make-ahead appetizer. You can assemble them completely, store them in an airtight container in the fridge, and they’ll be perfect for up to 2 days. The flavors actually meld and get even better!
Q: I don’t eat pork. What can I use instead of bacon?
A: No problem! For a similar smoky, salty crunch, try using turkey bacon or beef bacon. For a vegetarian option, my favorite swap is to use chopped, toasted pecans or walnuts mixed with a teaspoon of smoked paprika and a pinch of salt to mimic that smoky bacon flavor.
Q: Why do you recommend shredding my own cheese?
A> It’s a texture thing! Pre-shredded cheese is coated in potato starch or cellulose powder to keep it from clumping. This can prevent it from melting and blending as smoothly into the cream cheese, sometimes leaving a slightly grainy texture. Shredding your own gives you the creamiest, smoothest result possible.
Quick Nutrition & Prep Details
Prep Time: 20 minutes (plus 20 min chill time) | Cook Time: 0 minutes | Total Time: 40 minutes | Makes: 20-24 mini cheeseballs
Approximate per cheeseball (without dippers): Calories: 90 | Fat: 8g | Protein: 3g | Carbohydrates: 1g
There you have it! Your new secret weapon for effortless, crowd-pleasing entertaining. I hope these Mini Bacon Ranch Cheeseballs bring as much joy and empty-plate satisfaction to your table as they have to mine. Now go forth, roll those balls, and get ready for the compliments to roll in! Happy cooking!
With love and a well-licked spoon,
Clara