 Your New Favorite Fall Treat: Apple Pie Bars That Steal the Show
Hey there, my fellow flavor adventurer! Let’s be real for a second: is there anything that whispers “cozy” quite like the smell of cinnamon and apples bubbling away in the oven? It’s the universal scent of crisp autumn air, fuzzy sweaters, and happy, full bellies. But sometimes, as much as we crave that classic apple pie magic, the thought of wrestling with a rolling pin, perfecting a lattice top, and praying the bottom crust doesn’t get soggy feels… well, like a whole production.
That’s exactly why I’m so utterly obsessed with these Apple Pie Bars. Imagine every single thing you adore about a from-scratch apple pie—the buttery, flaky crust, the warmly spiced, gooey filling, that irresistible crumbly streusel topping—but transformed into the most grab-and-go, shareable, potluck-perfect bars you’ve ever sunk your teeth into. They deliver all the nostalgic flavor and homemade heart, but with a fraction of the fuss. We’re talking maximum reward for your kitchen efforts, which is pretty much my life motto.
So, whether you’re prepping for a Friendsgiving feast, need a show-stopping dessert for the school bake sale, or simply deserve a little weeknight treat (because yes, you absolutely do), these bars are your new secret weapon. They’re the hug-in-a-pan you’ve been waiting for. Let’s preheat that oven and make your kitchen smell absolutely incredible.
Print
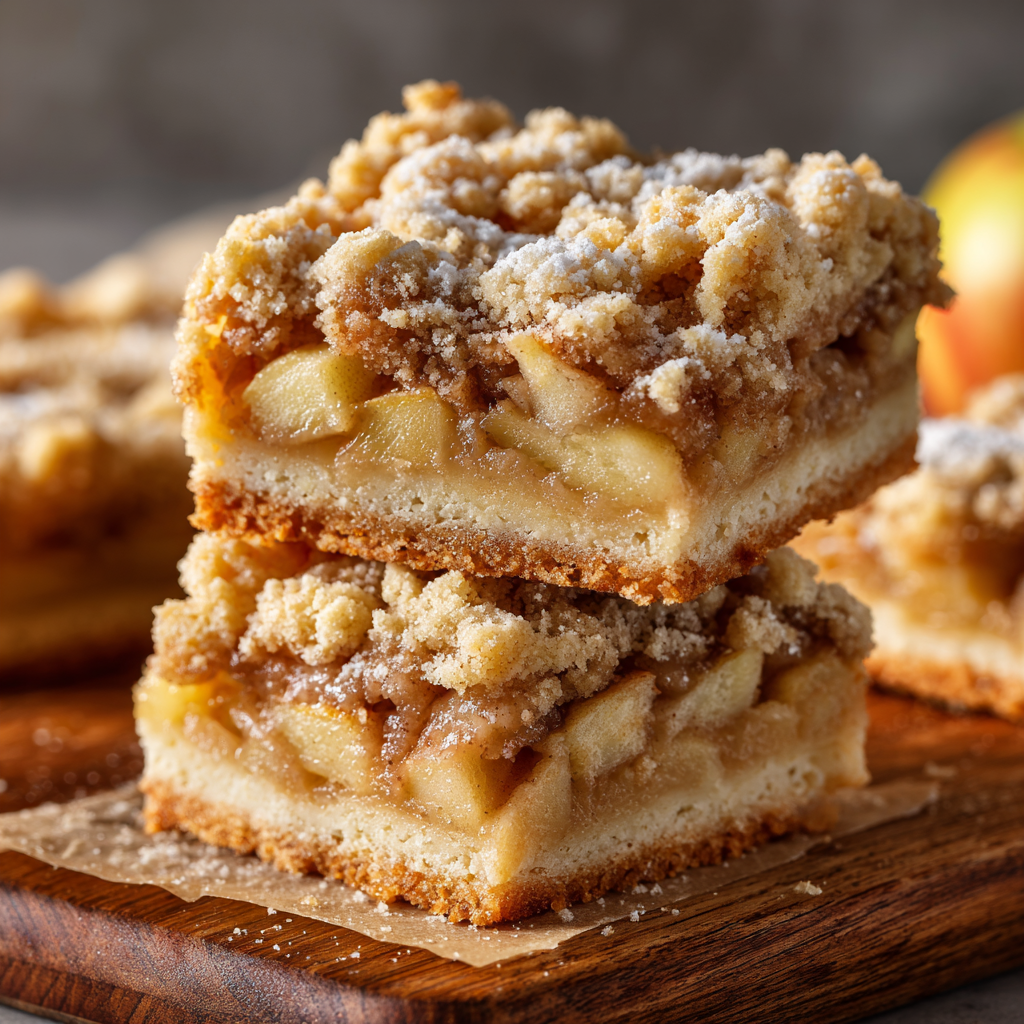
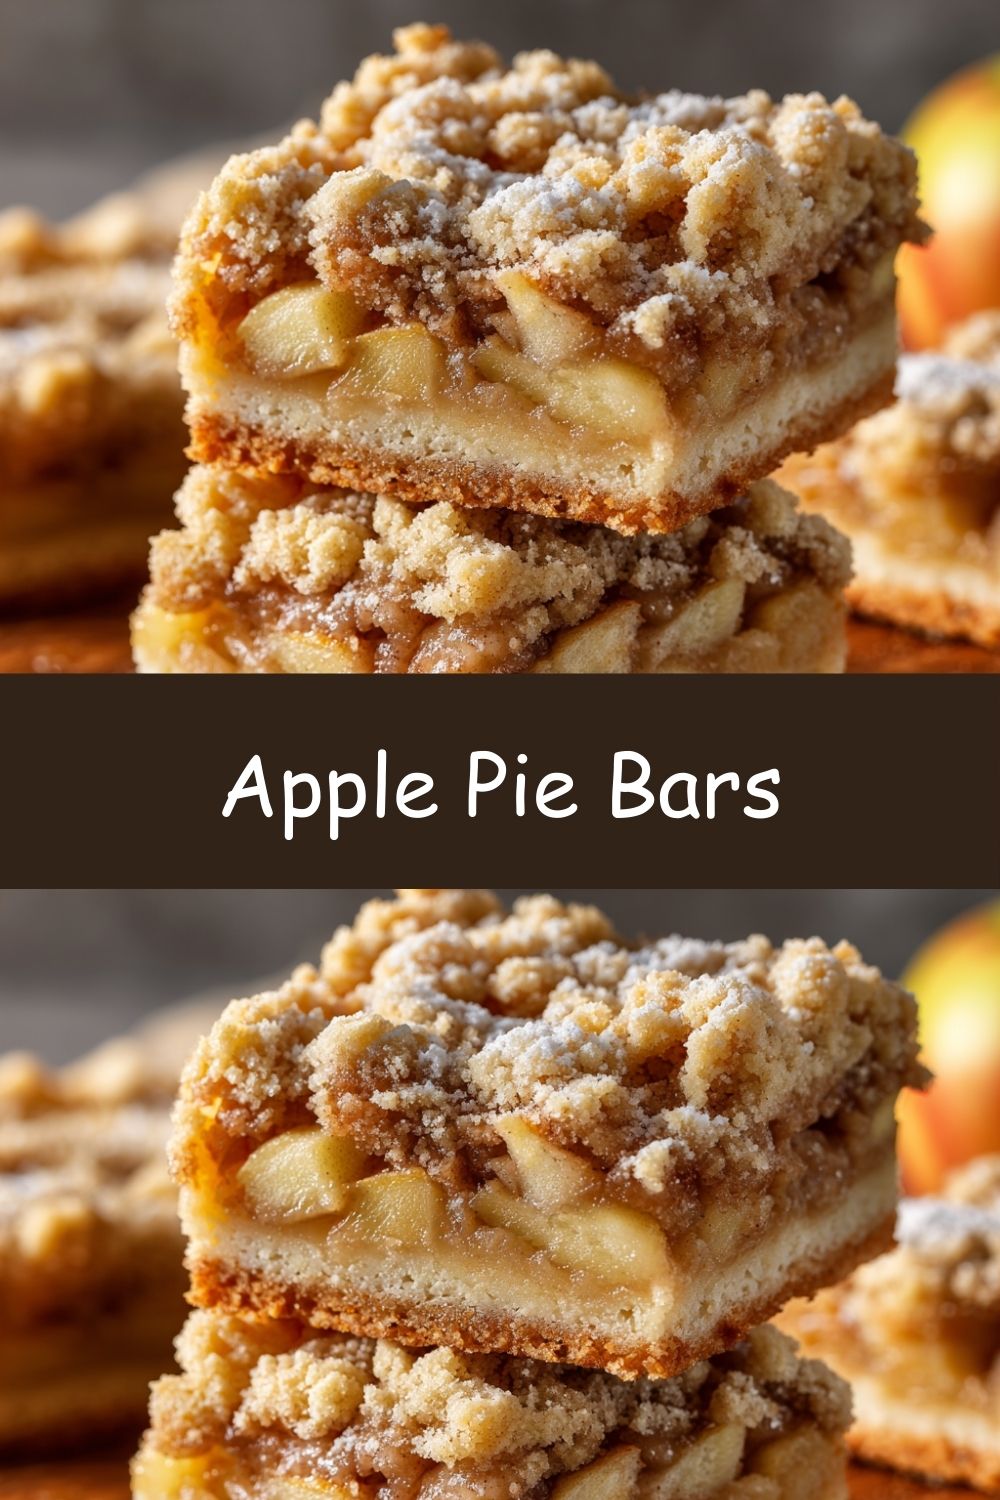
Apple Pie Bars
- Total Time: 1 hr 15 mins
- Yield: 16 bars 1x
Description
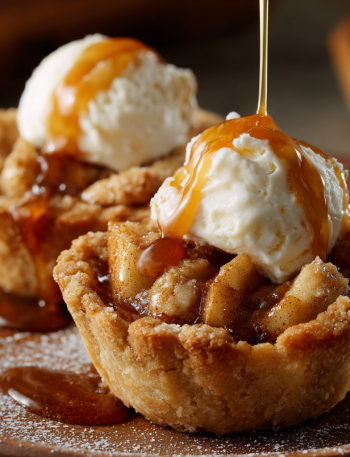
All the cozy flavors of classic apple pie—reimagined into buttery, hand-held bars. With a tender shortbread crust, spiced apple filling, and a golden crumb topping, these apple pie bars are perfect for potlucks, dessert tables, or anytime you’re craving something sweet and nostalgic—without the fuss of a full pie.
Ingredients
Crust & Topping:
2 1/2 cups all-purpose flour
3/4 cup powdered sugar
1/2 tsp salt
1 cup (2 sticks) cold unsalted butter, cubed
Apple Filling:
4 medium apples, peeled and diced
1/4 cup granulated sugar
1/4 cup brown sugar
1 tbsp lemon juice
1 tsp ground cinnamon
1 tbsp cornstarch
Optional: powdered sugar glaze (1/2 cup powdered sugar + 1–2 tsp milk)
Instructions
Preheat oven to 350°F (175°C). Line a 9×13 inch baking pan with parchment paper.
In a bowl, mix flour, powdered sugar, and salt. Cut in butter until crumbly. Reserve 1 cup of mixture for topping.
Press remaining crust mixture into prepared pan. Bake 15 minutes.
Meanwhile, mix apples with sugars, lemon juice, cinnamon, and cornstarch.
Spread apple filling over baked crust. Crumble reserved crust mixture over the top.
Bake another 35–40 minutes until golden and bubbly.
Cool completely before slicing into bars. Drizzle with glaze if desired.
- Prep Time: 20 mins
- Cook Time: 55 mins
- Category: Dessert
Nutrition
- Calories: 220
- Sugar: 15g
- Fat: 10g
- Carbohydrates: 30g
- Fiber: 2g
- Protein: 2g
A Pan of Bars and a Pocketful of Memories
This recipe always takes me right back to my grandma’s kitchen, a place that smelled permanently of yeast, sugar, and unconditional love. She was a pie queen, her lattice tops so perfect they could have been featured in a magazine. But for me, her little kitchen helper with more enthusiasm than skill, the pie process was intimidating. I’d watch, wide-eyed, as she transformed a mountain of flour and butter into a delicate dough, terrified I’d breathe too hard and ruin it.
One blustery October afternoon, I was desperate to help make dessert. Seeing my nervous eyes, she simply smiled, pulled out a familiar rectangular baking pan, and said, “Today, we’re not making pie. We’re making magic squares.” It was this recipe. There was no rolling, no delicate crimping. Just pressing, sprinkling, and crumbling. It was forgiving, messy, and absolutely foolproof. As we waited for them to bake, she told me stories, and I licked the sweet, spiced apple juice from the mixing bowl. That day, she didn’t just teach me a recipe; she taught me that the heart of baking isn’t perfection—it’s the joy you fold into every step. These bars are pure, uncomplicated joy.
Gathering Your Apple Bar Bliss
Part of the beauty of this recipe is its simplicity. You likely have most of this already in your pantry! Here’s what you’ll need to create your masterpiece:
For the Crust & Topping (It’s the same mixture—genius, right?):
- 2 ½ cups all-purpose flour: The foundation of our shortbread-like crust. It gives that perfect tender-yet-sturdy crumb that holds the juicy filling. For a whole-grain twist, you can swap out ½ cup for whole wheat flour, but the texture will be a bit more dense and nutty.
- ¾ cup powdered sugar: Unlike granulated sugar, powdered sugar contains a bit of cornstarch, which makes the crust incredibly tender and melt-in-your-mouth. It’s my secret weapon for a shortbread texture!
- ½ tsp salt: Never skip the salt! It’s the flavor enhancer that makes the butter sing and the sweetness pop. It balances everything out perfectly.
- 1 cup (2 sticks) cold unsalted butter, cubed: This is non-negotiable. COLD butter is the key to a flaky, crumbly texture. When the cold butter hits the hot oven, it creates steam, which forms little pockets of air. I pop my cubed butter in the freezer for 10-15 minutes before starting for extra assurance.
For the Spiced Apple Filling:
- 4 medium apples, peeled and diced: This is where you can really play! You want apples that hold their shape when baked. My top picks are Granny Smith (for a tart kick), Honeycrisp (for balanced sweetness), or Braeburn. A mix of tart and sweet is always a win!
- ¼ cup granulated sugar & ¼ cup brown sugar: The dynamic duo of sweetness. The brown sugar brings deep molasses notes and helps create that gorgeous, syrupy sauce. Using all one or the other is fine in a pinch!
- 1 tbsp fresh lemon juice: This brightens up the flavor and prevents the apples from turning brown while you prep. No fresh lemon? A dash of apple cider vinegar works too.
- 1 tsp ground cinnamon: The soul of the spice blend. Feel free to add a pinch of nutmeg, allspice, or cardamom if you’re feeling fancy!
- 1 tbsp cornstarch: This is our thickening agent. It transforms the apple juices into a luscious, glossy glaze instead of a watery puddle. Tapioca starch or flour can work in a 2:1 ratio if you’re out.
For the Optional (But Highly Recommended) Glaze:
- ½ cup powdered sugar
- 1-2 tsp milk (or cream for extra richness)
Let’s Build These Beautiful Bars!
Ready? This process is as therapeutic as it is delicious. Put on some good music, and let’s get baking.
Step 1: Preheat & Prep
Preheat your oven to 350°F (175°C). This is our golden rule—always preheat for even baking! Take a 9×13 inch baking pan and line it with parchment paper, leaving a little overhang on two sides. This is your ultimate life hack for easily lifting the entire slab of bars out of the pan later for pristine, crumb-free slicing. No parchment? Give the pan a quick grease with butter.
Step 2: Create the Magical Crust/Topping Mixture
In a large bowl, whisk together your flour, powdered sugar, and salt. Now, grab your cold, cubed butter. You can use a pastry cutter, two forks, or even your clean fingertips to “cut” the butter into the flour. You’re looking for a mixture that resembles coarse, sandy crumbs with some pea-sized bits of butter still visible. This is what gives us that fabulous texture! Chef’s Hack: If your hands are warm, you can pulse this mixture in a food processor. Just pulse until it looks crumbly—don’t overdo it!
Step 3: Par-bake the Base
This is the secret step for a crisp bottom crust that won’t get soggy. Set aside 1 firmly packed cup of the crumb mixture for your topping. Dump the rest into your prepared pan and press it down firmly and evenly into one solid layer. I use the flat bottom of a measuring cup to really pack it in. Pop it in the preheated oven for 15 minutes. It won’t be fully cooked, just set and very lightly golden at the edges.
Step 4: MacGyver the Apple Filling
While the crust is baking, toss your diced apples in a large bowl with the granulated sugar, brown sugar, lemon juice, cinnamon, and cornstarch. Mix it until every apple piece is coated in that spicy, sugary goodness. The cornstarch might look cloudy at first, but it will dissolve and work its magic in the oven.
Step 5: Assemble the Masterpiece
Once the crust is out of the oven, spread the apple filling evenly over the hot crust. No need to wait for it to cool! Then, take your reserved cup of crumb mixture and sprinkle it evenly over the apples. Don’t press it down—let those crumbs stay loose and craggy for the perfect crunchy topping.
Step 6: Bake to Golden Perfection
Slide the pan back into the oven and bake for 35-40 minutes. You’ll know it’s done when the topping is a beautiful golden brown and the filling is bubbling enthusiastically around the edges. Your kitchen will smell like heaven. Trust me.
Step 7: The Test of Patience (The Hardest Part!)
I know, I know. You want to dive in immediately. But resist! You must let these cool completely—like, totally and utterly—in the pan on a wire rack. This is non-negotiable for clean slices. The filling needs time to set up. I often make these in the morning for an evening event, or even the day before. It’s the perfect make-ahead dessert.
Step 8: Slice, Drizzle, and Devour
Once completely cool, use the parchment paper “handles” to lift the entire block out of the pan onto a cutting board. Slice into 16 squares (or 12 if you’re feeling generous!). If you’re glazing, whisk together the powdered sugar and milk until smooth and drizzle it artistically over the top. Then, finally, take a bite. You’ve earned it.
How to Serve Up These Sweet Squares
These bars are stars all on their own, but a little flair never hurt! For the ultimate cozy experience, serve one slightly warmed in the microwave for 10 seconds alongside a scoop of vanilla bean ice cream. The contrast of warm spiced apples and cold, creamy ice cream is a religious experience. For a fancy brunch, plate one with a dollop of lightly sweetened whipped cream and a sprinkle of cinnamon. Or, just stack them high on a rustic wooden board at your next gathering and watch them disappear.
Mix It Up! Creative Twists on the Classic
Once you’ve mastered the base, the flavor world is your oyster! Here are a few of my favorite riffs:
- Pear-Ginger Delight: Swap two apples for two ripe but firm pears and add 1 tablespoon of finely minced crystallized ginger to the filling.
- Salty-Sweet Sensation: After baking, sprinkle the top with a few flakes of flaky sea salt before the glaze. It’s a game-changer.
- Vegan & Wonderful: Use a high-quality plant-based butter stick (I love Miyoko’s or Country Crock Plant Butter) and a splash of oat milk in the glaze.
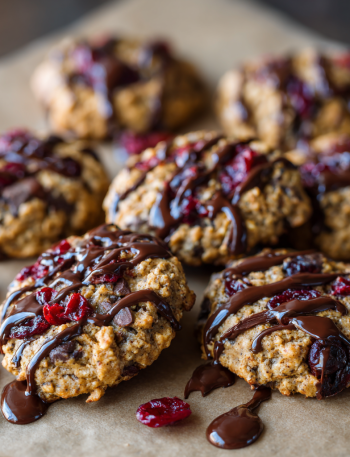
- Berry Apple Crunch: Add ½ cup of fresh or frozen cranberries to the apple mixture for a gorgeous tart pop of color and flavor.
- Oaty Crumble Top: Add ½ cup of old-fashioned oats to the reserved crumb topping for extra texture and a wholesome vibe.
Clara’s Kitchen Confidential
This recipe has been my trusty sidekick for years, and it’s evolved in the most delicious ways. I once, in a pre-coffee haze, accidentally used garlic powder instead of cinnamon (NIGHTMARE FUEL). We don’t talk about that. But it taught me to always smell my spices before adding them! I’ve also learned that the type of apple truly changes the game. My perfect balance is two tart Granny Smiths and two sweet Honeycrisps.
The biggest lesson, though? The “imperfect” batches are often the best. The time I was on the phone and pressed the crust too thinly? It became extra crispy and almost cookie-like—and everyone begged for the recipe. Baking is an adventure, not a exam. So have fun with it, get a little messy, and make it your own.
Your Apple Bar Questions, Answered!
Q: My filling is super runny after baking. What happened?
A: This usually means the bars didn’t cool completely. The cornstarch needs time to set up as it cools. Also, ensure you’re using the full tablespoon of cornstarch and that your apples aren’t overly watery varieties like Red Delicious. Letting them cool in the fridge can help firm everything up if you’re in a time crunch.
Q: Can I make these gluten-free?
A: Absolutely! A 1:1 gluten-free all-purpose flour blend works beautifully in this recipe for both the crust and filling. I’ve had great success with Bob’s Red Mill and Cup4Cup blends.
Q: Why is my crust mixture so dry and sandy? It won’t press together.
A: This means the butter might have been too cold or incorporated too finely. It’s okay! The natural moisture from the butter will hydrate the flour as it bakes. Just do your best to press it firmly. If it’s truly not holding, you can add a single teaspoon of ice water at a time until it just starts to clump.
Q: How far in advance can I make these?
A: They are the perfect make-ahead dessert! They will keep beautifully in an airtight container at room temperature for 2 days, or in the fridge for up to 5 days. You can also freeze the baked and cooled bars (without glaze) for up to 3 months. Thaw at room temperature and glaze before serving.
Nourishment Note (Because Balance!)
While these are definitely a treat, they’re made with real, whole ingredients. The apples provide fiber and vitamin C, and we’re controlling the sugar ourselves. Remember, nourishing your soul with something made with love is just as important as nourishing your body! Enjoy every mindful bite.
Nutrition (per bar, without glaze): Calories: ~220 | Carbs: 30g | Fat: 10g | Sugar: 15g | Fiber: 2g | Protein: 2g