Black Forest Cheesecake Bars with Cherry Topping and Chocolate Crust
When a Classic Cake Meets a Cheesecake Dream
Hey there, my adventurous bakers! Clara here, welcoming you back to my kitchen. Today, we’re diving fork-first into a dessert that’s so decadent, so joyfully indulgent, it feels like a hug for your soul. We’re taking everything we adore about the timeless elegance of a Black Forest cake—the deep chocolate, the boozy-sweet cherries, the cloud-like cream—and giving it a fabulous, modern makeover. Get ready for my Black Forest Cheesecake Bars.
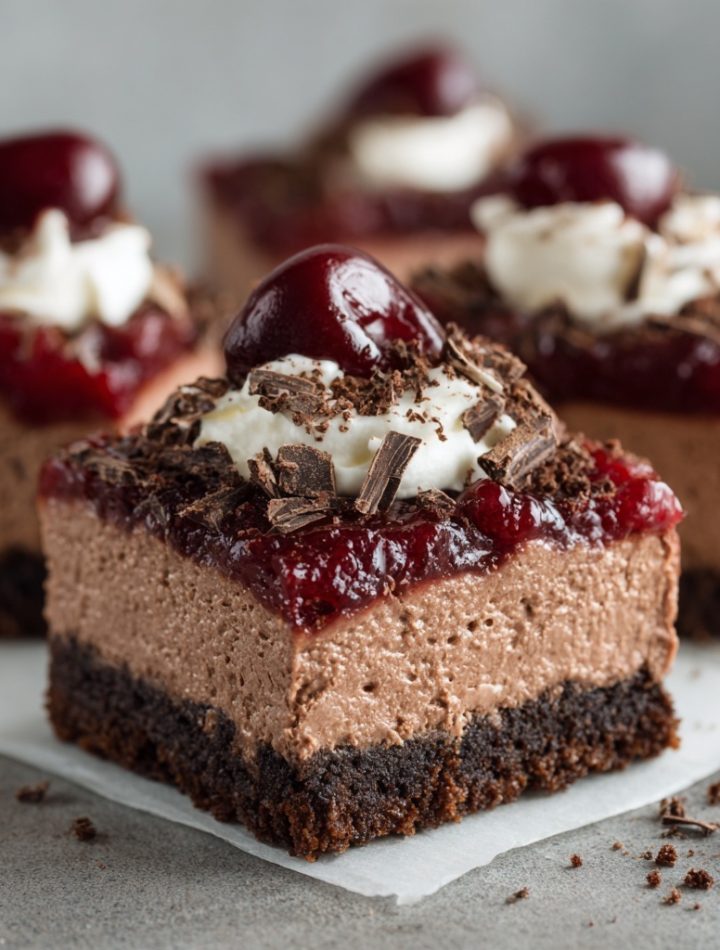
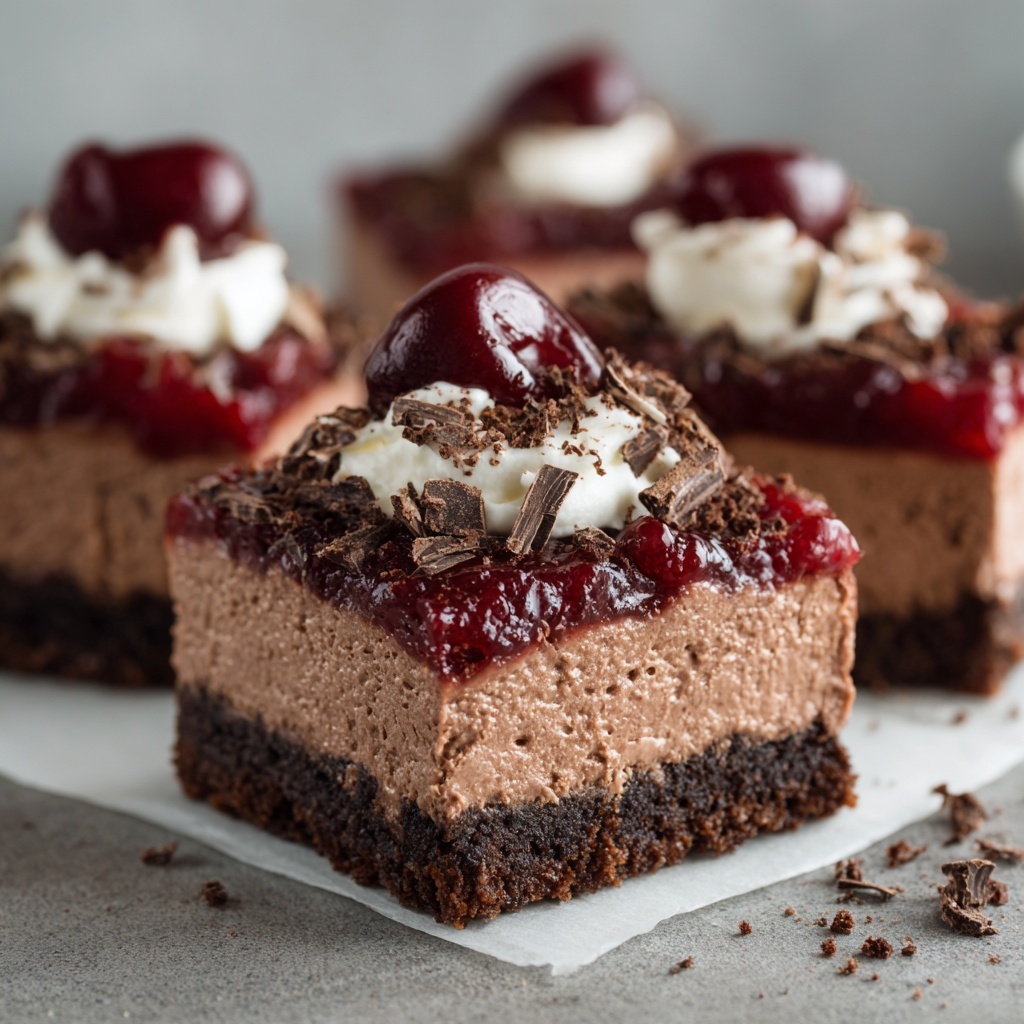
Imagine this: a buttery, crumbly base made from chocolate biscuits that gives you that satisfying *crunch*. On top of that, a layer of the creamiest, richest chocolate cheesecake you’ve ever tasted, so smooth it practically melts on your tongue. And to crown it all? A glossy, vibrant cherry topping that provides the perfect pop of fruity brightness in every single bite. It’s the ultimate dessert for when you want to impress without the stress. No fussy springform pans, no water baths—just straightforward, soul-satisfying baking that will make your eyes light up. Let’s create some magic together!
A Slice of Sweet Nostalgia
This recipe always takes me back to my Oma’s (that’s German for grandma) cozy kitchen. She wasn’t a professional baker, but she had this magical way with a classic Black Forest cake. I’d sit at her table, watching her layer chocolate sponges, whip fresh cream, and artfully arrange those glossy cherries. The air would be thick with the scent of cocoa and kirsch, a memory so vivid I can almost taste it now.
When I started my blog, I wanted to capture that feeling—the warmth, the celebration, the pure joy of that dessert—but in a way that fit my busy, modern life. I was craving that iconic flavor combo one afternoon but didn’t have the hours to dedicate to a layer cake. So, I did what any curious cook would do: I smashed my Oma’s flavor inspiration together with my love for a good, solid cheesecake bar. The result was an instant hit with my friends and family. It’s my little tribute to her—a recipe that honors tradition while confidently doing its own, delicious thing. Every time I make these, I feel that beautiful thread connecting her kitchen to mine.
Print
Black Forest Cheesecake Bars : A Decadent Twist on a Classic Dessert
- Total Time: 1 hour 5 minutes
- Yield: 12 bars 1x
Description
Take the elegance of Black Forest cake and blend it with the richness of cheesecake — the result? These irresistible Black Forest Cheesecake Bars. With a chocolate biscuit crust, creamy cocoa-infused filling, and sweet cherry topping, every bite hits the perfect balance of indulgent and refreshing. Whether it’s a holiday table or a weeknight treat, this dessert never fails to impress. Bake it once, and it’s bound to become a go-to.
Ingredients
1 and 1/2 cups crushed chocolate biscuits
1/4 cup melted butter
3 packages (8 oz each) cream cheese, softened
1 cup sugar
3 large eggs
1 teaspoon vanilla extract
1/2 cup heavy cream
1/2 cup cocoa powder
1 cup cherry pie filling
1/2 cup shaved chocolate, for garnish
Instructions
Preheat oven to 325°F (160°C).
In a bowl, mix crushed chocolate biscuits with melted butter. Press into a lined 9×13-inch baking dish to form the crust.
In a separate bowl, beat softened cream cheese and sugar until smooth.
Add eggs one at a time, mixing after each addition.
Stir in vanilla extract, heavy cream, and cocoa powder until fully blended.
Pour the chocolate cheesecake mixture over the crust and spread evenly.
Bake for 40–45 minutes, or until the center is just set.
Cool completely, then refrigerate for at least 4 hours (or overnight).
Once chilled, top with cherry pie filling and garnish with shaved chocolate.
Slice into bars and serve cold.
- Prep Time: 20 mins
- Cook Time: 45 minutes
- Category: Dessert
Nutrition
- Calories: 328
- Fat: 24g
- Saturated Fat: 14g
- Carbohydrates: 22g
Gathering Your Glorious Ingredients
One of the things I love most about this recipe is how the simple, whole ingredients come together to create something truly spectacular. Here’s your shopping list, complete with my favorite chef insights and easy swaps to make this recipe your own.
- 1 and 1/2 cups crushed chocolate biscuits: I’m a devoted fan of Oreo baking crumbs (filling included for extra richness!), but any chocolate wafer or digestive biscuit works beautifully. This is your foundation—that deep, dark, crunchy start to every bite.
- 1/4 cup melted butter: This is the glue that holds our glorious crust together. Using unsalted butter lets you control the salt level, but salted will work in a pinch and add a nice salty-sweet contrast.
- 3 packages (8 oz each) cream cheese, softened: This is non-negotiable, friends! Full-fat, brick-style cream cheese, truly softened to room temperature, is the secret to a luxuriously smooth, lump-free filling. I take mine out about 2 hours before I start baking.
- 1 cup granulated sugar: This sweetens our creamy canvas. For a deeper flavor, you could swap half for light brown sugar.
- 3 large eggs, at room temperature: Room temp eggs incorporate much more smoothly into the cream cheese, preventing you from overmixing. Just pop them in a bowl of warm water for 5-10 minutes if you forgot to take them out!
- 1 teaspoon pure vanilla extract: The warm, floral notes of vanilla are the perfect bridge between the chocolate and the cherry. Don’t skip it!
- 1/2 cup heavy cream: This is our magic wand for an ultra-creamy, velvety texture. It lightens the filling just enough while adding incredible richness.
- 1/2 cup unsweetened cocoa powder: Use the best quality you have! A good Dutch-processed cocoa will give you a darker, smoother chocolate flavor, but natural cocoa powder works perfectly too.
- 1 cup cherry pie filling: This is our shortcut to that iconic Black Forest topping. Look for a brand with plump, whole cherries for the prettiest presentation.
- 1/2 cup shaved chocolate, for garnish: I use a dark chocolate bar and a vegetable peeler for beautiful, delicate curls. It adds a final touch of elegance and a little extra chocolatey punch.
Let’s Build These Beautiful Bars: A Step-by-Step Guide
Ready to create? Follow these steps, and you’ll be a Black Forest Cheesecake Bar hero in no time. I’ve packed this section with all my favorite kitchen hacks to ensure your success.
Step 1: Preheat and Prep
First things first, get that oven humming at 325°F (160°C). This lower temperature is key for a cheesecake that bakes evenly without cracking or browning too much. While it’s warming up, line a 9×13-inch baking dish with parchment paper, letting the edges hang over the sides. This is your ultimate hack for effortlessly lifting the entire slab of cheesecake out for clean, gorgeous slicing later. You’ll thank me for this!
Step 2: Create the Chocolate Crust
If you’re starting with whole biscuits, toss them into a food processor and pulse until you have fine, even crumbs. No processor? No problem! Seal them in a sturdy zip-top bag and roll a rolling pin over them until they’re crushed. Transfer the crumbs to a bowl and pour in the melted butter. Mix it with a fork until every last crumb is moist and looks like dark, wet sand. Dump this mixture into your prepared pan and press it down firmly and evenly into the bottom. I like to use the flat bottom of a measuring cup to really compact it—this gives us a solid base that won’t fall apart when we slice our bars.
Step 3: Whip Up the Dreamy Filling
Now for the main event! In a large bowl, beat the softened cream cheese and sugar together with an electric mixer on medium speed. Stop and scrape down the sides and bottom of the bowl with a spatula. We’re going for perfectly smooth and silky, with zero lumps. This is the most important step for texture, so don’t rush it! Now, with the mixer on low, add the eggs one at a time, fully incorporating each one before adding the next. This prevents overbeating, which can incorporate too much air and cause the cheesecake to puff and fall. Finally, mix in the vanilla extract, heavy cream, and cocoa powder.
Chef’s Hack: To avoid a cocoa powder dust cloud, sift the cocoa directly into the bowl. Mix on low just until everything is a uniform, luscious, dark brown and beautifully blended. Overmixing at this stage is the enemy of a dense, creamy texture!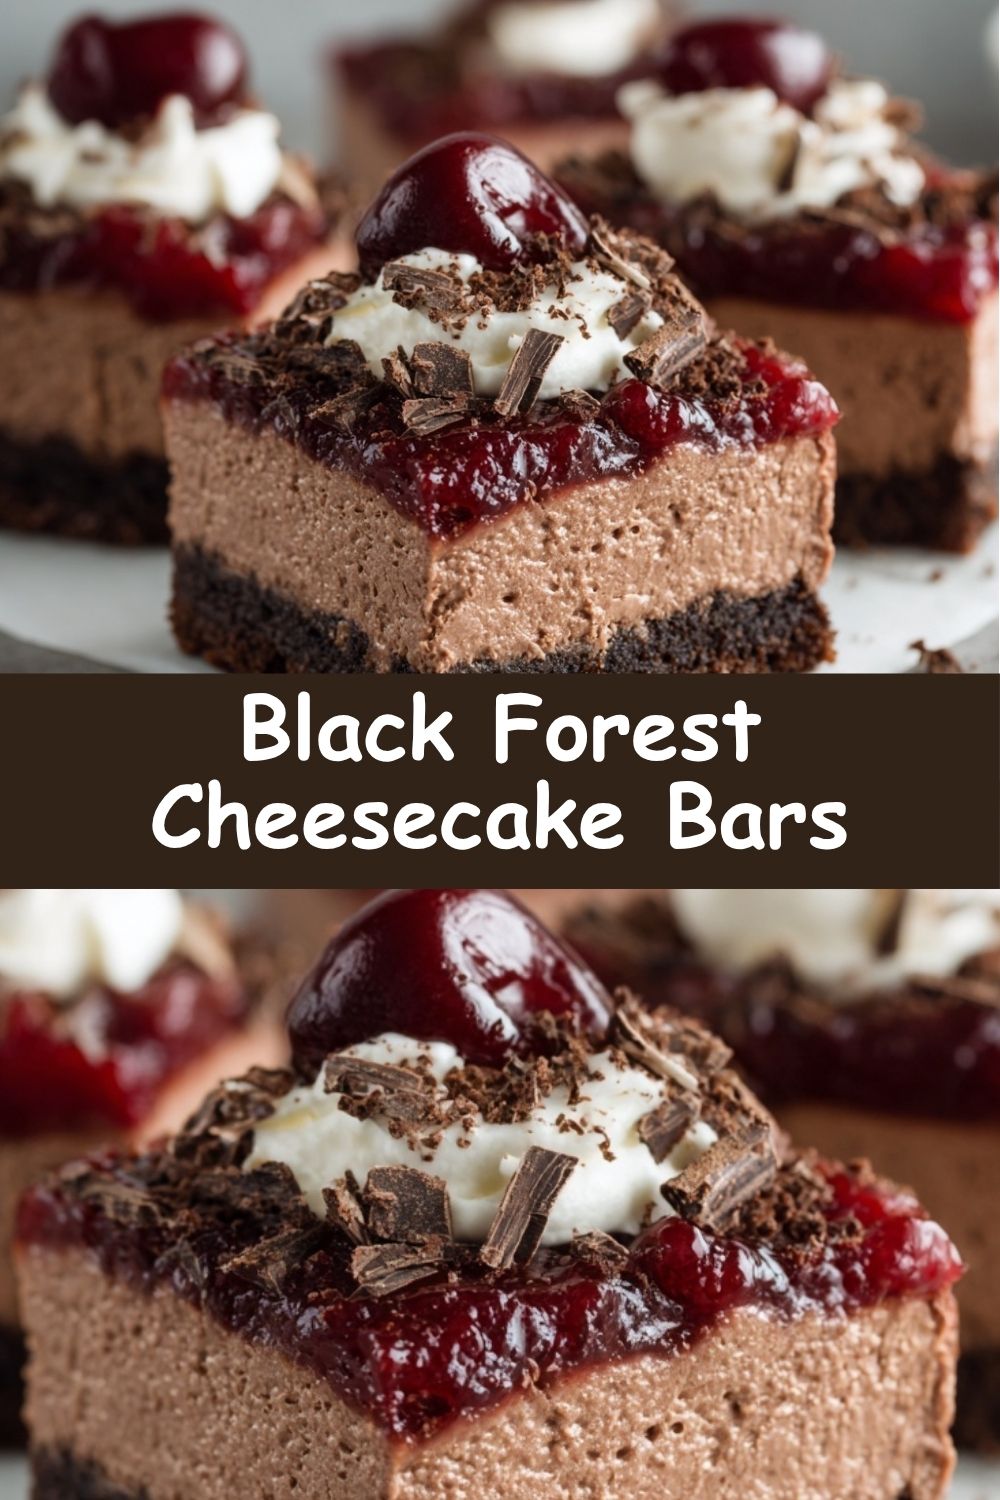
Step 4: Assemble and Bake to Perfection
Pour your gorgeous chocolate cheesecake filling over the prepared crust. Use a spatula to gently spread it into an even layer, making sure it reaches all the corners. Give the pan a gentle tap on the counter to release any sneaky air bubbles. Slide it into the center of your preheated oven and bake for 40-45 minutes. You’re looking for the edges to be set, while the center still has a slight, gentle jiggle—like Jell-O—when you lightly shake the pan. It will firm up dramatically as it cools. This is the secret to a creamy, not dry, cheesecake.
Step 5: The All-Important Chill Session
Once baked, transfer the pan to a wire rack and let it cool completely to room temperature. This gradual cooling helps prevent cracks. Then, and this is crucial, cover the pan and refrigerate it for at least 4 hours, but ideally overnight. I know, the wait is the hardest part! But this patience is rewarded with a perfectly set, sliceable texture and flavors that have melded into pure bliss.
Step 6: The Grand Finale: Topping and Slicing
The moment we’ve all been waiting for! Pull your chilled cheesecake slab from the fridge. Using the parchment paper “handles,” carefully lift the entire block out of the pan and onto a cutting board. Now, artfully spoon and spread the cherry pie filling over the top. Finish with a generous shower of shaved dark chocolate. For the cleanest slices, I run a large, sharp knife under hot water, wipe it dry, and then make my cuts. Re-wipe and re-heat the knife between each slice for picture-perfect bars.
How to Serve Your Masterpiece
Presentation is part of the fun! I love serving these bars on a simple white platter to let that dark chocolate and ruby-red cherry topping really pop. For a truly restaurant-worthy touch, add a tiny dollop of freshly whipped cream on the side of each bar and maybe a single, fresh mint leaf. They are divine all on their own, but a cup of strong black coffee or a glass of cold milk is the perfect partner to cut through the richness. These bars are rich, so a smaller portion is often just right, leaving everyone feeling happily satisfied.
Get Creative! Flavor Twists & Swaps
One of the best things about a great recipe is making it your own. Here are a few ways to play with your food:
- Boozy & Brilliant: Add a tablespoon of kirsch (cherry liqueur) or Chambord (black raspberry liqueur) to the cherry pie filling for an authentic, grown-up kick.
- Nutty Crunch: Add 1/4 cup of finely chopped toasted almonds or hazelnuts to your biscuit crust for an extra layer of flavor and texture.
- Fresh Cherry Upgrade: In the summer, make a quick compote by simmering 2 cups of pitted fresh cherries with 2 tablespoons of sugar and a squeeze of lemon juice until thickened. Let it cool completely before topping.
- Gluten-Free Friendly: Use your favorite certified gluten-free chocolate biscuits for the crust, and you’re all set!
Clara’s Kitchen Confidential
This recipe has been a staple in my kitchen for years, and it’s evolved in fun ways. The first time I made it, I was so impatient that I only chilled it for two hours. Let’s just say we had to eat it with spoons—delicious, but not exactly the elegant bar I was going for! I learned my lesson about the sacred chill time. Another funny story: I once brought these to a potluck, and a friend spent five minutes trying to identify the “secret spice” that made the chocolate so deep and complex. She was shocked when I told her it was just good ol’ cocoa powder! It just goes to show how the combination of simple, quality ingredients can create a flavor that feels truly special and layered.
Your Questions, Answered!
I’ve gotten so many wonderful questions about this recipe over the years. Here are the most common ones to help you bake with confidence.
Q: My cheesecake filling cracked! What did I do wrong?
A: Oh, the heartbreak of a crack! Don’t worry, it still tastes amazing, and we’re covering it with cherries anyway! Cracks usually happen from overmixing (incorporating too much air), overbaking, or cooling too quickly. To prevent it, make sure your ingredients are at room temp, don’t overbeat after adding the eggs, and bake until just set with a wobbly center. Also, resist the urge to open the oven door during the first 30 minutes of baking.
Q: Can I make these bars ahead of time?
A: Absolutely! In fact, I highly recommend it. These bars are the perfect make-ahead dessert. They need that long chill anyway, so baking them the day before you need them is ideal. Just wait to add the cherry topping and chocolate shavings until right before you serve them to keep the topping glossy and the chocolate crisp.
Q: My cream cheese was a little lumpy. How can I avoid this next time?
A> This is the #1 tip for perfect cheesecake: truly softened cream cheese. It should feel cool to the touch but yield easily when pressed. If you’re in a hurry, you can microwave the (unwrapped) blocks on 50% power for 15-second intervals, but room temp is best. If you still get a few small lumps, pressing the filling through a fine-mesh sieve before pouring it over the crust is a foolproof fix!
Q: Can I freeze Black Forest Cheesecake Bars?
A> You sure can! Freeze the entire slab or individual bars (without the cherry topping) on a parchment-lined baking sheet until solid, then wrap tightly in plastic wrap and foil. They’ll keep for up to 2 months. Thaw in the refrigerator overnight and add the topping just before serving.
Nourishment Note
Let’s be real, friends—this is a celebratory dessert, and it’s meant to be enjoyed as such! It’s rich, indulgent, and packed with joy. While I’m all about feeling good from the inside out, I firmly believe that part of a healthy life is savoring the treats that make your taste buds dance. So, slice, serve, and savor every single bite without an ounce of guilt. Happiness is nourishment, too.
Prep Time: 20 minutes | Cook Time: 45 minutes | Chill Time: 4 hours | Total Time: 5 hours 5 minutes | Servings: 12 bars