 Caramel Apple Pie: Your New Go-To Slice of Pure, Unfiltered Joy
Hey there, my fellow flavor adventurer! Clara here, welcoming you back to my kitchen. Is there anything in the world that smells more like a warm, loving hug than an apple pie baking in the oven? That sweet, spiced aroma just seems to wrap itself around your entire house, promising something incredibly delicious is just moments away. But what if I told you we could take that classic, heartwarming feeling and turn it up to a solid eleven? What if we could inject it with a river of rich, gooey, blissfully sweet caramel that makes every single bite a little moment of magic?
That’s exactly what we’re doing today. This isn’t just any apple pie. This is a Caramel Apple Pie, and friends, it is a game-changer. We’re talking tender, cinnamon-kissed apples, a flaky, buttery, shatter-in-your-mouth crust, and a luxurious caramel sauce that weaves through it all, creating a symphony of texture and taste. This pie is the ultimate celebration of cozy season. It’s the show-stopping dessert for your holiday table, the perfect treat to bring to a friend who needs cheering up, or the just-because-you-deserve-it masterpiece for a Tuesday night. So, tie on your favorite apron, put on some good music, and let’s create something truly unforgettable together. This is one of those recipes that’s about to become a legend in your kitchen, I promise.
The Pie That Started It All: A Sticky, Sweet Memory
This recipe takes me right back to my grandma’s kitchen, with its checkered curtains and the ever-present scent of sugar and spice. She was a pie wizard, her hands moving with a confident grace I could only dream of as a kid. One fall, I decided I was going to surprise her by baking my very first pie all by myself. I followed her basic apple pie recipe to the letter, but my nine-year-old self decided it needed a little… extra something. That something was a whole sleeve of caramel candies I had secretly unwrapped and hidden in the middle of the apple filling.
The result was, predictably, a volcanic eruption of molten caramel all over the bottom of her oven. Smoke billowed, alarms blared, and my masterpiece was a sticky, blackened mess. I was devastated, but Grandma? She just laughed that big, booming laugh of hers, gave me a hug, and said, “Clara, my dear, your heart is in the right place. The execution just needs a little work. Now, let’s clean this up and I’ll show you the *right* way to get caramel in a pie.” She taught me that day that the best recipes often come from a happy accident and a desire to make something even more wonderful. This Caramel Apple Pie is that lesson, perfected. It’s all the gooey, decadent goodness without setting off any smoke alarms.
Print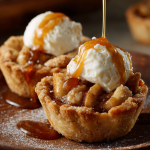
Caramel Apple Pie
- Total Time: 40 mins
- Yield: 24–28 cookies 1x
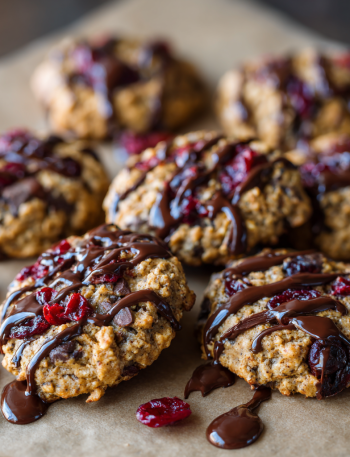
Description
These bite-sized beauties are the best parts of apple pie—flaky crust, warm spiced apples, and gooey caramel—all wrapped up in cookie form. Sweet, cinnamon-kissed, and totally portable, they’re perfect for fall gatherings or holiday cookie trays.
Ingredients
2 packages refrigerated pie crusts (4 crusts total)
10 oz caramel topping
20 oz apple pie filling (chopped finely)
2 eggs, beaten
2 tsp cinnamon
1/2 tsp nutmeg
1/2 cup sugar
Instructions
Preheat oven to 350°F (175°C). Line baking sheets with parchment.
Prepare filling: Chop apple pie filling into small pieces for easy spreading.
Roll out crusts: Lay out two crusts. Spread caramel topping evenly over each, then add a thin layer of apple pie filling.
Top and seal: Place the remaining crusts on top. Press gently. Use a pizza cutter or knife to slice into rounds or squares.
Cut and crimp: Use a cookie cutter to shape cookies. Seal edges with a fork. Place on baking sheet.
Egg wash & sugar: Whisk egg and brush tops of cookies. Mix sugar, cinnamon, and nutmeg; sprinkle generously on top.
Bake: 18–22 minutes or until golden brown. Let cool slightly before serving.
- Prep Time: 20 mins
- Cook Time: 20 mins
- Category: Dessert
Nutrition
- Calories: 180
- Sugar: 14g
- Fat: 7g
- Carbohydrates: 27g
- Protein: 1g
Gathering Your Cast of Characters
Great food starts with great ingredients. Here’s everything you’ll need to create this caramel-coated dream. Don’t stress about perfection—cooking is an adventure, and substitutions are just part of the journey!
For the Flaky, Buttery Crust:
- 2 1/2 cups all-purpose flour: The sturdy foundation of our crust. For a slightly more tender crust, you can swap out 1/2 cup for pastry flour.
- 1 teaspoon salt: Crucial for balancing all the sweetness and enhancing the flavor of the butter. Don’t skip it!
- 1 tablespoon sugar: A little bit of sugar helps with browning and adds a subtle sweetness to the crust itself.
- 1 cup (2 sticks) cold unsalted butter, cubed: Cold is the keyword here! I pop my cubed butter into the freezer for 10-15 minutes before I start. This is the secret to a flaky crust, as the cold butter creates steam pockets as it bakes. Unsalted lets you control the salt level.
- 6-8 tablespoons ice water: Again, ice cold is non-negotiable. We want to keep that butter firm until it hits the hot oven.
For the Luscious Caramel Apple Filling:
- 6-7 cups sliced apples (about 6-7 medium apples): I love a mix of Granny Smith (for their tartness and structure that holds up to baking) and Honeycrisp (for their incredible sweetness and juiciness). Other great options: Braeburn, Pink Lady, or Jonagold.
- 1/2 cup granulated sugar & 1/4 cup packed brown sugar: The white sugar provides clean sweetness, while the brown sugar brings deep molasses notes and helps create a gorgeous, thick syrup with the apples.
- 2 tablespoons all-purpose flour: Our thickening agent! This soaks up the juices from the apples and caramel to prevent a soupy pie. Cornstarch or tapioca starch (use 1 tbsp) work great as a gluten-free swap.
- 1 teaspoon cinnamon & 1/4 teaspoon nutmeg: The classic, warm spice duo that makes apple pie taste like apple pie. Freshly grated nutmeg is a revelation if you have it!
- 1 tablespoon lemon juice: This brightens the flavor of the apples and prevents them from turning brown while you prep. A little acid is a chef’s best friend.
- 1/2 cup thick caramel sauce, plus more for drizzling: Use a good-quality, thick store-bought sauce (the kind that sits on a spoon) or make your own! The thicker it is, the less it will thin out your filling.
For the Shiny, Sweet Finish (Optional but Recommended):
- 1 egg + 1 tablespoon milk: Whisked together for an egg wash. This gives the crust a beautiful, deep golden brown color and a slight shine.
- Coarse sugar (like turbinado or sanding sugar): Sprinkled on top before baking, it adds a delightful crunch and a sparkly, professional finish.
Let’s Build Some Pie Magic: Step-by-Step
Ready to get your hands a little dusty with flour? Let’s do this. Follow these steps, and you’ll have a pie that’s both gorgeous and delicious.
Step 1: The Perfect Pie Crust
In a large bowl, whisk together your flour, salt, and sugar. Now, grab your ice-cold, cubed butter. Using a pastry cutter, two forks, or even your fingertips, work the butter into the flour mixture. You want to work quickly so the butter stays cold. Stop when the mixture looks like coarse crumbs with some larger, pea-sized pieces of butter still visible—these are your future flakes! Now, drizzle in your ice water, one tablespoon at a time, and gently mix with a fork until the dough just begins to clump together. You might not need all the water! When you can squeeze a handful and it holds its shape, it’s ready. Dump the dough out onto a surface, divide it in two, shape each into a disc, wrap in plastic, and refrigerate for at least 1 hour. This rest period is mandatory—it relaxes the gluten and re-chills the butter.
Step 2: Prepping the Star of the Show
While the dough chills, let’s make the filling. Peel, core, and slice your apples to about 1/4-inch thickness. Consistency is key here so they all cook evenly! Toss them in a large bowl with the lemon juice. In a small bowl, whisk together the granulated sugar, brown sugar, flour, cinnamon, and nutmeg. Sprinkle this mixture over the apples and toss until every slice is evenly coated. Now, gently fold in that glorious 1/2 cup of caramel sauce. Let this mixture sit for about 15-20 minutes; you’ll see some juices start to pull out. This is a good thing!
Step 3: Roll Out and Line
Preheat your oven to 400°F (200°C). Lightly flour your surface and rolling pin. Take one disc of dough from the fridge and roll it out into a circle about 12 inches in diameter (to fit a 9-inch pie dish). Carefully transfer it to your pie dish, gently pressing it into the bottom and sides. Don’t stretch the dough! Let any excess hang over the edge for now. Pro tip: I like to roll my dough onto my rolling pin to transfer it easily to the dish.
Step 4: Fill ‘Er Up!
Give your apple mixture one more good toss and pour the entire contents—apples and all those syrupy juices—into your prepared pie crust. Pile them up high in the center; they will shrink down as they bake.
Step 5: The Grand Topping
Roll out your second disc of dough. You can simply place the whole circle on top, cut a few slits for steam to escape, and crimp the edges together. Or, for a show-stopping look, create a lattice top! (Cut the dough into strips and weave them over the filling). Crimp the edges decoratively to seal everything in. If you’re using it, brush the entire top crust with your egg wash and generously sprinkle with coarse sugar.
Step 6: Bake to Golden Perfection
Place your pie on a baking sheet (to catch any potential caramel drips—trust me on this!). Bake for 45-55 minutes. Around the 25-30 minute mark, check the edges of the crust. If they are browning too quickly, tent them with strips of aluminum foil or a pie crust shield. The pie is done when the crust is a deep, golden brown and the filling is visibly bubbling through the vents. That bubbling is your sign that the thickening agents have done their job!
Step 7: The (Absolute) Hardest Part: Wait.
Remove the pie from the oven and place it on a wire rack. You MUST let it cool for at least 3-4 hours. I know, it’s pure torture. But slicing into a hot pie is the number one reason for a runny filling. Letting it cool completely allows the filling to set properly. Right before serving, warm up a little extra caramel sauce and drizzle it over the top for that final, decadent touch.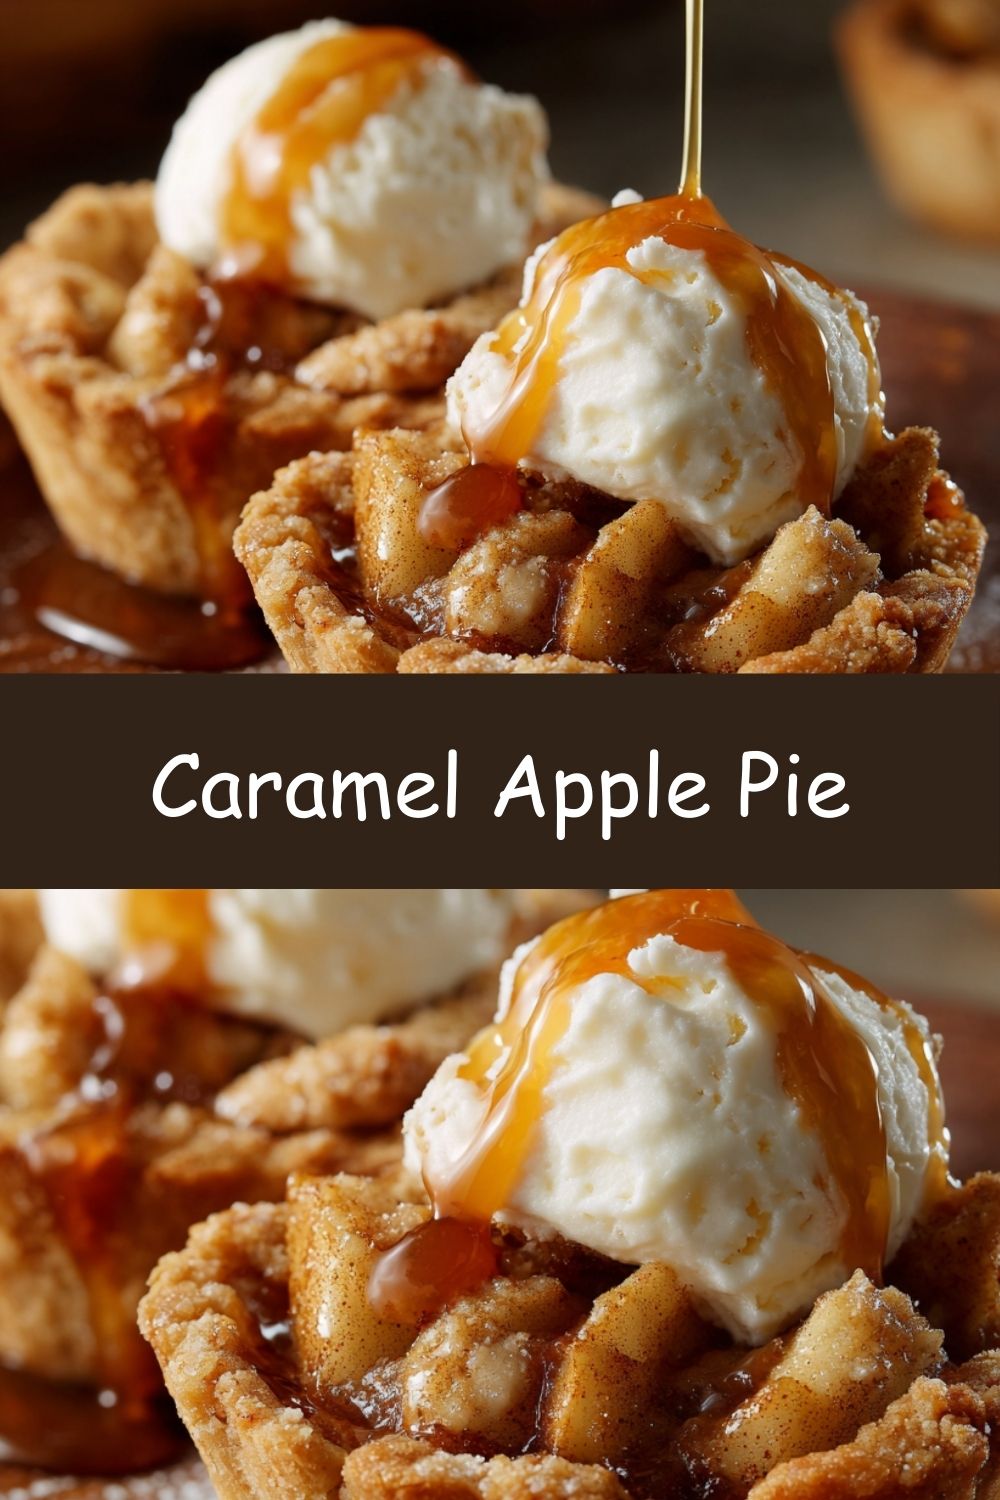
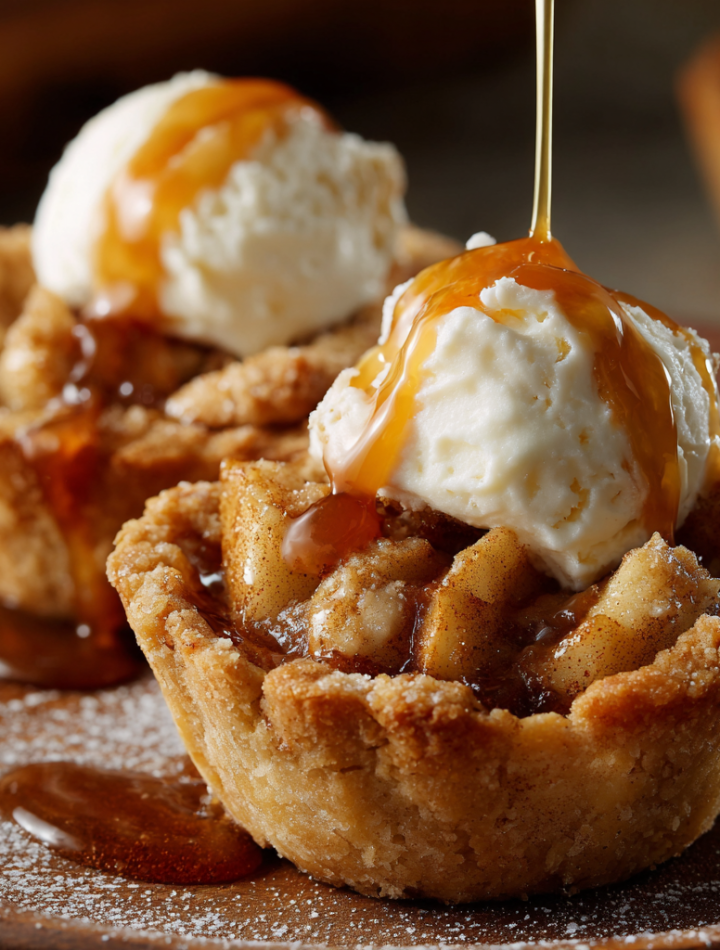
How to Serve Your Masterpiece
This pie is a star all on its own, but a few accompaniments make it truly next-level. Slice it with a sharp, thin-bladed knife for clean cuts. Serve it slightly warm (you can gently reheat slices in the oven for 10 minutes) or at room temperature. The classic pairing is, of course, a scoop of high-quality vanilla ice cream. The hot-cold contrast is divine. For a truly decadent experience, a dollop of freshly whipped cream or even a sharp cheddar cheese slice on the side leans into the classic American tradition. Pour a hot coffee or a cold glass of milk, and you’ve got heaven on a plate.
Make It Your Own: Delicious Twists & Swaps
Feel like playing? Here are a few ways to customize your caramel apple pie adventure:
- Bourbon Caramel Apple Pie: Add 2 tablespoons of bourbon to the caramel sauce before mixing it with the apples. It adds a wonderful, warm depth of flavor.
- Salted Caramel Sensation: Use a salted caramel sauce, or finish your drizzled caramel on top with a light sprinkle of flaky sea salt (like Maldon). The sweet-salty combo is incredible.
- Nutty Crumble Top: Skip the top crust and make a streusel topping! Mix 1/2 cup flour, 1/2 cup brown sugar, 1/2 cup rolled oats, 1/2 cup chopped pecans or walnuts, and 1/4 cup melted butter. Sprinkle over the filling and bake.
- Gluten-Free Galore: Use a 1:1 gluten-free flour blend for both the crust and the thickening agent in the filling. Your pie might be a tad more delicate but just as delicious.
- Pear & Apple Blend: Substitute 2 cups of the apples for firm, sliced Bosc pears for a more complex fruit flavor.
Clara’s Kitchen Confidential
This recipe has been my happy-place project for years. I’ve learned a few things along the way! First, don’t fear a homemade crust. It’s simpler than you think, and the difference in flavor and texture is astronomical. If you’re really in a pinch, a good-quality store-bought crust will work in a pinch, but I encourage you to try the real deal at least once.
Second, the type of apple is everything. I made this once with only Red Delicious apples (it was all I had!) and they turned into absolute mush. A mix of firm and soft apples gives you the best texture. And finally, embrace the mess. Flour will get everywhere. Caramel might drip. Your kitchen will smell like a fall carnival, and you’ll have created something with your own two hands that spreads pure joy. That’s the real secret ingredient.
Your Pie Questions, Answered!
Q: My bottom crust is always soggy! How can I prevent that?
A: This is the most common pie problem! A few tricks: 1) Make sure your bottom crust is cold when you add the filling. 2) Place a baking sheet in the oven while it preheats and bake the pie on that hot sheet—it’ll kickstart the cooking on the bottom. 3) Let the pie cool completely so the filling sets. A runny pie is often just a hot pie!
Q: Can I make this pie ahead of time?
A: Absolutely! You have two great options. 1) Assemble and refrigerate: Assemble the entire pie, cover it tightly, and keep it in the fridge for up to 24 hours before baking. You might need to add 5-10 minutes to the bake time since it will be going in cold. 2) Freeze unbaked: Assemble the pie and freeze it solid (wrap it well in plastic and foil). Bake from frozen, adding about 20-30 minutes to the bake time and tenting the crust for the entire baking period to prevent over-browning.
Q: My filling is overflowing! What did I do wrong?
A: This usually means your pie dish is a tad too small or you overfilled it. Always place your pie on a rimmed baking sheet to catch any drips—it’s a lifesaver for cleanup and prevents a smoky oven. It’s a small step for a huge peace of mind.
Q: The edges of my crust are burning before the middle is cooked.
A: This is why we use foil! If you see the edges getting dark too fast, simply make a “collar” out of aluminum foil and gently crimp it around the pie’s edge. You can also use a dedicated pie crust shield. Remove it for the last 10-15 minutes of baking if the center needs more color.
Nutritional Information*
*This is an estimate for 1 slice (based on 8 slices) calculated using a nutrition calculator. Values can vary based on specific ingredients used.
Per Serving: Calories: ~420 | Carbohydrates: 58g | Protein: 3g | Fat: 19g | Saturated Fat: 12g | Sugar: 31g | Fiber: 3g