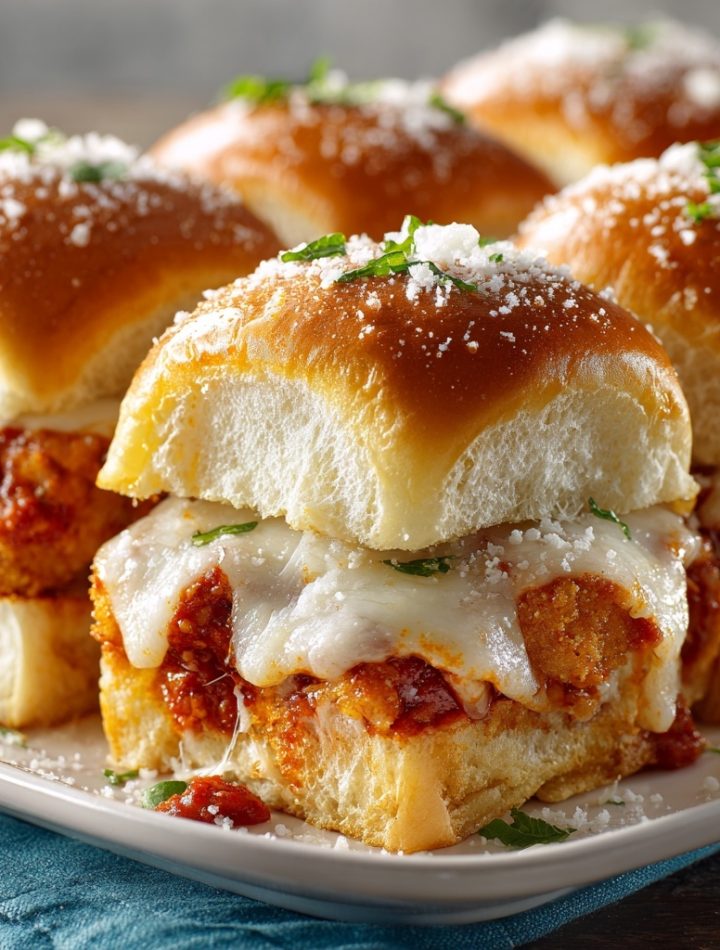

The Lazy Genius Dinner That Feels Like a Hug: Chicken Parmesan Sliders
Hey, my adventurous friend! Let’s talk about one of life’s greatest little joys: that magical moment when you take a simple, humble ingredient and transform it into something that makes everyone at the table do a happy little dance. You know the feeling. It’s the crispy, the cheesy, the saucy, the *utterly irresistible* bite that has you reaching for a second (and maybe a third) before you’ve even finished the first.
Today, we’re making exactly that. We’re whipping up a batch of my all-time favorite, no-fuss, crowd-worshipping Chicken Parmesan Sliders. Now, if you’re picturing a long, messy process of breading and frying chicken cutlets, take a deep, calming breath. We are throwing that rulebook right out the kitchen window. I’m a firm believer that the most brilliant recipes are the ones that give you all the glory with half the effort, and this, my friend, is the absolute pinnacle of delicious, smart cooking.
We’re talking fluffy, slightly sweet Hawaiian rolls, crispy frozen chicken nuggets (yes, you read that right!), tangy marinara, and a blanket of gloriously melted cheese, all finished with a buttery, parmesan-kissed crust. In about 30 minutes, you’ll have a pan of golden, bubbly perfection that’s perfect for a quick family dinner, a game-day spread that’ll make you the MVP, or a potluck dish that will have people begging you for the recipe. So, tie on your apron, and let’s cook up some pure, unadulterated joy.
The Night These Sliders Saved My Sanity
I have to confess, my love for this recipe was born from a place of beautiful, chaotic desperation. Picture it: It was a chilly Friday evening, and I had promised to host a last-minute, low-key gathering for a few friends. The day had gotten away from me, my kitchen was a disaster zone from recipe testing a (failed) gluten-free soufflé, and I had precisely zero energy to create a gourmet spread.
I stood in front of my freezer, feeling the panic start to rise. Staring back at me were a bag of my nephew’s frozen chicken nuggets and a forgotten pack of Hawaiian rolls. In a moment of what I can only describe as culinary inspiration, I grabbed them, along with some leftover marinara and a block of mozzarella. Twenty minutes later, I pulled a sizzling, golden pan out of the oven. The aroma of garlic, toasty bread, and melted cheese filled the air. My friends descended on the kitchen, their eyes wide. The entire pan vanished in under five minutes, accompanied by a symphony of “Oh my gosh, what *is* this?” and “Clara, this is incredible!” That night, I learned a powerful lesson: the best recipes aren’t always about fancy techniques; they’re about sharing good food and great vibes, with zero stress required.
Print
Chicken Parmesan Sliders
- Total Time: 30 minutes
Description
These cheesy, saucy Chicken Parmesan Sliders are the ultimate game day snack or weeknight comfort food. Made with crispy nuggets, melty mozzarella, and pillowy Hawaiian rolls—every bite is a crowd-pleaser.
Ingredients
1 pack Hawaiian rolls (12-count)
12+ cooked chicken nuggets
1 cup pasta sauce
6 slices mozzarella cheese
¼ cup melted butter
2 tbsp grated parmesan
Instructions
Preheat oven: Set to 350°F (175°C).
Assemble sliders: Slice rolls in half horizontally and place the bottom half in a greased baking dish.
Layer it up: Add chicken nuggets, spoon pasta sauce over each, then lay mozzarella slices across the top. Place roll tops back on.
Butter topping: Mix melted butter with parmesan and brush over the tops of the rolls.
Bake: Cover with foil and bake for 15 minutes. Uncover and bake 5 more minutes until golden and melty.
Serve hot: Pull apart and enjoy!
- Prep Time: 10 minutes
- Cook Time: 20 minutes
- Category: Dinner, Main Course
Nutrition
- Calories: 260
- Fat: 13g
- Fiber: 1g
- Protein: 14g
Gather Your Happy-Making Ingredients
Here’s the beautiful part: you only need a handful of simple ingredients to create this masterpiece. This is all about pantry and freezer staples coming together for a standing ovation.
- 1 pack Hawaiian Rolls (12-count): Don’t separate them! We’re keeping the whole sheet intact. Their inherent softness and subtle sweetness are the perfect contrast to the savory filling. Chef’s Insight: If you can’t find Hawaiian rolls, any soft, slider-style dinner rolls will work, but the sweet-savory balance is truly magic here.
- 12+ Frozen Chicken Nuggets, cooked: The star of our shortcut show! Use your favorite brand—crispy, homestyle, or even gluten-free. I like to use a few extra (14-15) so every single bite is packed with chickeny goodness. Cook them according to the package directions until they’re golden and crispy before assembling.
- 1 cup Pasta Sauce: Marinara is the classic choice, but feel free to get adventurous! A roasted garlic or tomato basil sauce works wonderfully. Substitution Tip: If you have a jar of pizza sauce in the fridge, that’s a fantastic swap—it’s a bit thicker, which can help prevent sogginess.
- 6 slices Mozzarella Cheese: The melty, glorious glue that holds our sliders together. Slices are easiest, but if you only have shredded, use about 1 ½ cups. Chef’s Insight: For an extra flavor kick, try using a provolone or a low-moisture mozzarella for a superior, non-greasy melt.
- ¼ cup Melted Butter: This is our golden, glossy topcoat. It’s going to make the tops of the rolls bake up into a beautiful, buttery, crisp crust.
- 2 tbsp Grated Parmesan Cheese: We’re sprinkling this right onto the melted butter. It adds a salty, umami punch that takes these sliders to the next level.
- Optional: A Pinch of Italian Seasoning or Garlic Powder for the butter mixture: This tiny step adds a huge flavor boost. A little garlic powder whisked into the butter is my personal go-to. It’s the secret weapon!
Let’s Build Our Slider Masterpiece: A Step-by-Step Guide
Okay, team! It’s go time. This process is so simple and satisfying. Just follow these steps, and you’ll be a slider hero in no time.
- Preheat and Prep. First things first, get that oven roaring to a cozy 375°F (190°C). This is the perfect temperature to get everything hot, melty, and golden without burning our precious rolls. While it’s heating up, grab a 9×13-inch baking dish and give it a quick spritz with non-stick spray. Little Chef Hack: If you want super-easy cleanup, you can line the dish with parchment paper first, leaving a little overhang on the sides to act as handles for lifting the whole block out later!
- The Great Roll Slice. Take your entire sheet of Hawaiian rolls and, using a long, serrated bread knife, slice them in half horizontally. Imagine you’re slicing a giant burger bun—you want one solid top half and one solid bottom half. Keep all the individual rolls connected! Gently place the bottom half, cut-side-up, into your prepared baking dish.
- Nugget Assembly Line. Now for the fun part! Take your cooked, crispy chicken nuggets and place them evenly over the bottom layer of rolls. I like to do three rows of four nuggets, but don’t stress about perfection. The goal is to have a nugget foundation for every single slider. Little Chef Hack: If your nuggets are on the larger side, feel free to cut a few in half to fill any gaps. We’re maximizing real estate here!
- Sauce It Up! Grab a spoon and your pasta sauce. Dollop and spread the sauce evenly over the nuggets. You want enough to cover them and seep into the rolls a little, but not so much that it creates a soup at the bottom of your pan. Little Chef Hack: To prevent a soggy bottom, you can also spread a very thin layer of sauce directly onto the bottom rolls before adding the nuggets. This creates a flavor barrier and keeps the bread from getting too wet.
- The Cheese Blanket. Lay your slices of mozzarella cheese right on top of the saucy nuggets. This is the cheesy glue that will meld everything together into one glorious, pull-apart creation. If you’re using shredded cheese, just sprinkle it evenly over the top, making sure to cover all the nooks and crannies.
- Top It Off & The Golden Shower. Carefully place the top half of the rolls onto the cheesy mountain. Now, take your melted butter and, using a pastry brush, generously brush it all over the top surfaces of every single roll. Get the sides, too! Once they’re gloriously glossy, sprinkle the grated parmesan and your optional Italian seasoning or garlic powder evenly over the top. This buttery, herby, cheesy crust is what dreams are made of.
- Bake to Perfection. Tightly cover the entire baking dish with aluminum foil. This is crucial! It traps the steam and ensures the sliders heat through and the cheese melts without the tops burning. Pop it in the oven for 15 minutes. Then, carefully remove the foil (steam alert!) and bake for another 5-7 minutes, or until the tops of the rolls are a beautiful, deep golden brown and you can hear the sauce bubbling away inside.
- Slice and Serve! Pull the pan out of the oven (it’s a showstopper, isn’t it?) and let it rest for just 2-3 minutes. This allows the cheese to set slightly, making slicing cleaner. Then, use a sharp knife to slice along the pre-existing roll lines, creating 12 perfect, individual sliders. Serve them immediately while they’re hot, cheesy, and irresistible!
How to Serve These Cheesy Wonders
Presentation is part of the fun! You can serve these sliders right from the baking dish for a casual, family-style vibe—just let everyone dig in. For a prettier spread, use a spatula to transfer them to a large wooden board or platter. I love to garnish the platter with a few fresh basil leaves for a pop of color. These sliders are a complete meal on their own, but if you want to round things out, a simple side salad with a sharp vinaigrette or a bowl of carrot and celery sticks with ranch dressing cuts through the richness perfectly. They’re also the ultimate partner for a big bowl of soup!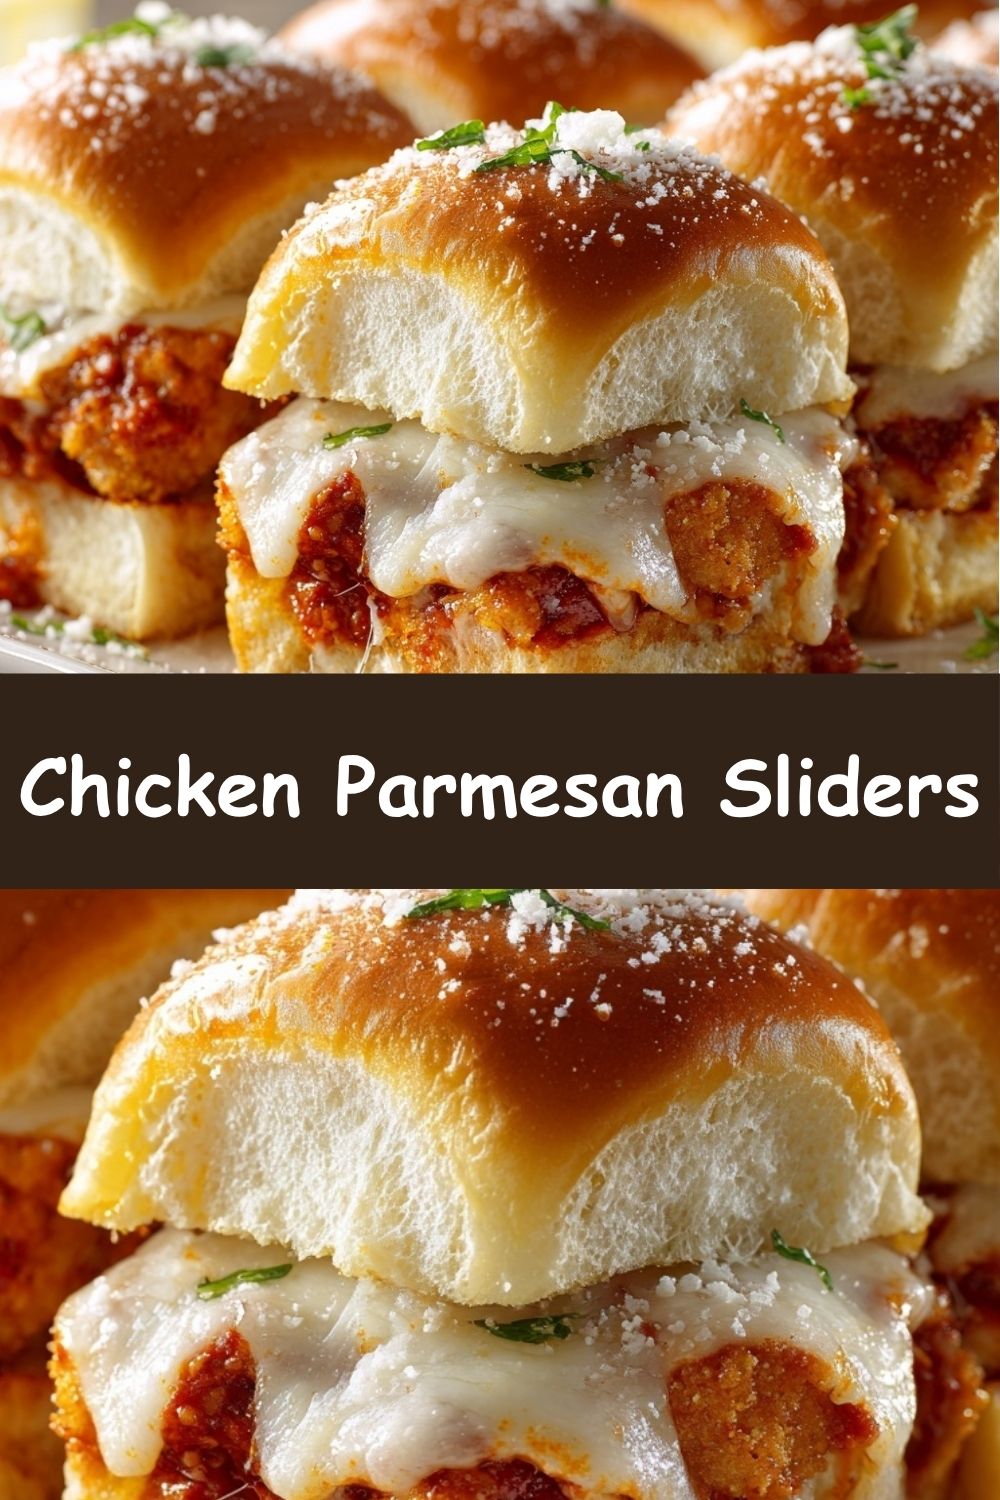
Mix It Up! Creative Twists on the Classic
Once you’ve mastered the base recipe, the world is your slider! Here are a few of my favorite ways to mix things up:
- Pepperoni Pizza Style: Add a layer of pepperoni slices underneath the cheese before baking. A drizzle of hot honey after baking is *chef’s kiss*.
- Buffalo Chicken: Toss the cooked nuggets in ½ cup of buffalo sauce before assembling. Use provolone or cheddar cheese, and mix a little blue cheese crumbles into the butter topping.
- Meatball Sub Sliders: Swap the chicken nuggets for 12-14 fully cooked, frozen meatballs (halved if large) and use a robust marinara sauce.
- Veggie Lover’s Delight: For a vegetarian version, use breaded mozzarella sticks or frozen veggie nuggets. Add some sautéed sliced mushrooms and bell peppers for extra heartiness.
- Everything Bagel Vibe: Stir 1 tablespoon of everything bagel seasoning into the melted butter before brushing it on. It adds an incredible savory, oniony crunch.
Clara’s Kitchen Notes & Funny Stories
This recipe has become such a staple in my life that it’s evolved in the most delightful ways. I once accidentally used cinnamon rolls instead of Hawaiian rolls (don’t ask how I managed that in a pre-coffee state!). It was… an interesting experiment that I don’t necessarily recommend, but it taught me to always double-check my packaging! The beauty of this dish is its flexibility. I’ve made it with gluten-free rolls and nuggets for friends, and it was just as big a hit.
My biggest tip? Don’t skip the step of toasting the bottom half of the rolls for a minute or two in the oven *before* you add the toppings. I started doing this recently, and it creates an incredible barrier against sogginess, giving you a perfectly crisp base every single time. This recipe is a living, breathing thing in my kitchen, and I encourage you to make it your own!
Your Slider Questions, Answered!
I’ve made these sliders more times than I can count, and I’ve answered a lot of questions along the way. Here are the most common ones to help you nail it on your first try.
Q: My sliders turned out a bit soggy on the bottom. How can I prevent that?
A: This is the number one question! Sogginess usually comes from too much sauce or condensation during baking. My top three fixes are: 1) Lightly toast the bottom half of the rolls in the oven for 5 minutes before assembling. 2) Use a slightly thicker sauce (pizza sauce is great for this). 3) Be mindful not to over-sauce—you just need enough to cover the nuggets, not drown them.
Q: Can I make these ahead of time?
A: Absolutely! You can assemble the entire pan, cover it tightly with foil, and refrigerate it for up to 24 hours before you need to bake it. When you’re ready, you may need to add 5-10 minutes to the baking time since you’re starting with a cold dish straight from the fridge.
Q: Can I use something other than chicken nuggets?
A> Of course! This recipe is a fantastic template. Leftover shredded rotisserie chicken, breaded chicken tenders (chopped up), or even sliced grilled chicken breast would all work beautifully. Just make sure whatever you use is already cooked before assembling.
Q: The top of my rolls got a little dark. What happened?
A> Ovens can vary wildly! If your tops are browning too quickly, make sure the foil is tented tightly over the pan during the first half of baking so it’s not touching the rolls. You can also try baking at 350°F instead of 375°F, though it may take a few minutes longer.
Nutritional Information*
*Please note: This is an estimate and will vary significantly based on the specific brands of ingredients you use.
Per Serving (2 sliders): Calories: ~460 | Protein: ~22g | Fat: ~23g | Carbohydrates: ~40g | Sugar: ~9g | Sodium: ~820mg | Cholesterol: ~60mg