
Chicken Parmesan Sliders: Your New Go-To for Easy, Cheesy Joy
Hey friends! Clara here. Let’s be real: sometimes you need a meal that feels like a warm, cheesy hug. A meal that makes everyone gathered around the table go completely silent, except for the happy little “mmm” sounds and the frantic reaching for seconds. You want the cozy, soul-satisfying comfort of a classic Chicken Parmesan, but maybe without the fuss of breading and frying individual cutlets and the whole production number that can sometimes be.
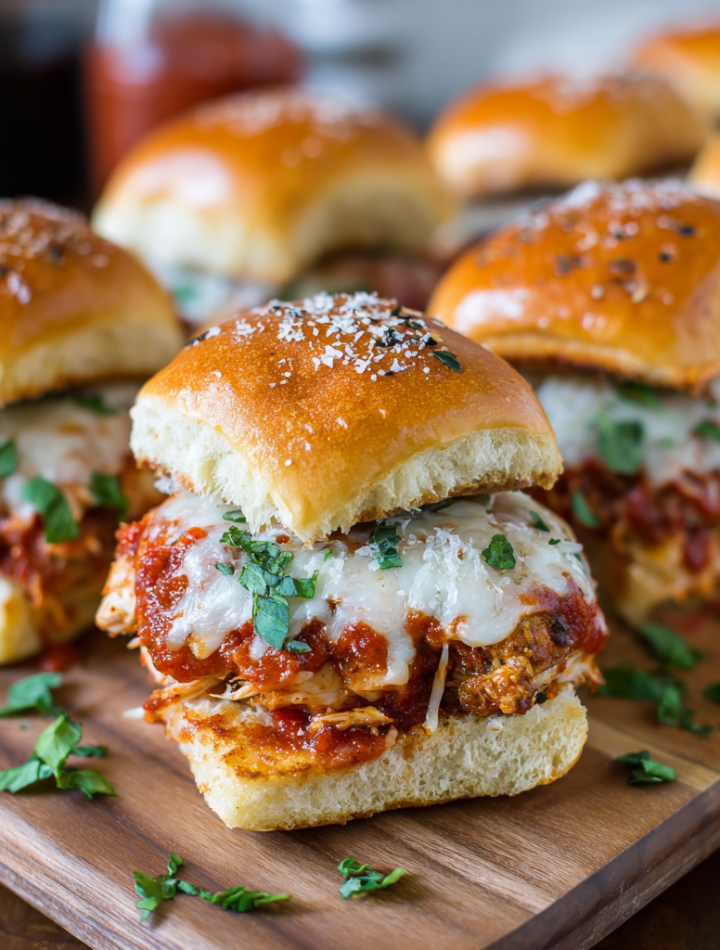
Well, my fellow food adventurers, I have the absolute *perfect* solution for those nights. These Chicken Parmesan Sliders are my not-so-secret weapon for turning any ordinary Tuesday into a mini-celebration, or for being the undisputed MVP of game day spreads. Imagine this: tender, seasoned chicken tucked into soft slider buns, smothered in a rich, tangy marinara sauce, blanketed with gloriously stretchy mozzarella, and finished with a buttery, garlic-parmesan crust that bakes to golden perfection. They’re pull-apart, shareable, and dangerously easy to eat. (I’m talking “accidentally ate three before anyone even sat down” easy. Not that I’d know… ahem.)
This recipe is the beautiful love child of convenience and flavor. It’s for those of us who believe that feeding people we love should be a joy, not a stress-fest. So, whether you’re feeding a hungry crowd, wrangling the family on a busy weeknight, or just treating yourself to something wonderfully indulgent (you deserve it!), these sliders are about to become your new best friend in the kitchen. Let’s dive in and cook up some serious happiness!
The Slider That Started It All: A Tale of Kitchen Chaos & Triumph
I’ll never forget the first time I threw these sliders together. It was a few years ago, during one of those chaotic-but-fun holiday parties I used to host in my tiny apartment. My grand plan for an elaborate Italian feast had completely fallen apart after a work deadline ran late. I was staring into the fridge, feeling that familiar panic rising, surrounded by ingredients for a chicken parm I no longer had time to make properly.
Then, I spotted a forgotten bag of slider buns on the counter. A lightbulb went off. What if I just… deconstructed everything? I quickly shredded the pre-cooked chicken I had, grabbed my favorite jar of marinara (no shame in a good shortcut!), and layered it all in a baking dish. I poured a garlic-butter mixture over the top, crossed my fingers, and shoved it in the oven. Twenty minutes later, the most incredible aroma filled my apartment. I pulled out this golden, bubbling, beautiful pan of sliders. The second I brought them to the table, the crowd descended. They were gone in minutes. My friend Mark, with a slider in each hand, declared it “the best thing I’ve ever fed him.” That’s when I knew: sometimes the best recipes are born from happy accidents and a little bit of kitchen improvisation. It was a powerful reminder that great food doesn’t have to be complicated to be absolutely memorable.
Print
Chicken Parmesan Sliders – Cheesy, Crispy, Crowd-Pleasing
- Total Time: 35 minutes
Description
These Chicken Parmesan Sliders are everything you love about the classic Italian dish—packed into a bite-sized, pull-apart sandwich. Juicy chicken, melty mozzarella, rich marinara, and buttery parmesan topping come together in warm slider buns. Perfect for game day, family dinners, or casual entertaining.
Ingredients
2.5 lbs chicken breast tenderloins, cooked and seasoned
1 (15 oz) package slider buns
1¼ cups marinara sauce
6 slices mozzarella cheese
¼ cup unsalted butter, melted
½ teaspoon garlic salt
1½ teaspoons dried parsley
1½ tablespoons grated Parmesan cheese
Optional Twists:
Bread and pan-fry the chicken for a crispy texture
Add fresh basil or a pinch of red pepper flakes
Use provolone or fontina for a cheese swap
Toast the buns slightly before assembling for added crunch
Instructions
Preheat oven to 350°F (175°C). Lightly grease a 9×13-inch baking dish.
Slice the slider buns in half horizontally, keeping tops and bottoms connected. Place bottom halves in the dish.
Layer cooked chicken evenly over the buns. Spoon marinara sauce on top.
Add mozzarella slices evenly over the sauce.
Place the bun tops back on.
In a small bowl, mix melted butter, garlic salt, parsley, and Parmesan. Brush this mixture generously over the tops of the buns.
Cover with foil and bake for 15 minutes. Remove foil and bake for an additional 5–7 minutes until the tops are golden and cheese is melted.
Let cool slightly, then slice and serve warm.
- Prep Time: 15 minutes
- Cook Time: 20 minutes
- Category: Dinner, Main Course
Nutrition
- Calories: 300
- Carbohydrates: 22g
- Protein: 22g
Gather Your Goodies: The Chicken Parmesan Slider Lineup
Here’s everything you’ll need to create this magic. I’ve included some of my favorite insights and swaps to make this recipe your own!
- 2.5 lbs chicken breast tenderloins, cooked and seasoned: This is our star! Using pre-cooked chicken is the ultimate time-saver. I like to season mine simply with salt, pepper, and a bit of Italian seasoning while cooking. Chef’s Tip: A rotisserie chicken, shredded, works FABULOUSLY here and adds great flavor. For a crispier twist, see the variations below!
- 1 (15 oz) package slider buns: Those classic, soft, sweet Hawaiian roll-style buns are my top choice—their slight sweetness is a dream with the savory filling. But any slider buns will do the trick!
- 1 ¼ cups marinara sauce: Use your favorite jarred brand or your own homemade sauce. This is the saucy heart of the dish, so pick one you genuinely love the taste of.
- 6 slices mozzarella cheese: The melty, glorious blanket! Sliced cheese is easier for layering, but you can absolutely use about 1 ½ cups of shredded low-moisture mozzarella if that’s what you have on hand.
- ¼ cup unsalted butter, melted: This is the key to that irresistible, golden-brown top. Using unsalted butter lets us control the salt level perfectly.
- ½ teaspoon garlic salt: We’re infusing the butter with savory goodness. If you only have garlic powder, use ¼ tsp and add a pinch of regular salt.
- 1 ½ teaspoons dried parsley: This adds a lovely pop of color and a subtle herbaceous note. Fresh parsley works too—just use about a tablespoon, chopped fine.
- 1 ½ tablespoons grated Parmesan cheese: The finishing touch that adds a salty, umami kick to the buttery topping. The pre-grated kind works, but freshly grated Parmigiano-Reggiano will take it to a whole new level.
Let’s Get Assembling: Building Your Slider Masterpiece
Okay, the fun part! This comes together so quickly you’ll hardly believe it. Follow these steps, and you’ll be a slider pro in no time.
- Preheat and Prep: First things first, get your oven heating to a cozy 350°F (175°C). This is the perfect temperature to get everything warm, melty, and golden without burning the buns. While it’s warming up, lightly grease your 9×13-inch baking dish. A quick spray of cooking oil or a smear of butter does the trick. This little step ensures nothing sticks and your sliders slide right out.
- The Great Bun Slice: Here’s a pro move: take your entire sheet of slider buns and slice them in half horizontally, but try to keep the top and bottom halves connected to each other along one edge. It’s like creating a giant hinge! This makes assembling so much easier and keeps all the buns perfectly aligned. Once sliced, place the bottom half into your prepared baking dish.
- Layer on the Love: Now for the layers of deliciousness! Start by spreading your cooked, seasoned chicken evenly over the bottom bun layer. You want every bite to have a good amount of chicken. Next, spoon that glorious marinara sauce over the chicken. I like to dollop it all over and then gently spread it with the back of the spoon for even coverage. Finally, lay the slices of mozzarella cheese evenly across the saucy chicken. It’s starting to look incredible already, right?
- Top It Off & Butter Up: Gently place the top half of the buns back on, creating your slider sandwich. Now, for the secret weapon! In a small bowl, mix together the melted butter, garlic salt, dried parsley, and grated Parmesan. Take a pastry brush (or even just a spoon) and generously brush this magical mixture all over the top of the buns. Get into every nook and cranny! This is what gives the sliders that beautiful, savory, crisp-top crust.
- Bake to Perfection: Cover the entire baking dish tightly with aluminum foil. This initial covered bake is crucial—it steams the sliders, warming the filling through and softening the buns without over-browning the tops. Pop it in the oven for 15 minutes. Then, remove the foil and bake for another 5-7 minutes, uncovered. This final blast of heat is what gives you that gorgeous, golden, slightly crispy top. You’ll know it’s done when the cheese is bubbly and the tops are a perfect light brown.
- The Hardest Part: The Wait: I know, the aroma is torture! But trust me on this: let the sliders cool for about 5-10 minutes after you take them out of the oven. This allows the cheesy filling to set just a bit, making them much easier to slice and serve without everything oozing out. Use a sharp knife to slice along the bun lines, and watch as everyone gathers around, plates in hand.
How to Serve These Beauties
Presentation is part of the fun! I love serving these right in the baking dish placed on a trivet in the middle of the table for a casual, family-style feast. It encourages that wonderful pull-apart, shareable experience. For a fuller meal, pair them with a simple arugula salad with a lemony vinaigrette (the bitterness cuts through the richness perfectly) or a side of crispy roasted broccoli. They’re also fantastic with a side of extra warm marinara for dipping!
Mix It Up! Creative Twists on the Classic
Feel like playing? Here are some of my favorite ways to riff on this recipe:
- Go Crispy: For extra texture, bread and pan-fry the chicken tenderloins before slicing and assembling. It adds a wonderful crunch!
- Spice It Up: Add a pinch (or more!) of red pepper flakes to the marinara sauce, or add some sliced pepperoni under the cheese for a pizza-parm hybrid.
- Herbaceous Glow: Tuck a few fresh basil leaves in with the chicken, or stir some chopped fresh oregano into the sauce.
- Cheese Please: Swap the mozzarella for provolone (for a sharper bite) or fontina (for an ultra-creamy melt).
- Toasty Base: For a sturdier slider, lightly toast the cut sides of the buns on a baking sheet for 5 minutes at 350°F before assembling. This helps prevent sogginess if you’re making them ahead.
Clara’s Kitchen Notes & Stories
This recipe has truly evolved in my kitchen. The first time, I was purely in survival mode. But over the years, I’ve learned a few things. I once, in a fit of enthusiasm, used *only* freshly grated mozzarella. While delicious, it has more moisture and made the buns a bit softer—a great lesson in why low-moisture mozz is often the better choice for baking! I’ve also learned that these sliders are incredibly forgiving. Don’t have quite enough chicken? Add some sautéed mushrooms to bulk it up. It’s a template for joy, not a rigid rulebook.
The best part? The reactions never get old. I’ve made these for baby showers, potlucks, and even a fancy-ish dinner party where we all agreed we’d rather eat sliders than filet mignon. They have this magical way of bringing people together, and that, to me, is the whole point of cooking.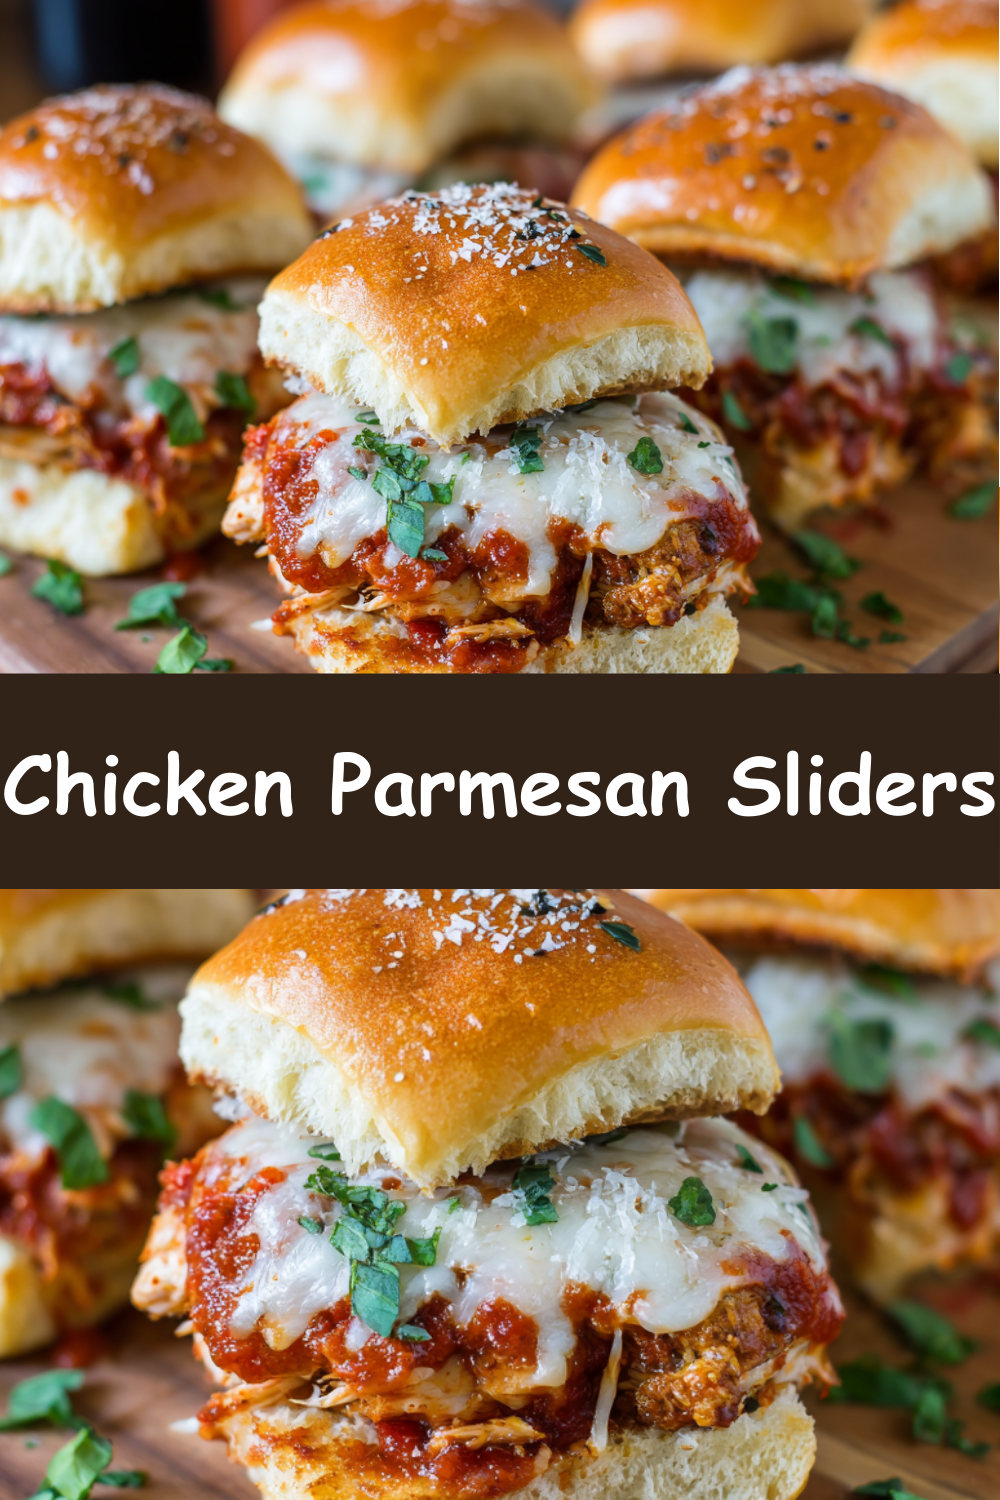
Your Slider Questions, Answered!
Q: Can I make these sliders ahead of time?
A: Absolutely! You can assemble the entire pan (including the butter topping), cover it tightly with foil, and refrigerate it for up to 24 hours before baking. When you’re ready, you might need to add a few extra minutes to the baking time since it will be going into the oven cold. It’s a lifesaver for parties!
Q: My sliders turned out a bit soggy on the bottom. How can I prevent that?
A> This is a common question! Sogginess usually happens if the sauce is very watery or if there’s just a bit too much of it. A few tips: 1) Use a thicker, high-quality marinara. 2) Don’t overdo it on the sauce—1 ¼ cups is the sweet spot. 3) You can lightly toast the bottom halves of the buns for 5 minutes in the oven before assembling to create a moisture barrier.
Q: Can I use a different protein?
A> Of course! This recipe is wonderfully adaptable. Shredded cooked turkey is fantastic (a great post-Thanksgiving idea!), and meatballs sliced in half work beautifully. For a vegetarian version, try using sliced, roasted portobello mushrooms or even meatless chicken strips.
Q: The tops aren’t getting as golden as I’d like. Help!
A> No worries! If after the uncovered bake the tops still look pale, just pop them under the broiler for a minute or two—but WATCH THEM LIKE A HAWK! They can go from golden to burnt in seconds. This is a great trick for getting that perfect color.
Nutritional Information*
*Please note: These are approximate values and can vary based on specific ingredients used.
Per Slider: Calories: ~300 | Protein: ~22g | Fat: ~12g | Carbohydrates: ~20g
Prep Time: 15 minutes | Cook Time: 20 minutes | Total Time: 35 minutes