Your New Favorite Snack is Hiding in Your Pumpkin
Hey there, my fellow flavor adventurer! Clara here, back in the Unknown kitchen and buzzing with excitement because we’re about to tackle one of my all-time favorite autumn rituals. It’s that magical time of year: the air is crisp, sweaters are a daily uniform, and kitchens everywhere are filled with the warm, spicy scent of pumpkin everything. But before you scoop out that gorgeous gourd for a pie or a soup, I need you to do one thing for me. Stop. Look at that pile of seeds and pulp. Don’t you dare even think about tossing it!
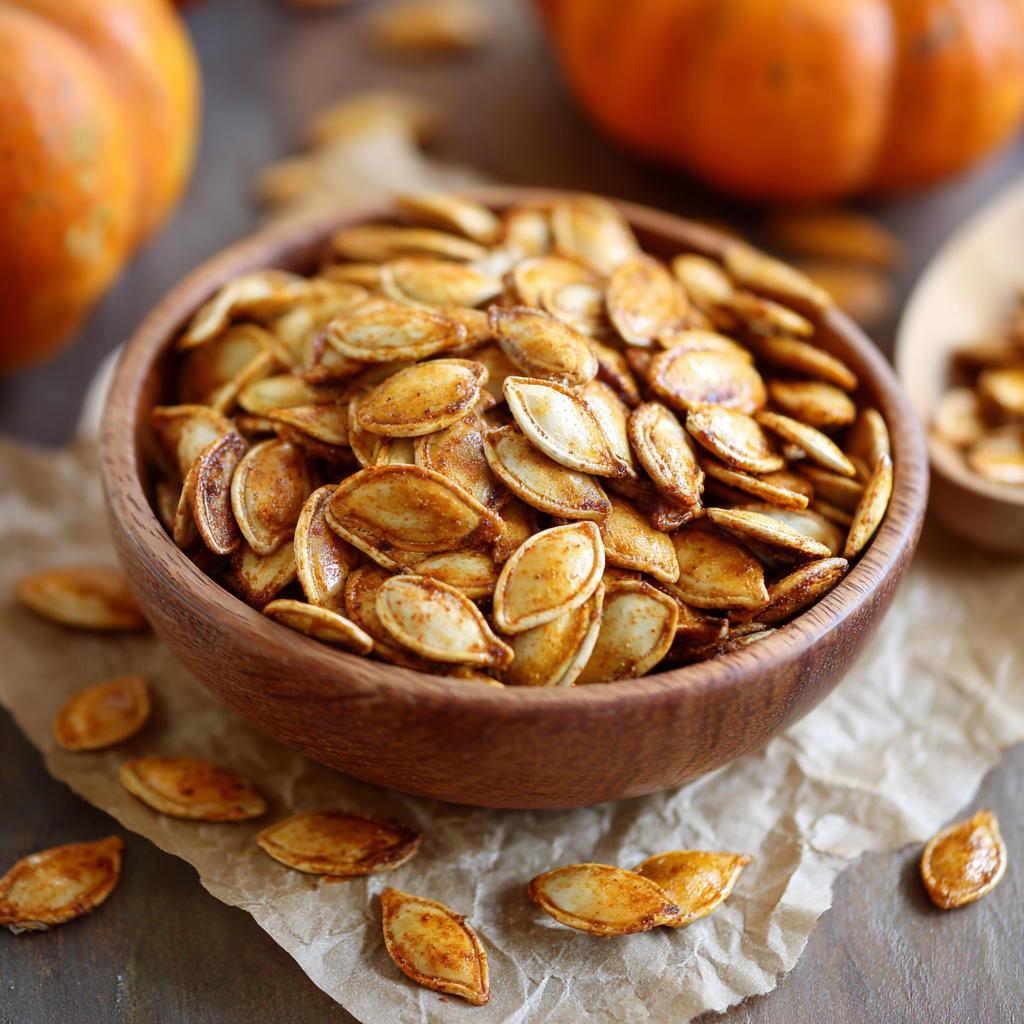
I’m here to let you in on a little secret: you’re holding the key to the crunchiest, most addictive, and wildly customizable snack of the season. That’s right, we’re making Easy Roasted Pumpkin Seeds. This isn’t just a recipe; it’s a tiny act of kitchen magic. It’s about taking something often seen as “scraps” and transforming it into a golden, savory treasure that will have you fighting for the last one. They’re perfect for munching straight from the bowl, scattering over a cozy fall salad for a textural punch, or stuffing into your pocket for a hike. So, grab your favorite pumpkin, and let’s turn those “unknown” seeds into a snack you’ll absolutely know and love.
Print
Easy Roasted Pumpkin Seeds
- Total Time: 35 minutes
- Yield: 6 servings 1x
Description
Don’t toss those pumpkin seeds—turn them into a crunchy, savory snack instead! Roasted pumpkin seeds are simple to make, full of flavor, and can be customized with your favorite seasonings. Perfect for munching, sprinkling over salads, or adding to trail mix, they’re the ultimate autumn snack.
Ingredients
Seeds from 1 medium pumpkin (about 1–1 ½ cups)
1 tablespoon olive oil (or melted butter)
1 teaspoon salt
Optional seasonings: garlic powder, smoked paprika, cinnamon sugar, chili powder, or ranch seasoning
Instructions
Preheat oven to 180°C (350°F).
Rinse pumpkin seeds well, removing pulp. Pat dry with a towel.
Toss seeds in olive oil, salt, and any extra seasonings.
Spread evenly on a baking sheet lined with parchment.
Roast for 20–25 minutes, stirring halfway through, until golden and crisp.
Let cool slightly before serving.
- Prep Time: 10 minutes
- Cook Time: 25 minutes
- Category: Snack
Nutrition
- Calories: 120
- Fat: 9 g
- Carbohydrates: 4 g
- Protein: 5 g
The Seed-Spitting Champion of Maple Lane
This recipe takes me right back to my childhood, specifically to the front porch of my family’s house on Maple Lane. Every Halloween, my dad would take on the role of Head Pumpkin Carver with the seriousness of a heart surgeon. My brother and I would sit on newspapers spread across the floor, our hands plunged into the cool, slimy innards, competing to see who could separate the most seeds from the stringy pulp. The goal wasn’t just cleaning; it was ammunition gathering.
My mom, the true genius of the operation, would simply toss the cleaned seeds with a little melted butter and salt, roast them until they were toasty brown, and pour them into a big bowl. The three of us would then sit on the porch steps, handing out candy to trick-or-treaters between handfuls of warm, salty seeds. We’d have seed-spitting contests into the yard (sorry, Mom!), laughing until our stomachs hurt. Those seeds weren’t just a snack; they were the centerpiece of a tradition, a simple, joyful ritual that marked the season. It’s that feeling—of warmth, laughter, and making the most of what you have—that I want to bring to your kitchen today.
Gathering Your Crunchy Crew
The beauty of this recipe lies in its stunning simplicity. You likely have everything you need already. This is our base canvas; we’ll get to the fun, colorful variations in a bit!
- Seeds from 1 medium pumpkin (about 1–1 ½ cups): This is your star! Don’t stress about the exact amount. A little more or less just means adjusting your seasonings slightly. Chef’s Insight: While any pumpkin seeds work, larger “carving pumpkins” tend to have bigger, meatier seeds perfect for snacking. But don’t skip smaller sugar pumpkins—their seeds are just as delicious!
- 1 tablespoon olive oil (or melted butter): This is our flavor conductor and crisping agent. Olive oil gives a lovely, neutral base that lets your seasonings shine. Melted butter adds a rich, classic, and utterly irresistible flavor. For a dairy-free option, avocado oil works beautifully too.
- 1 teaspoon salt: Non-negotiable for bringing out all the toasty, nutty flavors. I prefer fine sea salt for even distribution, but kosher salt works great too.
- Your Favorite Seasonings: This is where you become the artist! My absolute go-to is garlic powder + smoked paprika for a smoky, savory vibe. But the world is your oyster! Think chili powder for heat, a pinch of cayenne, everything bagel seasoning, nutritional yeast for a “cheesy” twist, or even a sweet mix of cinnamon and a sprinkle of sugar.
Let’s Make Some Magic: Step-by-Step
Ready to transform those slippery seeds into crispy gold? Follow these steps, and you really can’t go wrong. I’ve packed in all my best tips and hacks I’ve learned over the years!
- Preheat & Prep: Fire up your oven to 180°C (350°F). This moderate heat is key—it roasts the seeds all the way through without burning the outside before the inside is done. Line a standard baking sheet with parchment paper. Not only does this prevent sticking, but it makes cleanup an absolute dream. No one likes scrubbing baked-on seed remnants!
- The Great Seed Separation: This is the only “labor-intensive” part, and I promise it’s kind of fun. Place your pumpkin seeds and pulp in a large bowl of cool water. Use your hands to swish them around. The seeds will float to the top, and most of the stringy pulp will sink or separate easily. Scoop out the seeds with your hands or a slotted spoon and place them in a colander. Chef’s Hack: Don’t get obsessed with removing every single tiny bit of orange pulp. A little bit won’t hurt and will just caramelize in the oven. Focus on the big strings.
- Dry, Dry, Dry! This is the MOST important step for achieving ultimate crunch. Pat the seeds very dry with a clean kitchen towel or a bunch of paper towels. The drier they are, the crispier they’ll become. They don’t need to be bone-dry, but they shouldn’t be visibly wet. Chef’s Tip: For super crunch, after towel-drying, leave them spread on the counter for an hour or so to air-dry even further. I’m impatient, so I’m usually just thorough with the towel!
- Season with Abandon: Place your dried seeds in a dry bowl. Drizzle with your oil or melted butter and sprinkle with your salt and chosen seasonings. Now, get in there with your hands and toss, toss, toss! I find hands are the best tools to ensure every single nook and cranny of every seed is perfectly coated. It should feel evenly slick, not drenched.
- Spread for Success: Pour the seeds onto your prepared baking sheet and spread them out into a single, even layer. This is crucial! If they’re piled on top of each other, they’ll steam instead of roast, and we’ll end up with chewy seeds instead of crunchy ones. Give them a little room to breathe.
- Roast to Perfection: Pop that tray into your preheated oven and set a timer for 10 minutes. When it goes off, take the tray out and give the seeds a good stir with a spatula, moving the ones on the outside toward the center. This promotes even browning. Put them back in for another 10-15 minutes. They’re done when they’re visibly darker in color (a deep golden brown) and sound hollow when you shake the pan. They’ll also be incredibly fragrant.
- The Patience Test: I know, I know. You want to eat them immediately. But trust me on this! Remove the pan from the oven and let the seeds cool right on the baking sheet. They continue to crisp up as they cool. Jumping the gun will result in a slightly chewy texture. This is the final act of the transformation.
How to Serve Your Golden Gems
Once they’re completely cool, it’s time for the fun part! I love serving these simply piled high in a big rustic bowl for everyone to grab by the handful. But their potential doesn’t stop there. For a next-level salad, scatter a generous handful over a bed of mixed greens, roasted sweet potato, tangy goat cheese, and a bright apple cider vinaigrette. The crunch is everything! They’re also an incredible topping for creamy soups (hello, butternut squash!), a mix-in for your morning yogurt or oatmeal for a savory twist, or packed into little bags for the most satisfying trail mix component on your next outdoor adventure.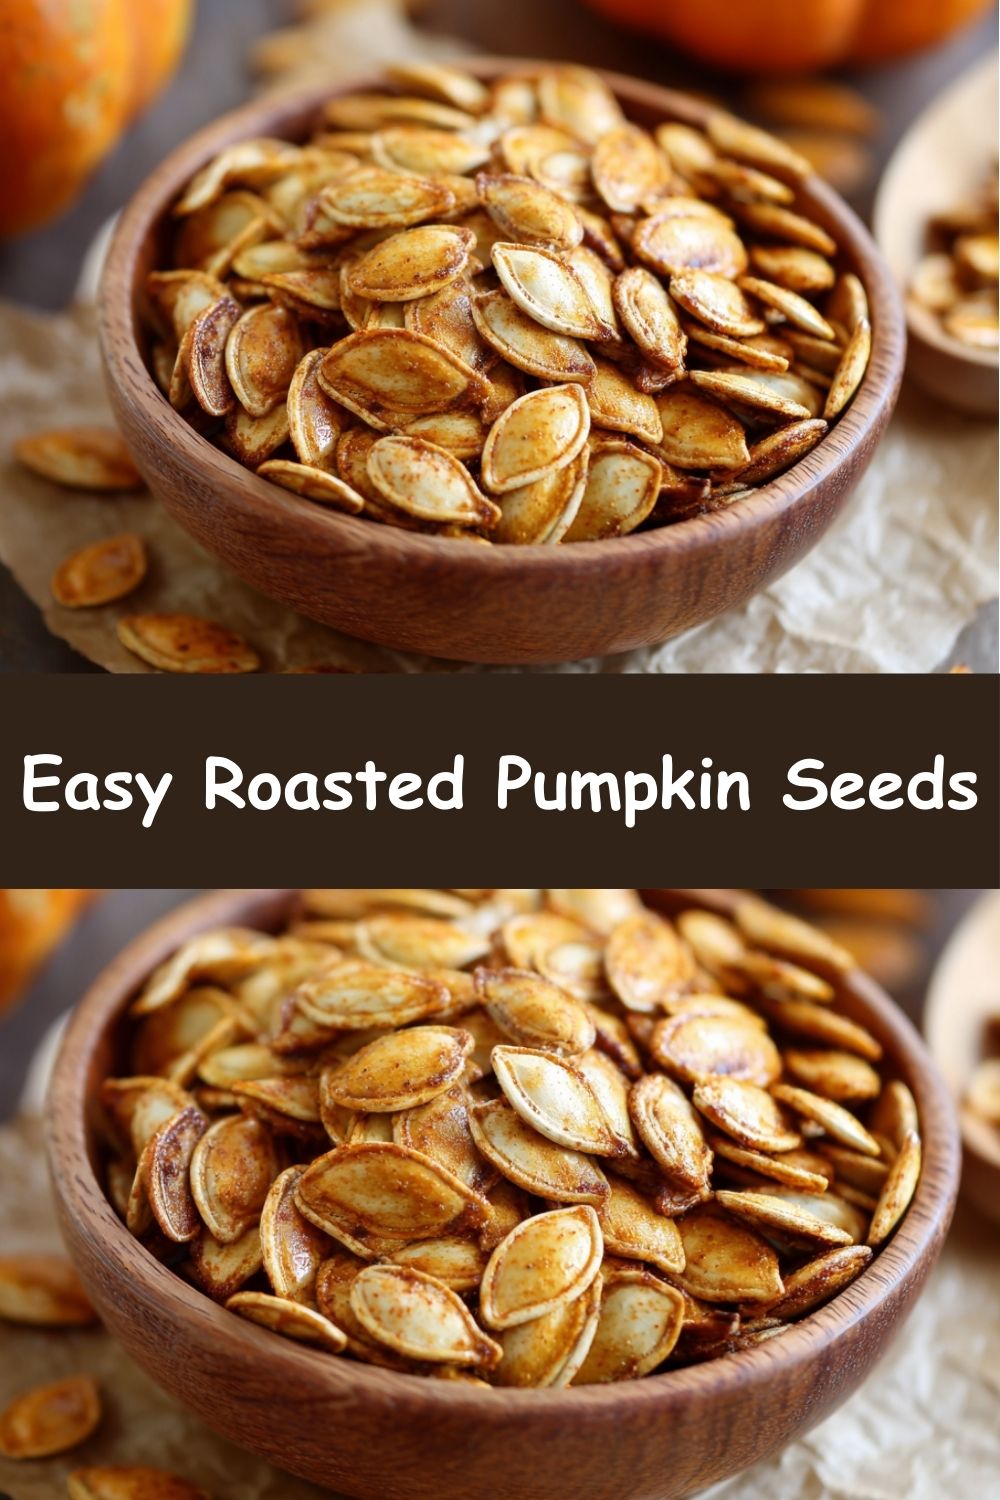
Get Creative: Flavor Variations
Once you’ve mastered the basic recipe, the flavor world is your playground! Here are a few of my favorite twists to keep things exciting all season long:
- “Everything Bagel” Style: Toss seeds with olive oil, ½ tsp each of garlic powder and onion powder, 1 tbsp of poppy seeds, 1 tbsp of sesame seeds, and 2 tbsp of everything bagel seasoning. Savory perfection!
- Sweet & Spicy: Use melted coconut oil. Toss with 1 tbsp of maple syrup or honey, ½ tsp cinnamon, ¼ tsp cayenne pepper (adjust to your heat preference!), and a pinch of salt. A addictive flavor rollercoaster.
- Ranch Remix: Use melted butter. Toss with 2 teaspoons of dried dill, 1 tsp garlic powder, 1 tsp onion powder, and a pinch of black pepper. Taste just like your favorite chip flavor!
- Curry Lime Zing: Use avocado or olive oil. Toss with 2 tsp curry powder, the zest of one lime, and ½ tsp salt. So bright and flavorful.
- Simple Cinnamon Sugar: A classic! Toss with melted butter, 1 tablespoon of sugar, 1 teaspoon of cinnamon, and a tiny pinch of nutmeg. The ultimate fall treat.
Clara’s Chef Notes
This recipe has evolved so much from my mom’s simple butter-and-salt version. I’ve had my fair share of kitchen experiments—some glorious, some… not so much. I’ll never forget the time I got overzealous with cayenne pepper and created a batch that could literally bring tears to your eyes. We still ate them, but with a giant glass of milk nearby! I’ve also learned that the type of salt matters. A flaky Maldon salt sprinkled on *after* roasting is a game-changer for texture and bursts of flavor.
The biggest lesson? Don’t be afraid to play. The best recipes come from a place of curiosity and a willingness to try something new. Maybe your new favorite combination is a dash of coffee rub or a sprinkle of truffle salt. That’s the beauty of this simple snack; it’s a perfect, low-stakes canvas for your culinary creativity. So have fun with it!
Your Questions, Answered!
Q: My seeds turned out chewy, not crunchy. What did I do wrong?
A: This is the most common issue, and it almost always boils down to moisture. The two biggest culprits are: 1) Not drying the seeds well enough before tossing them in oil. Remember, pat them *very* dry! 2) Crowding the pan. If the seeds are piled on top of each other, they steam. Always spread them in a single layer. If they’re still chewy after cooling, you can pop them back in the oven for another 5-10 minutes to drive off more moisture.
Q: Can I use seeds from other squash, like butternut or acorn?
A: Absolutely! This technique works for any winter squash seeds. Butternut squash seeds are smaller and thinner, so they may roast a few minutes faster. Acorn squash seeds are lovely too. Just keep an eye on them and adjust the cooking time accordingly. You can even mix them all together for a “squash seed sampler”!
Q: How do I store these, and how long do they last?
A> Once completely cool, store your roasted pumpkin seeds in an airtight container at room temperature. They’ll stay perfectly crunchy for up to 2 weeks… if you can manage not to eat them all in two days! For longer storage, you can keep them in the fridge for a month or even freeze them for up to 3 months. Let them come to room temperature before eating for the best texture.
Q: Do I need to boil the seeds first?
A: Some recipes call for boiling seeds in salted water before roasting, which is said to make the shells easier to chew and the insides tender. I’ve tried it both ways and find the no-boil method (outlined above) is simpler and yields a crunchier, nuttier result that I personally prefer. It’s all about that texture!
A Little Nourishment Note
While we’re all here for the incredible flavor and crunch, it’s a lovely bonus that these little guys are a nutritional powerhouse! Pumpkin seeds are packed with magnesium, iron, zinc, and healthy fats. They’re a fantastic source of plant-based protein and fiber, making them a snack that truly satisfies and fuels you. So you can feel good about munching away!
Per Serving (approx. ¼ cup): Calories: 120 | Protein: 5g | Carbohydrates: 4g | Fat: 9g
There you have it! Your complete guide to turning pumpkin “guts” into gourmet gold. I hope this recipe becomes a new, joyful tradition in your home.
With love and a full bowl of seeds,
Clara