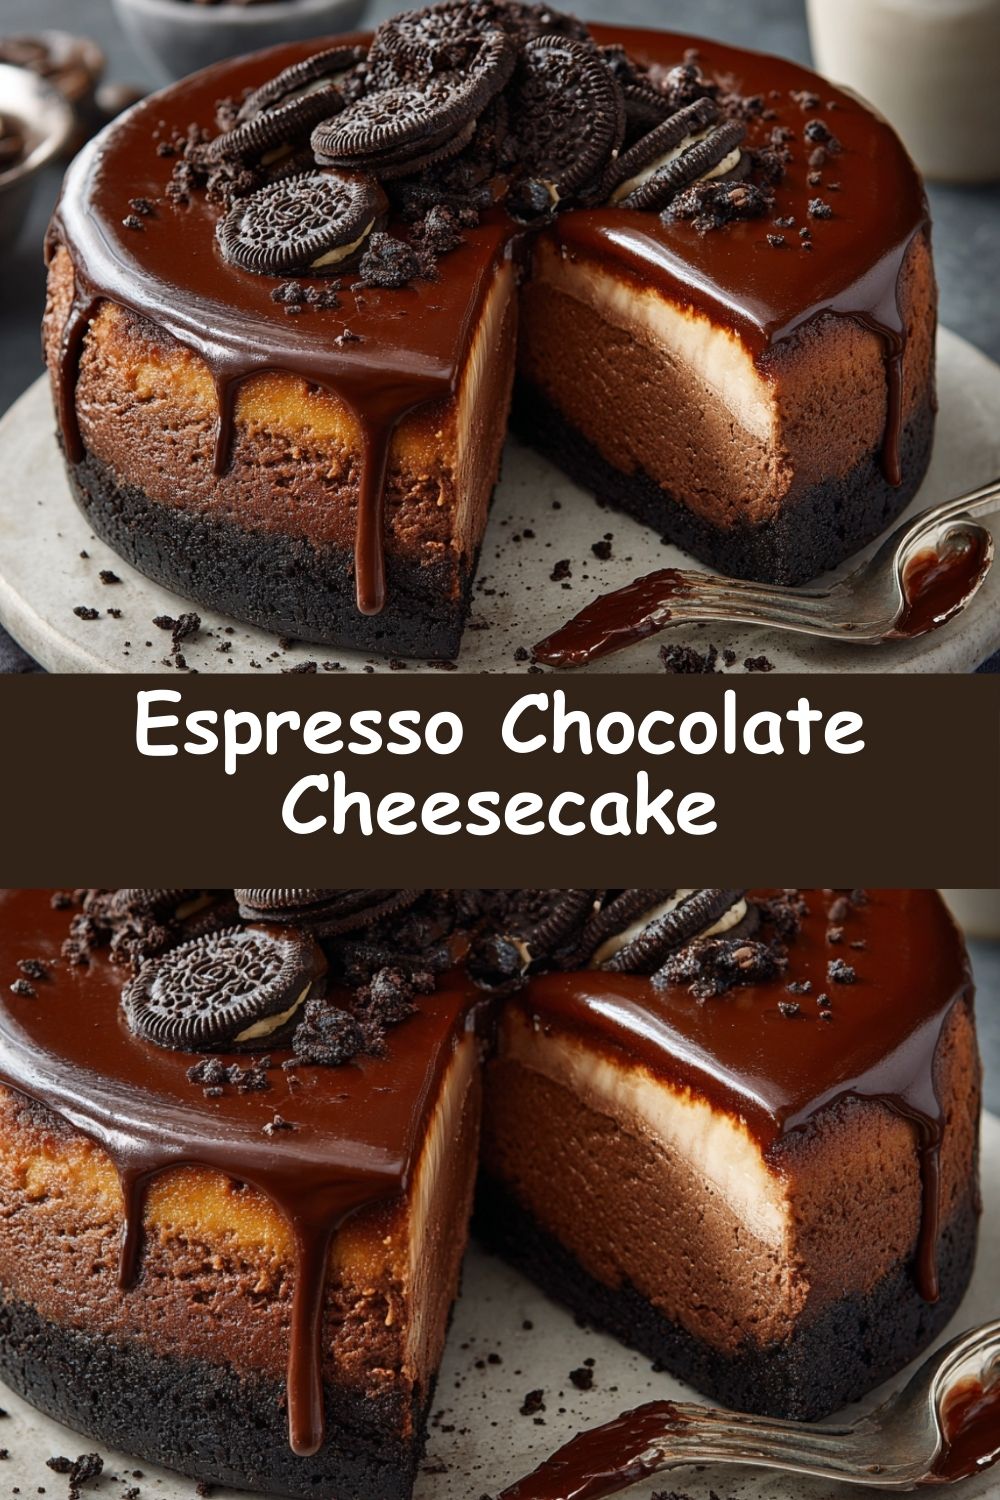
Espresso Chocolate Cheesecake: The Decadent Dessert That Actually Gets You
Hey, my fellow flavor adventurers! Clara here. Let’s be real for a second: sometimes, life calls for a dessert that isn’t just a sweet little treat. Sometimes, you need a dessert that makes a statement. A dessert that looks you in the eye, winks, and says, “Let’s do this.” That, my friends, is exactly what this Espresso Chocolate Cheesecake is all about.
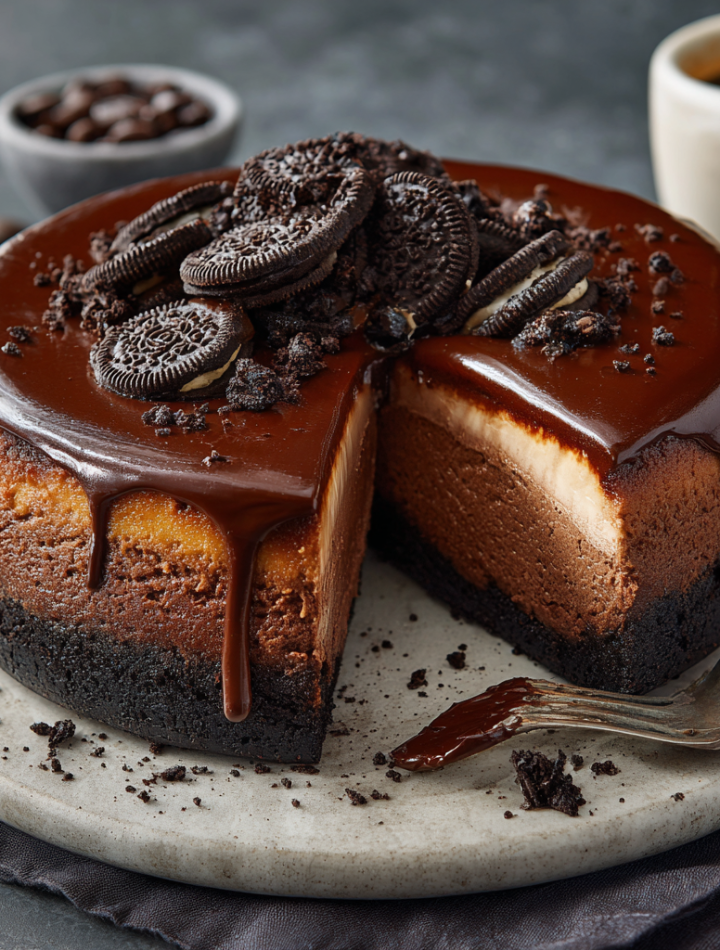
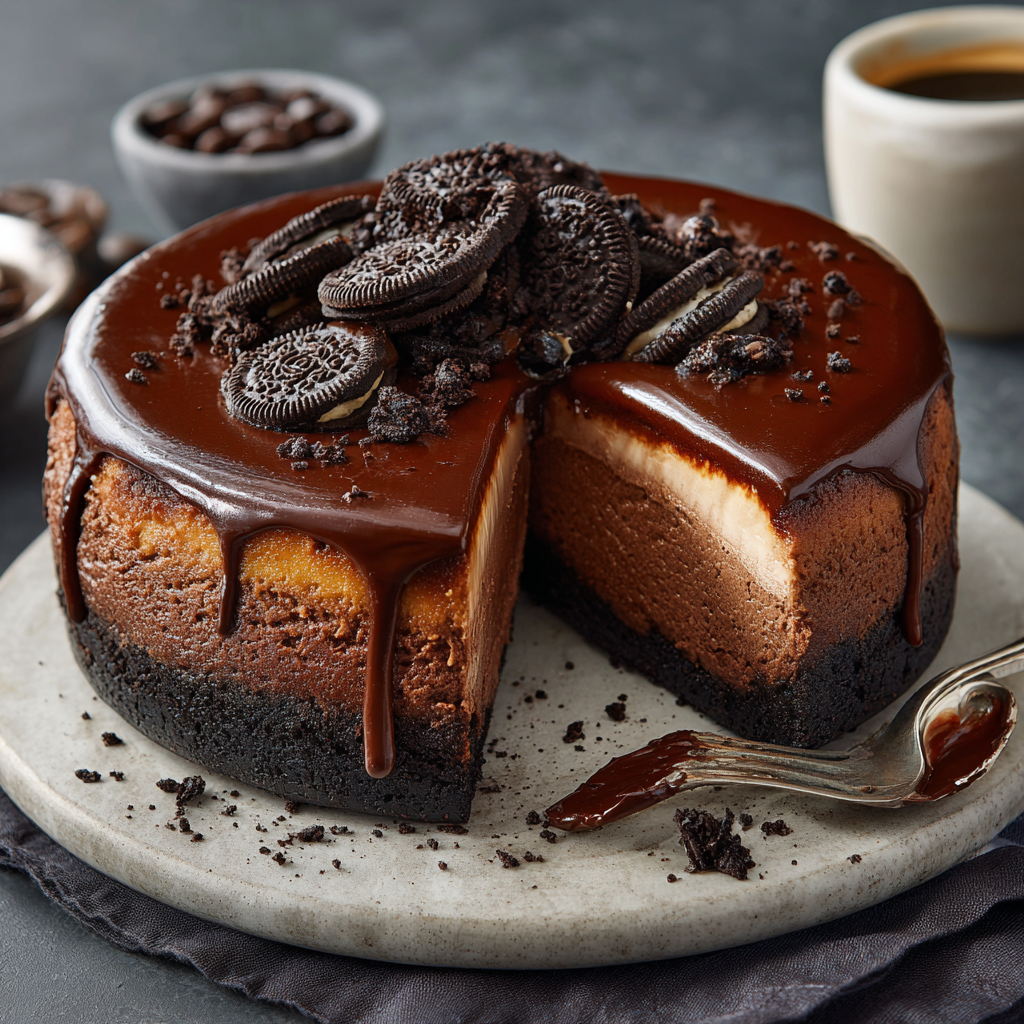
This isn’t your average, timid cheesecake. This is a bold, unapologetically rich, and deeply satisfying masterpiece for those of us who believe that dessert should be an event. We’re talking about a crisp, dark Oreo crust that gives way to an impossibly creamy, espresso-infused filling that sings with the deep, soulful notes of your favorite coffee shop. And just when you think it can’t get any better, we crown the whole thing with a glossy, rivers-of-chocolate ganache that’s so shiny you could almost check your reflection in it.
I created this recipe for those moments of celebration, for impressing your in-laws, for potlucks where you want to be the undisputed dessert champion, or for those glorious “I-deserve-this” Tuesday nights. It’s for my fellow coffee and chocolate lovers who understand that this pairing isn’t just a flavor—it’s a whole mood. So, preheat those ovens, grab your favorite mixing bowl, and let’s create some magic together. This is one of those recipes that’s totally, completely, 100% worth licking every spoon, spatula, and bowl for.
The Coffee Shop Epiphany
This recipe was born from a serious craving and a major kitchen victory. Picture this: It was a rainy Sunday afternoon, and my partner and I were cozied up on the couch, rewatching our favorite comfort show. We both got hit with this simultaneous, undeniable need for something decadent—specifically, a slice of the mocha cheesecake from this little artisan café we used to frequent in college.
The problem? That café was 300 miles away. A quick Google search for a copycat recipe left me with versions that were either overly complicated or just… lackluster. They promised “espresso” but delivered a faint whisper of coffee. I wanted a punch of flavor! So, I did what I always do: I took to my kitchen, armed with a bag of my favorite dark roast beans and a serious determination.
After a few… let’s call them “deliciously imperfect” attempts (one was slightly too jiggly, another cracked like the San Andreas fault), I finally nailed it. The moment I took that first perfect, crack-free, deeply flavorful slice out of the springform pan, I did a little happy dance right there in my kitchen. It tasted even better than I remembered from that café. It was my cheesecake, my victory, and now, it’s my absolute joy to share it with you.
Print
Espresso Chocolate Cheesecake
- Total Time: ~6 hrs
Description
Bold, smooth, and dripping in chocolate—this double espresso cheesecake is made for serious coffee and chocolate lovers. With a crisp Oreo crust, ultra-creamy espresso-infused filling, and a rich chocolate ganache top, this version doubles down on decadence and adds some café-inspired twists to elevate every slice.
Ingredients
Oreo Crust:
4 cups Oreo crumbs (about 48 cookies, filling removed)
8 tbsp unsalted butter, melted
Espresso Cheesecake Filling:
6 (8 oz) packages cream cheese, softened
2 cups granulated sugar
2 tsp vanilla extract
⅔ cup strong brewed espresso (or coffee concentrate)
6 large eggs
Chocolate Ganache:
1 cup heavy cream
2 cups semi-sweet chocolate chips
Optional Twists:
1 tsp espresso powder in crust for extra depth
Swirl in ½ cup melted dark chocolate into the batter for mocha richness
Top with chocolate-covered espresso beans or dust with cocoa powder before serving
Instructions
Preheat oven to 325°F (163°C). Wrap springform pan in foil for a water bath.
Make the crust: Mix Oreo crumbs and melted butter. Press into base and slightly up sides of pan. Bake 10 minutes. Cool.
Make filling: Beat cream cheese and sugar until smooth. Mix in vanilla and espresso. Add eggs one at a time.
Pour filling over cooled crust. Bake in a water bath for 65–75 minutes or until center is just set.
Let cool 1 hour, then chill overnight.
Ganache topping: Heat cream until steaming, pour over chocolate chips, and stir until glossy. Spread over chilled cheesecake.
Garnish and serve.
- Prep Time: 25 minutes
- Cook Time: 75 min
- Category: Dessert
Nutrition
- Calories: 480
- Sugar: 28g
- Fat: 34g
- Carbohydrates: 35g
- Protein: 7g
Gathering Your Delicious Arsenal
Here’s everything you’ll need to create this caffeinated masterpiece. Remember, the best ingredients make the best cheesecake, so use the good stuff! I’ve included all my favorite little hacks and swaps to make this recipe your own.
For the Oreo Crust:
- 4 cups Oreo crumbs (about 48 cookies): You’ll want to scrape the filling out first! I just twist them apart and use a butter knife. Pro tip: a food processor makes this step a 30-second job, but placing them in a sturdy zip-top bag and rolling with a rolling pin works just as well and is a fantastic stress reliever.
- 8 tbsp (1 stick) unsalted butter, melted: This is the glue that holds our crunchy crust together. Using unsalted lets us control the salt level, but if salted is all you have, it’ll still be delicious—just maybe skip any extra salt elsewhere.
- Chef’s Insight: For an extra layer of coffee goodness, add 1 tsp of espresso powder to the crumb mixture. It deepens the chocolate flavor and gives a subtle hint of what’s to come.
For the Espresso Cheesecake Filling:
- 6 (8 oz) packages cream cheese, softened: This is non-negotiable. FULL FAT cream cheese is the key to that legendary creamy, dense-yet-light texture. Take it out of the fridge at least 2 hours before you start. It should feel soft and pliable to the touch. This is the secret to a smooth, lump-free filling!
- 2 cups granulated sugar: Sweetens the deal perfectly against the bitterness of the espresso and dark chocolate.
- 2 tsp pure vanilla extract: The supporting actor that makes all the other flavors pop. Don’t skip it!
- ⅔ cup strong brewed espresso or coffee concentrate: This is the star! Make sure it’s strong and, crucially, cooled completely to room temperature. If you add hot coffee, it will start to cook the eggs in your batter. No espresso machine? No problem! Instant espresso powder dissolved in hot water works beautifully. Just use about 2 tablespoons of powder to ⅔ cup water.
- 6 large eggs, at room temperature: Room temp eggs incorporate into the batter much more smoothly and evenly, which helps prevent overmixing and cracking. Just place them in a bowl of warm water for 5-10 minutes before using.
For the Chocolate Ganache:
- 1 cup heavy cream: Also called heavy whipping cream. The high fat content is what creates that luxurious, silky-smooth ganache.
- 2 cups semi-sweet chocolate chips: I prefer semi-sweet to balance the sweetness of the cheesecake, but dark chocolate chips would be amazing here too for a more intense flavor. For the absolute best results, use a high-quality bar of chocolate chopped up instead of chips—they often melt smoother.
Let’s Build Our Masterpiece: Step-by-Step
Okay, team. Deep breath. Cheesecakes have a reputation for being fussy, but I promise you, if you follow these steps, you’ll have a flawless, stunning dessert. We’ve got this!
- Prep Like a Pro: Preheat your oven to 325°F (163°C). Grab your 9 or 10-inch springform pan. Now, this next part is the #1 secret to preventing a soggy crust and water leaking into your pan: create a waterproof shield. Tear off two large pieces of heavy-duty aluminum foil and securely wrap them around the outside of the pan, covering the bottom and sides. You’re making a little foil boat for it. This will go into a water bath later. Set it aside.
- Make the Crust: In a medium bowl, stir together your Oreo crumbs and melted butter until it resembles wet sand and holds together when you pinch it. Pour the mixture into your springform pan and press it down firmly and evenly into the bottom and about halfway up the sides. I like to use the flat bottom of a measuring cup to really pack it in. Bake this for 10 minutes, then remove and let it cool on a wire rack. Reduce the oven temp to 300°F (150°C).
- Create the Filling: In the bowl of a stand mixer fitted with a paddle attachment (or using a large bowl and a hand mixer), beat the softened cream cheese on medium speed until it’s completely smooth and creamy, about 2-3 minutes. Scrape down the sides and bottom of the bowl! This is crucial for avoiding lumps. Add the sugar and beat for another 1-2 minutes until well combined. Mix in the vanilla extract and cooled espresso on low speed until just incorporated.
- Incorporate the Eggs: With the mixer on low speed, add the eggs one at a time, mixing just until the yolk disappears into the batter before adding the next. DO NOT OVERMIX! This is the most important step for preventing cracks. Overbeating incorporates too much air, which expands and contracts in the oven, leading to a fissure down the middle. Once the last egg is mixed in, stop the mixer. Give the bowl one final scrape and stir by hand to ensure everything is homogenous.
- The Water Bath: Place your foil-wrapped springform pan into a large roasting pan. Carefully pour the cheesecake filling over the cooled crust. Now, bring a kettle or pot of water to a boil. Place the roasting pan in the oven and THEN carefully pour the hot water into the roasting pan around the springform pan until it comes about halfway up the sides. This water bath creates a steamy environment for gentle, even cooking—the second secret to a crack-free top.
- Bake to Perfection: Bake for 65-75 minutes. The cheesecake is done when the edges are set but the center still has a slight, gentle jiggle—like Jell-O—when you tap the pan. It will firm up as it cools. Turn off the oven, crack the oven door open, and let the cheesecake cool inside for 1 hour. This gradual temperature change is the third secret to preventing cracks!
- The Long Chill: After its hour in the oven, remove the cheesecake from the water bath, carefully remove the foil, and let it cool completely on a wire rack. Then, cover it with plastic wrap and refrigerate for at least 6 hours, but preferably overnight. I know, the wait is torture, but it’s essential for the flavors to meld and the texture to become perfectly sliceable.
- Ganache Glory: When you’re ready to serve, make the ganache. Place the chocolate chips in a heatproof bowl. Heat the heavy cream in a small saucepan over medium heat until it just begins to simmer (small bubbles around the edges). Immediately pour the hot cream over the chocolate chips, let it sit for 2-3 minutes, then whisk slowly until it becomes a smooth, glossy, beautiful chocolate waterfall. Let it cool for a few minutes to thicken slightly before pouring it over the chilled cheesecake. Use an offset spatula to guide it over the edges for that gorgeous drippy effect.
How to Serve This Showstopper
Presentation is part of the fun! Run a thin, sharp knife under hot water, wipe it dry, and then make your first slice for a super clean cut. Repeat between each slice. I love serving this on simple white plates to let the dark chocolate and creamy filling really stand out. A final dusting of cocoa powder or a few strategically placed chocolate-covered espresso beans on top of each slice adds a professional touch and a delightful little crunch. This cheesecake is incredibly rich, so small slices are totally acceptable (and mean there’s more to go around… or for you to have a second slice later!). A dollop of freshly whipped cream on the side never hurts, either.
Make It Your Own: Creative Twists
Feel like playing? Here are a few ways to customize your espresso chocolate cheesecake adventure:
- Mocha Marble Swirl: Before baking, swirl ½ cup of melted and slightly cooled dark chocolate into the top of the cheesecake batter with a knife or skewer for a beautiful marbled effect.
- Salted Caramel Drizzle: Drizzle a generous amount of good-quality salted caramel sauce over the ganache right before serving. The sweet-salty combo is a game-changer.
- Peppermint Mocha: Add ½ tsp of peppermint extract to the filling along with the vanilla for a festive holiday twist. Top with crushed candy canes.
- Dairy-Free Delight: Use your favorite plant-based cream cheese and butter alternatives. For the ganache, use full-fat coconut milk instead of heavy cream and ensure your chocolate chips are dairy-free.
- Hazelnut Bliss: Replace the vanilla extract with 1 tbsp of Frangelico (hazelnut liqueur) and garnish with chopped, toasted hazelnuts.
Chef Clara’s Notebook
This recipe has seen a few iterations in my kitchen. The first time I made it, I was so impatient that I didn’t let the cream cheese soften enough. I had tiny little lumps of cream cheese throughout the baked filling! I tried to tell my friends it was a “chocolate chip” variation, but they knew. They always know. So now, I’m militant about the softening step.
I’ve also learned that the type of coffee you use makes a huge difference. If you use a light roast, the coffee flavor will be much more subtle. If you use a dark, bold roast or a real espresso shot, that flavor will be front and center, which is exactly what I want. This recipe is a fantastic way to use up that last bit of coffee left in the pot from the morning. Just let it cool, and it’s ready for its dessert debut!
Your Questions, Answered
Q: My cheesecake cracked! What did I do wrong?
A: Oh, the heartbreak of the crack! Don’t worry, it still tastes incredible (and that’s what ganache is for—it covers all sins!). Cracks usually happen for one of three reasons: 1) Overmixing after adding the eggs, which incorporates too much air. 2) A drastic temperature change—always cool it gradually in the oven with the door cracked. 3) Overbaking. Remember, you want that slight jiggle in the center; it will continue to cook as it cools.
Q: Can I make this without a water bath?
A: I really, really don’t recommend it. The water bath is the best insurance policy against cracks and ensures the cheesecake cooks evenly without drying out or getting rubbery edges. If you’re truly against it, you can place a pan of water on the rack below the cheesecake in the oven to create steam, but it’s not quite as effective.
Q: How long will this keep in the fridge?
A> This cheesecake is actually even better on day two or three! The flavors have more time to become best friends. Tightly covered, it will keep beautifully in the refrigerator for up to 5 days.
Q: Can I freeze this cheesecake?
A> Absolutely! You have two options. 1) Freeze the whole, cooled cheesecake (without ganache) tightly wrapped in plastic and foil for up to 2 months. Thaw overnight in the fridge before adding ganache and serving. 2) Freeze individual slices on a parchment-lined baking sheet until solid, then wrap each slice and store in a container. Perfect for satisfying a single-serve craving!