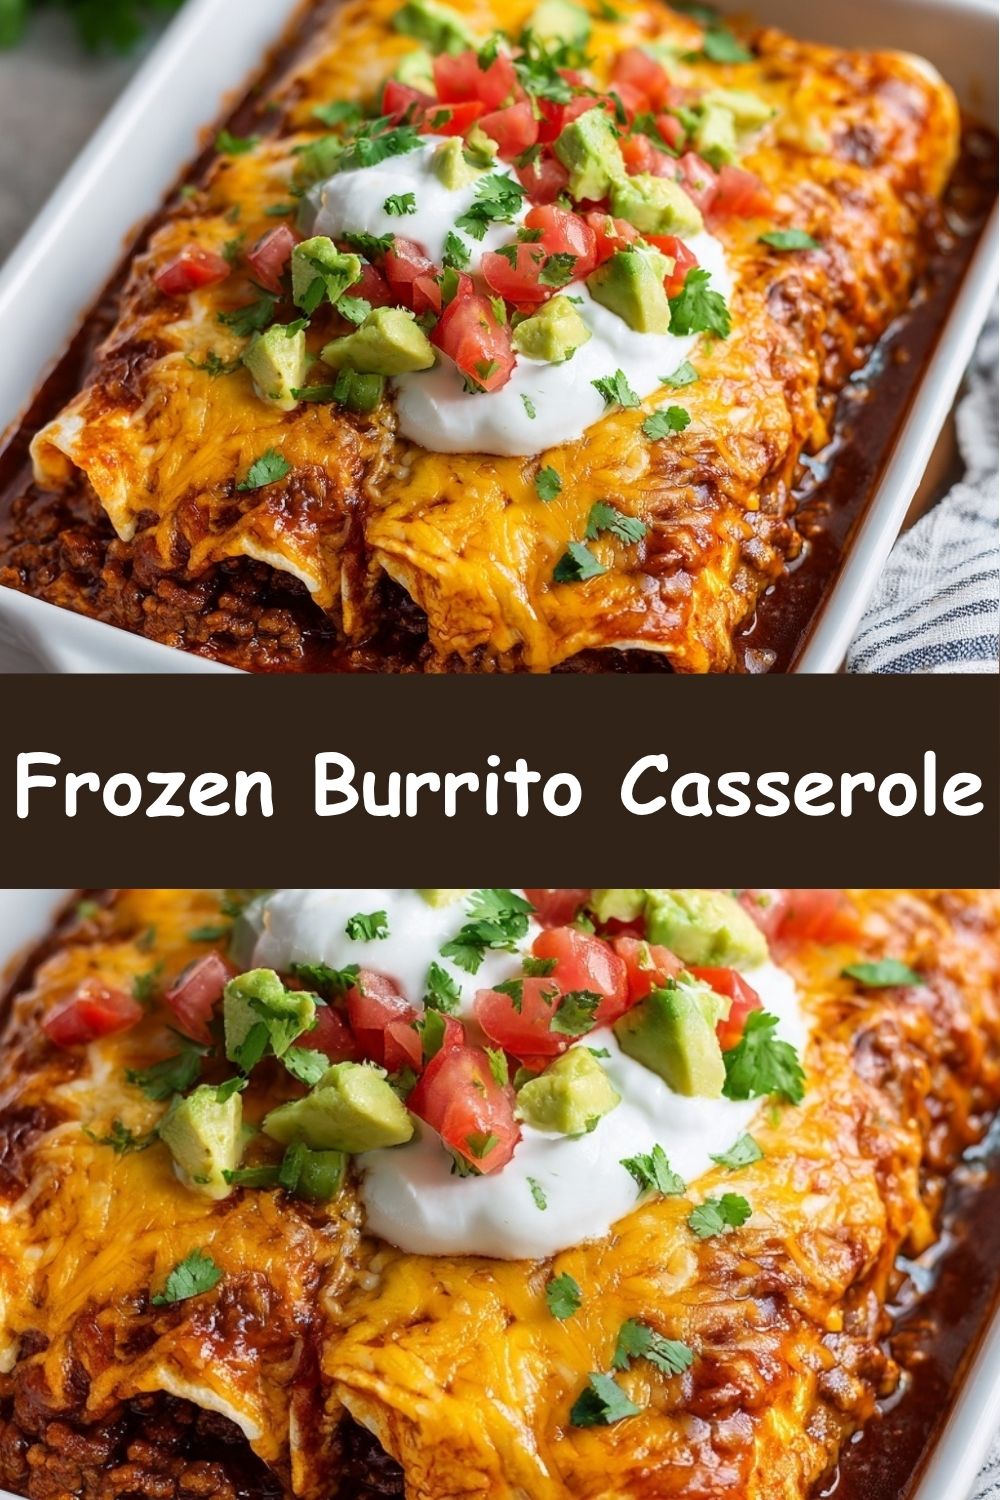
Frozen Burrito Casserole: The Easiest, Cheesiest Comfort Food Hack
When Life Gives You Frozen Burritos, Make a Casserole!
Hey there, my fellow kitchen adventurer! Let’s be real for a hot second. Some days, you’re ready to channel your inner culinary goddess, julienning vegetables and creating from-scratch masterpieces that would make a Michelin-star chef nod in approval. And other days? Well, other days, you’re staring into the abyss of your freezer at 6 p.m., your stomach is growling a symphony of hunger, and the mere thought of chopping an onion feels like a Herculean task.
If you’re having one of *those* days, my friend, you have landed in the right place. This isn’t a recipe for judgment; it’s a recipe for salvation. Today, we’re throwing perfection out the window and embracing the glorious, messy, and utterly delicious world of the Frozen Burrito Casserole.
Think of this as the ultimate kitchen life hack. We’re taking humble, freezer-staple burritos and transforming them into a bubbling, saucy, cheesy fiesta that feels a million times more special than the sum of its parts. It’s the kind of meal that gathers everyone around the table with zero fuss, maximum flavor, and the kind of comfort that hugs you from the inside out. So, let’s ditch the stress, grab that baking dish, and cook up something that’s not only nourishing for the body but also for the soul (and your schedule!). Ready? Let’s get this cozy party started!
A Dorm-Room Discovery & The Birth of a Legend
This recipe takes me back. Way back to my college years, living in a tiny apartment with a kitchen the size of a postage stamp. My roommate, Sarah, and I existed on a strict budget of instant ramen, cafeteria coffee, and, you guessed it, frozen burritos. They were our cheap, filling, and utterly reliable lifeline.
One particularly brutal finals week, we were both running on three hours of sleep and pure adrenaline. Dinner was, once again, a couple of sad-looking burritos spinning sadly in the microwave. But then, Sarah had a stroke of genius. “What if we… bake them?” she mused, holding up a half-used jar of salsa and some leftover shredded cheese from a long-forgotten taco night. We tossed our frozen burritos into a pie dish (we didn’t own a proper casserole pan!), drowned them in salsa, and blanketed them with every last shred of cheese. The result? A bubbling, golden-brown revelation. It was the same ingredients, but it felt like a *meal*. It felt like comfort. We felt like we’d cracked the code to easy, feel-good food, and that spirit of simple, joyful cooking is exactly what I’ve carried with me ever since.
Print
Frozen Burrito Casserole
- Total Time: 40 mins
- Yield: serves 4
Description
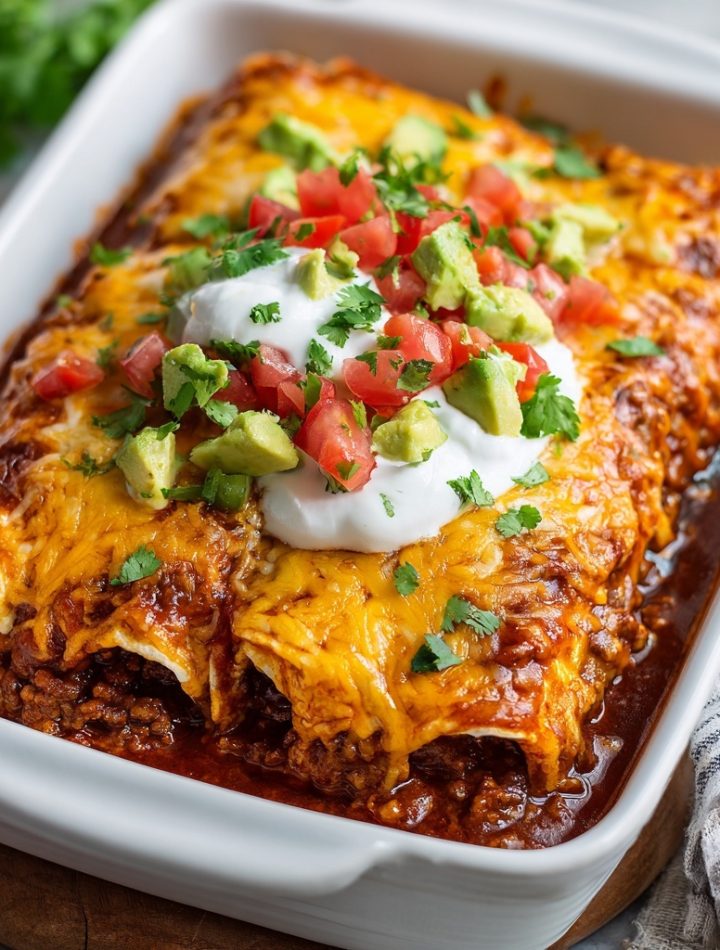
An ultra-easy comfort food recipe made with frozen burritos, enchilada sauce, and cheese — ready with minimal effort.
Ingredients
8 frozen burritos (beef & bean, bean & cheese, or your choice)
1 (28 oz) can enchilada sauce
2 cups shredded cheese (Mexican blend or cheddar)
Sour cream, for topping
Optional toppings: avocado, chopped tomato, cilantro, green onions, jalapeños
Instructions
Preheat oven to 375°F (190°C).
Arrange the frozen burritos in a greased 9×13″ baking dish.
Pour the enchilada sauce evenly over the burritos.
Sprinkle with shredded cheese.
Cover with foil and bake for 25 minutes.
Remove foil and bake an additional 10 minutes or until cheese is bubbly and edges are slightly crispy.
Top with sour cream and desired toppings before serving.
Estimated Nutrition (Per Serving: 2 burritos with sauce and cheese)
- Prep Time: 5 min
- Cook Time: 30 mins
- Category: Dinner
Nutrition
- Calories: 520
- Fat: 28g
- Carbohydrates: 48g
- Protein: 21g
Gather Your A-Team: The Cast of Characters
Here’s the beautiful part: you only need a handful of ingredients to create this magic. This is about building layers of flavor with minimal effort. Let’s break it down.
- 8 Frozen Burritos (your choice!): This is the star of the show! Don’t overthink it. Beef & bean is a classic, hearty choice. Bean & cheese is a fantastic vegetarian option. I’ve even used the grilled chicken and rice ones in a pinch, and they work beautifully. The beauty is in the customization! Chef’s Insight: Opt for burritos that are on the smaller side (think “lunch-sized”) rather than the massive, one-pound ones. They heat through more evenly and are easier to serve.
- 1 (28 oz) Can of Enchilada Sauce: This is the flavor bath that transforms everything! It keeps the burritos moist and infuses them with that authentic, slightly spicy chili flavor. Substitution Tip: No enchilada sauce? A can of red or green salsa (salsa verde) will work in a pinch! The texture will be a bit chunkier, but the flavor will still be fantastic.
- 2 Cups Shredded Cheese: The glorious, melty blanket. A Mexican blend is perfect because it usually has a mix of cheddar, Monterey Jack, and asadero, which melts into gooey perfection. Chef’s Insight: For a next-level experience, shred your own cheese from a block! Pre-shredded cheese is coated with anti-caking agents that can sometimes make the melt a little less smooth. But hey, we’re keeping it easy—use what you’ve got!
- Sour Cream & Optional Toppings: This is where you make it your own! The cool, creamy sour cream is the perfect contrast to the hot, saucy casserole. Pro-Top Tip: Don’t skip the fresh toppings! They add crucial texture and brightness. Think: diced avocado, chopped fresh cilantro, a squeeze of lime juice, sliced green onions, or pickled jalapeños for a kick.
Let’s Build Our Masterpiece: Step-by-Step
Okay, team. This is where the magic happens. It’s so simple, you barely need a recipe, but follow along for my favorite little hacks to make it absolutely perfect.
- Preheat and Prep. First things first, get that oven preheating to 375°F (190°C). While it’s warming up, grab your trusty 9×13-inch baking dish and give it a quick spritz with cooking spray or a light smear of oil. Little Chef Hack: This isn’t just for non-stick purposes! A light coating of fat on the bottom and sides will help the edges of the sauce and cheese get deliciously crispy and caramelized. We’re building flavor and texture everywhere we can!
- Arrange the Burritos. Take your frozen burritos straight from the freezer and arrange them in the dish. I like to place them in two rows of four, snuggled up close but not crammed in. They need a little personal space for the sauce to flow around them. Commentary: Don’t thaw them! The whole point is that we’re building this from a frozen state for ultimate ease. The sauce and oven time will heat them through perfectly.
- The Flavor Bath. Now, open that can of enchilada sauce and pour it evenly over the top of the burritos. I like to use a spoon or tilt the dish to help the sauce run down into all the nooks and crannies. You want every single inch of those burritos to get acquainted with that saucy goodness. Little Chef Hack: If you’re feeling fancy, mix a tablespoon of sour cream or a squeeze of lime juice into the enchilada sauce before pouring. It adds a lovely little tangy creaminess.
- The Cheesy Blanket. Time for the cheese! Sprinkle that beautiful shredded cheese evenly over the top, making sure to cover the burritos and the exposed sauce. Don’t be shy—this is the glue that holds our flavor party together. Commentary: Using your hands to sprinkle cheese gives you more control for an even layer than pouring from the bag. It’s the little things!
- Bake to Bubbly Perfection (Part 1). Now, cover the entire dish tightly with aluminum foil. This is a CRUCIAL step! The foil creates a steamy little sauna inside the dish, which gently heats the frozen burritos all the way through without burning the cheese on top. Slide it into your preheated oven and bake for 25 minutes.
- Bake to Bubbly Perfection (Part 2). After 25 minutes, carefully remove the dish from the oven (steam is hot!) and take off the foil. Ah, behold! It’s already looking saucy and melty. Now, pop it back into the oven, uncovered, for another 10 minutes. This final blast of heat will brown the cheese beautifully, crisp up the edges of the sauce, and give the whole thing that irresistible, golden-brown finish.
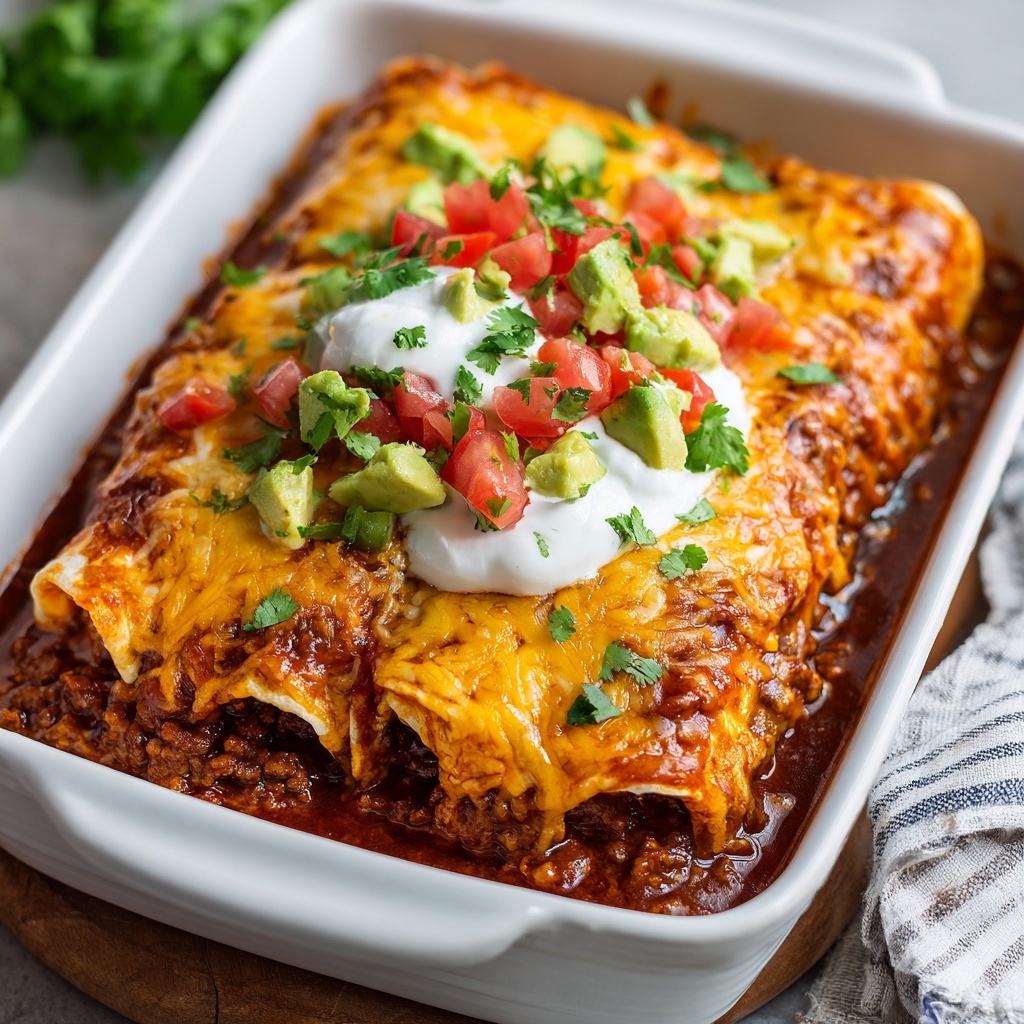
- The Grand Finale: Toppings! Pull the casserole out of the oven and let it sit for just 2-3 minutes. This allows it to set slightly, making it easier to serve. Then, go to town with your toppings! Dollop on that cool sour cream, scatter on the vibrant cilantro and green onions, and add those creamy avocado slices. This is the step that transforms it from a simple casserole to a restaurant-worthy plate.
How to Serve This Saucy Sensation
This casserole is a complete meal in a dish, but presentation is half the fun! I love using a large, flat spatula to carefully lift out one or two burritos per person, making sure to get plenty of that saucy, cheesy goodness from the bottom of the pan. Spoon a little extra sauce from the dish over the top. For a true fiesta vibe, serve it with a simple side of tortilla chips for scooping up any runaway sauce and a bright, zesty lime wedge for squeezing over everything. It’s a casual, serve-yourself kind of meal that’s perfect for a cozy family dinner or a low-key game night with friends.
Make It Your Own: Creative Twists & Swaps
The fun doesn’t stop here! This recipe is a blank canvas for your culinary creativity. Here are a few of my favorite ways to mix it up:
- Green Chile & Chicken: Use frozen chicken burritos and swap the red enchilada sauce for a green salsa verde. Top with pepper jack cheese for an extra kick!
- Fiesta Veggie Delight: Use bean and cheese burritos. Before adding the sauce, scatter a cup of frozen corn and a can of drained black beans over the burritos. Proceed as normal for a fiber-packed powerhouse.
- Breakfast-for-Dinner: Yes, you can! Use frozen breakfast burritos (egg, sausage, potato), and use a creamy salsa or even a diluted queso dip as your “sauce.” Top with cheddar cheese and serve with a side of hot sauce.
- Fully Loaded: Stir a can of diced green chiles or a cup of cooked, seasoned ground beef into the enchilada sauce before pouring it over the top for an even heartier dish.
Clara’s Kitchen Notes & Stories
This recipe has been a constant in my life for years, and it’s evolved in the funniest ways. One time, in a pre-coffee haze, I accidentally used a can of condensed tomato soup instead of enchilada sauce. My husband, ever the trooper, took one bite and said, “This is… interesting. Kind of like a Mexican-Italian fusion?” We still laugh about it. It was… not good, folks. Stick to the enchilada sauce!
Over time, I’ve learned that the true secret to this dish’s success isn’t just the ingredients; it’s the mindset. It’s a reminder that a great meal doesn’t have to be complicated. It’s about gathering, sharing, and giving yourself permission to take a shortcut without an ounce of guilt. This casserole has fed me through busy work weeks, impromptu potlucks, and countless “I just can’t even” evenings. It’s a little piece of my story, and I hope it becomes a reliable, delicious part of yours, too.
Your Questions, Answered!
I’ve made this more times than I can count, so I’ve encountered (and solved!) a few common hiccups. Here’s the inside scoop.
Q: My burritos are still cold in the middle! What happened?
A: Ah, the classic frozen-center dilemma! This usually happens if the burritos are extra large or your oven runs a bit cool. The foil stage is key for heating the interior. Next time, try baking covered for 30 minutes, then uncovering for 10. You can also check one with a knife tip—if it’s hot inside, you’re good to go!
Q: Can I make this ahead of time?
A: You can! Assemble the whole casserole (burritos, sauce, cheese) in the dish, cover it tightly with plastic wrap and then foil, and freeze it for up to a month. When you’re ready, bake it from frozen, but you’ll need to add about 15-20 minutes to the covered baking time. It’s a lifesaver for meal prep!
Q: The top is getting too brown before the inside is hot. Help!
A> No worries! This is an easy fix. If the cheese is browning too quickly during the uncovered bake, just lay a loose piece of foil over the top (you don’t need to seal it) to act as a little shield. This will slow down the browning while the inside continues to cook.
Q: My casserole is a bit soupy. Is that normal?
A> A little sauciness is part of the charm! But if it’s too liquidy for your taste, it could be the brand of burrito or sauce. Let it rest for 5-10 minutes after baking—this allows the starches in the sauce and burritos to thicken everything up beautifully.
Nutritional Snapshot*
*Remember, this is a rough estimate and can vary widely based on the brands you choose!
- Calories: ~520
- Protein: ~21g
- Fat: ~28g
- Carbohydrates: ~48g
- Fiber: 6g
This is a satisfying, balanced meal that provides a good mix of protein, carbs, and fats to keep you full and fueled. To lighten it up, opt for low-fat cheese, lean protein burritos, and load up on those fresh veggie toppings!