Let’s Make a Bowl of Cozy: The Ultimate Low-Carb Chili
Is there anything better than a steaming, fragrant bowl of chili on a crisp day? That deep, brick-red color, the way the savory steam fogs up your glasses, the promise of spices that warm you from the inside out… it’s a hug in a bowl. It’s the culinary equivalent of your favorite worn-in sweater. But for so long, if you were watching your carbs, that comforting bowl came with a side of guilt. All those beans and the inevitable cornbread sidekick could make a simple craving feel complicated.
Well, my friends, I’m here to tell you that the era of compromise is over. Today, we’re making my Dad’s legendary, award-winning chili—but we’re giving it a glow-up that keeps all the soul and skips the carbs. This isn’t a “diet” food; it’s a flavor powerhouse. We’re talking about a chili that’s unapologetically rich, deeply spiced, and so satisfyingly hearty, you won’t even miss the beans.
This low-carb chili is my go-to for meal prepping my weeks, for fueling up after a chilly afternoon walk, and for being the undisputed star of game day spreads. It’s packed with seasoned ground beef, fire-roasted tomatoes, and a symphony of spices that will make your kitchen smell like a dream. So, grab your favorite heavy-bottomed pot and let’s cook up a storm. We’re about to create a bowl of bold flavor that’s all heat, zero guilt.
The Secret’s in the Pot (And My Dad’s Apron)
This recipe has roots. Deep, delicious roots in my childhood kitchen, specifically in my dad’s infamous “Chili Cook-Off Champion” apron (a title he still boasts about, some twenty years later). His chili was a legendary event in our house. The big stock pot would come out, and he’d spend hours layering flavors, tasting, and adjusting with a serious, focused look that usually only appeared during tax season.
The secret weapon, he’d whisper to me, was a tiny pinch of unsweetened cocoa powder. “It’s not for sweetness, kiddo,” he’d say, “It’s for depth. It makes the chili taste… older. Wiser.” I’d stand on a step-stool, peering into the pot, completely mesmerized. That chili was more than just dinner; it was a trophy, a story, a pot of pure, unadulterated love. When I started my own health journey, his chili was one of the first things I wanted to reinvent. I kept his spirit—and that brilliant hint of cocoa—but swapped the bean-heavy base for a leaner, meaner, low-carb version that packs the same nostalgic punch. Every time I make it, I swear I can hear him saying, “Needs more cumin.” He was always right.
Print
Low Carb Chili
- Total Time: 50 minutes
- Yield: serves 6
Description
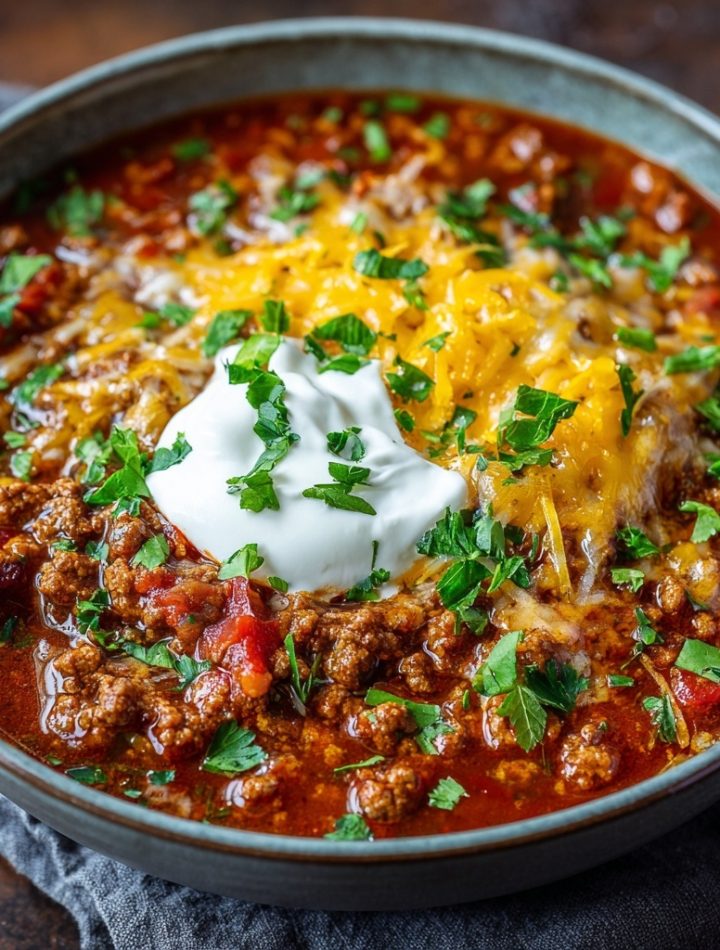
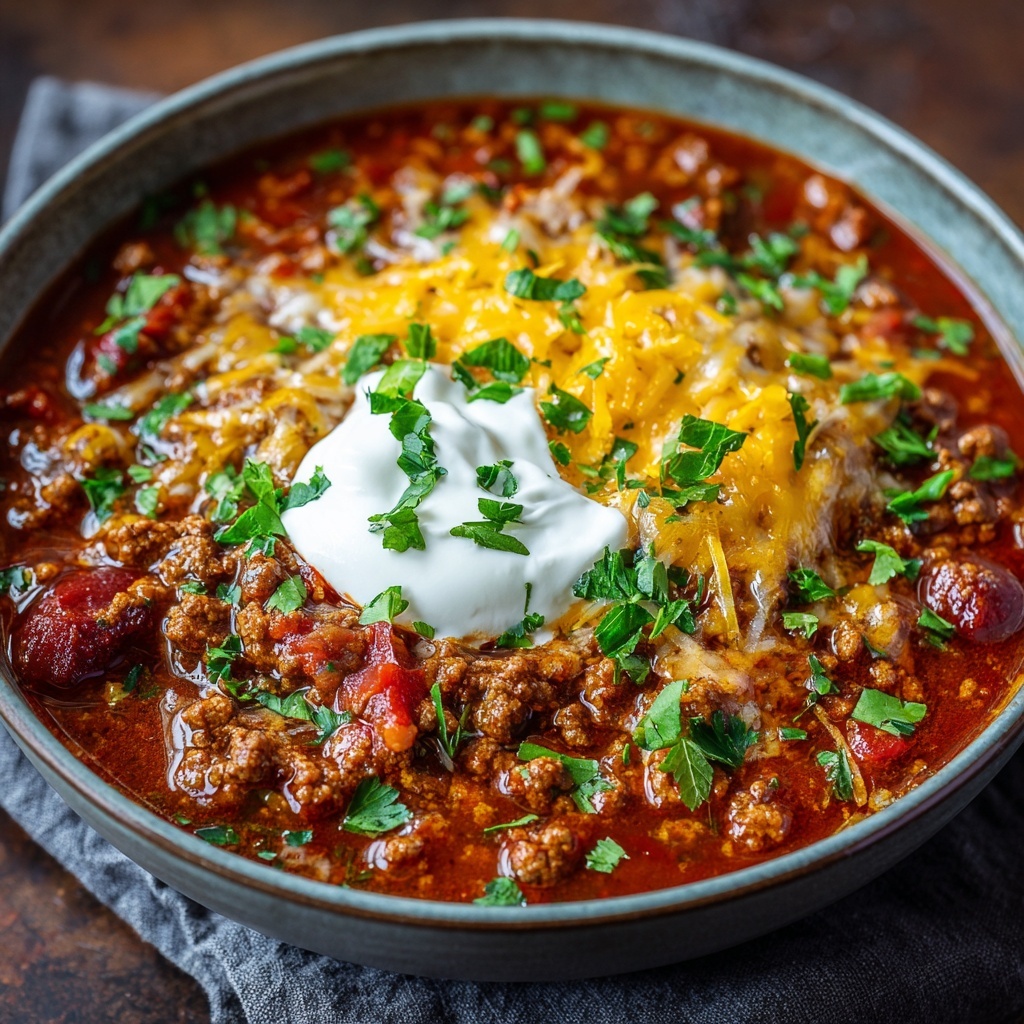
This is comfort food with a kick—dad’s award-winning chili, reimagined without the carbs. Loaded with seasoned ground beef, tomatoes, and bold spices (but no beans), it’s rich, hearty, and perfect for meal prep, game day, or whenever you crave a bowl of bold flavor without the extra carbs.
Ingredients
2 lbs ground beef (80/20 for flavor)
1 tbsp olive oil
1 medium onion, diced
3 cloves garlic, minced
2 cans (14.5 oz) diced tomatoes
1 can (6 oz) tomato paste
1 cup beef broth
1 tbsp chili powder
2 tsp cumin
1 tsp smoked paprika
½ tsp cayenne pepper (adjust to heat preference)
Salt and black pepper, to taste
Optional: ½ tsp cinnamon or cocoa powder for depth
Toppings: sour cream, shredded cheese, green onions, avocado
Instructions
Brown the Meat: Heat olive oil in a large pot over medium heat. Add onion and garlic, sauté until soft. Add ground beef and cook until browned. Drain excess fat.
Add Flavor: Stir in tomato paste, diced tomatoes, broth, and all spices.
Simmer: Reduce heat and simmer uncovered for 30–40 minutes until thickened and rich. Stir occasionally.
Serve: Taste and adjust seasoning. Top as desired and serve hot.
- Prep Time: 10 mins
- Cook Time: 40 minutes
- Category: Dinner
Nutrition
- Calories: 390
- Fat: 26g
- Fiber: 2g
- Protein: 33g
Gathering Your Flavor All-Stars
This is where the magic starts! We’re using simple, whole ingredients that work together to create something truly spectacular. Here’s your shopping list and a few of my chef-y insights to help you understand the “why” behind each item.
- 2 lbs ground beef (80/20 for flavor): I’m a big believer that fat equals flavor, and an 80/20 blend gives you the perfect richness without being greasy. Chef’s Tip: If you prefer leaner meat, 90/10 works too, just make sure to not overcook it!
- 1 tbsp olive oil: Just enough to get our onions and garlic happily sizzling.
- 1 medium onion, diced & 3 cloves garlic, minced: The aromatic dream team! They form the flavor foundation of our chili. Don’t rush the sauté—we want them soft and sweet, not burnt.
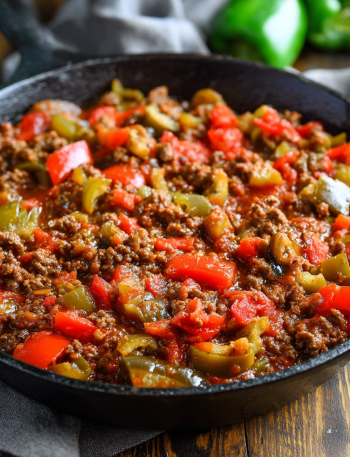
- 2 cans (14.5 oz) diced tomatoes: I’m obsessed with fire-roasted diced tomatoes for an extra smoky kick, but regular work perfectly. They bring the classic chili texture and a touch of bright acidity.
- 1 can (6 oz) tomato paste: This is our flavor concentrator! It adds a rich, deep tomato base and helps thicken the chili beautifully.
- 1 cup beef broth: This creates the perfect saucy consistency. Substitution: Bone broth is fantastic here for an extra protein and collagen boost.
- 1 tbsp chili powder, 2 tsp cumin, 1 tsp smoked paprika: The holy trinity of chili spices. Smoked paprika is my secret weapon for that “cooked-for-hours” smokiness.
- ½ tsp cayenne pepper: This is your heat dial! Love spice? Go for a full teaspoon. Prefer it mild? A scant ¼ tsp will do. You’re the boss of your bowl.
- Salt and black pepper, to taste: Essential for making all those other flavors pop!
- Optional: ½ tsp cinnamon or cocoa powder: My dad was onto something! A tiny bit of either adds incredible, complex depth that will have people asking, “What is *that* amazing flavor?”
Let’s Get Cooking: Your Step-by-Step Chili Guide
Ready to transform these simple ingredients into a masterpiece? Follow these steps, and you’ll be a chili champion in no time. I’ve packed this section with all my favorite kitchen hacks to make the process foolproof and fun.
- Brown the Meat & Sauté the Aromatics: Place your large pot or Dutch oven over medium heat and add that tablespoon of olive oil. Once it shimmers, toss in your diced onion. Let them cook for about 4-5 minutes, until they turn translucent and sweet. Now, add the minced garlic and stir for just 30 seconds until fragrant—garlic burns fast, and we want aroma, not bitterness! Next, crumble in the ground beef. Use your spoon to break it up as it cooks. We’re looking for a nice, even brown here, not gray steam. Once it’s fully browned, this is the time to drain off any excess fat. I usually tip the pot and use a spoon to remove it, but you can also carefully drain it into a old jar. Chef’s Hack: Don’t skip draining the fat! It prevents your chili from being greasy and ensures the other flavors can shine through.
- Build Your Flavor Foundation: This is the most important step! Now that your beef is browned and drained, push it to one side of the pot. On the cleared, hot surface, add the tomato paste. Let it cook for a full minute, stirring it right on the bottom of the pot. You’ll see it darken slightly and smell a rich, toasty aroma. This “blooms” the tomato paste, unlocking a much deeper, sweeter flavor than if you just dumped it in. Now, add the diced tomatoes (with their juices!), the beef broth, and all your spices—chili powder, cumin, smoked paprika, cayenne, salt, pepper, and that secret pinch of cinnamon or cocoa if you’re using it. Give everything a gigantic, enthusiastic stir, making sure the tomato paste is fully dissolved and incorporated.
- The Simmer of Success: Bring your chili to a lively bubble, then immediately reduce the heat to low. We want it at a gentle, lazy simmer. Let it cook uncovered for 30-40 minutes. This is not just cooking time; it’s *marrying* time. The flavors are getting to know each other, the liquid is reducing, and the texture is thickening into that perfect, rich chili consistency. Stir it occasionally to make sure nothing sticks to the bottom. You’ll know it’s ready when you dip a spoon in and the chili coats the back of it thickly. Chef’s Hack: Taste it at the 30-minute mark! This is your final chance to adjust the seasoning. Need more salt? A pinch more cayenne? This is where you make it yours.
- The Final Act: Serve It Up! Your kitchen should smell incredible by now. Turn off the heat and ladle the chili into bowls. But wait, we’re not done! The toppings are the jewelry that makes the outfit sparkle.
How to Serve Your Masterpiece
Presentation is part of the fun! I love serving this chili in wide, shallow bowls so there’s plenty of room for the good stuff on top. Go for a cool, creamy dollop of full-fat sour cream or Greek yogurt, a generous handful of sharp shredded cheddar cheese, a sprinkle of vibrant green onions, and a few slices of buttery avocado. For a low-carb crunch, a few pork rinds on the side are surprisingly delicious for dipping. If you’re not strictly low-carb, a slice of my favorite keto cornbread or a bed of fluffy cauliflower rice makes it a complete and utterly comforting meal.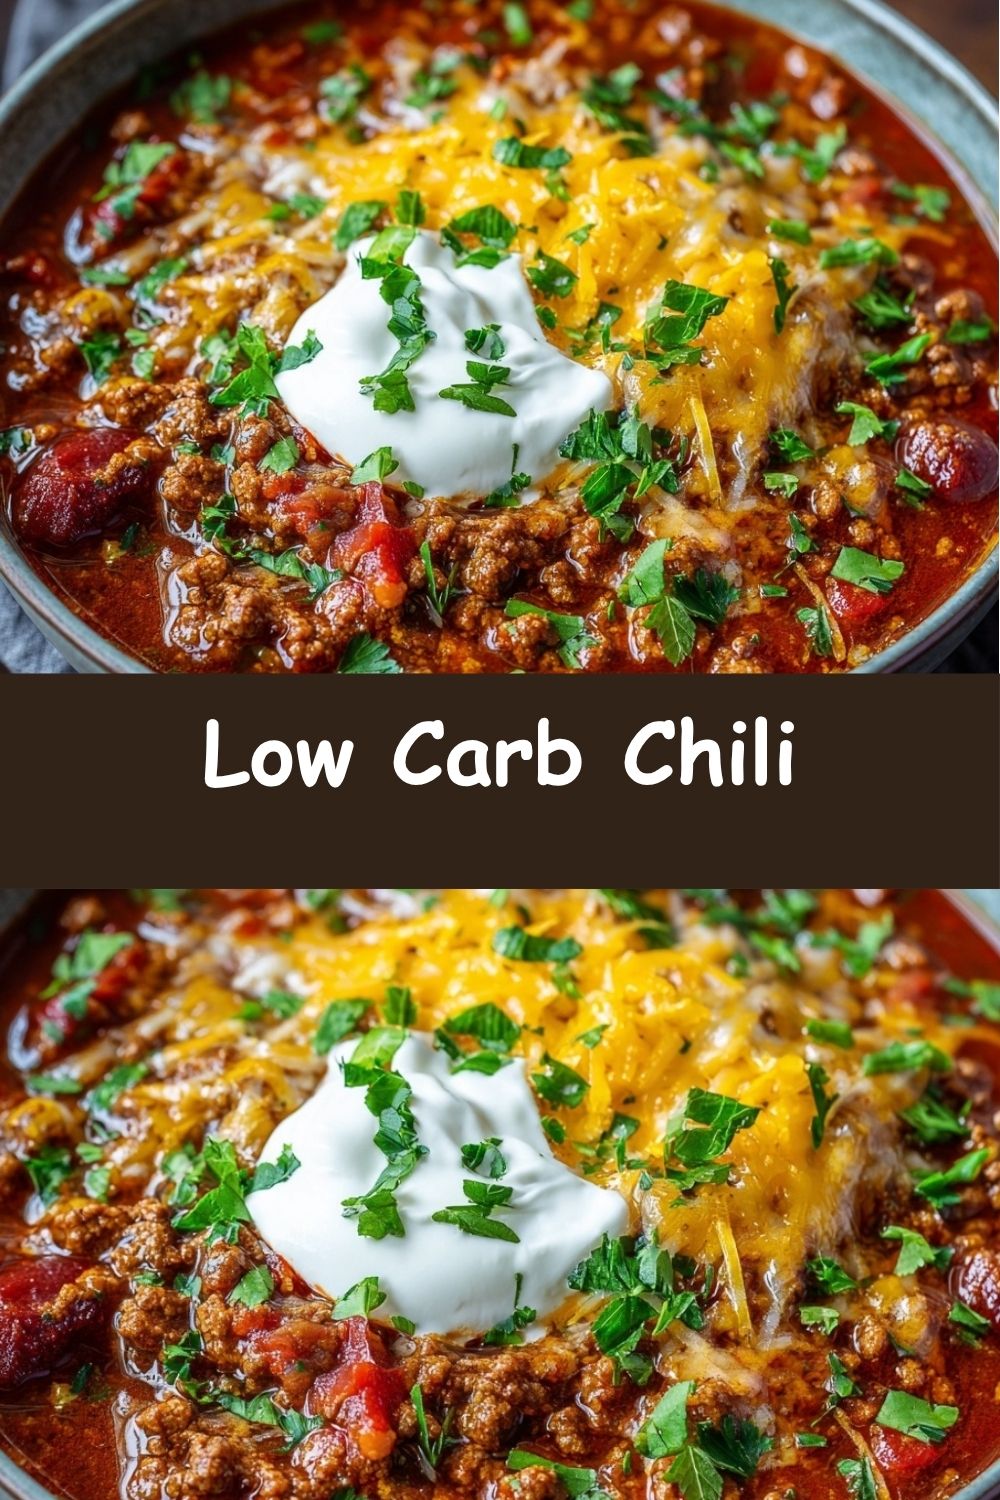
Shake It Up! Creative Chili Twists
Once you’ve mastered the base, the world is your chili oyster! Here are a few of my favorite ways to mix it up:
- Spicy Green Chile: Swap the ground beef for ground chicken or turkey. Use green enchilada sauce instead of diced tomatoes and add a can of diced green chiles. Spices? Think cumin, oregano, and a little less chili powder.
- Pumpkin Pie Chili: Sounds wild, tastes amazing! Add ½ cup of pure pumpkin puree and a dash of pumpkin pie spice along with the other spices. It adds a subtle sweetness and velvety texture that’s perfect for fall.
- Texas-Style “Bowl of Red”: For the purists! Use chunks of beef stew meat instead of ground beef and skip the tomatoes entirely. Rely on a rich, spiced beef broth and a longer, slower simmer for a melt-in-your-mouth texture.
- White Chicken Chili: A totally different vibe! Use shredded rotisserie chicken, chicken broth, and creamy ingredients like cream cheese or coconut milk. Flavor it with cumin, coriander, and a touch of lime juice at the end.
From My Kitchen to Yours: A Few Parting Thoughts
This recipe has been a living, evolving thing in my kitchen. The first time I made it, I was so nervous about it being “too different” that I under-spiced it. It was… beige. A culinary lesson learned! Now, I’m not afraid to be heavy-handed with the cumin and smoked paprika. I also learned that this chili is arguably even better the next day. The flavors continue to mingle and deepen in the fridge overnight, making it the ultimate meal prep hero.
One funny story: I once brought this to a potluck and didn’t tell anyone it was low-carb. A friend, who is a serious chili traditionalist, had three bowls before I mentioned there weren’t any beans. His jaw dropped. “But… it’s so good?!” was all he could say. That’s the best compliment this curious cook could ask for. It just goes to show that when you focus on big, bold flavors, you don’t need filler. You just need a good pot and a hungry heart.
Your Chili Questions, Answered!
I get a lot of questions about this recipe, so I’ve compiled the most common ones here to help you out!
Q: My chili turned out a bit watery. How can I fix it?
A: No worries, this is an easy fix! The simplest way is to let it simmer uncovered for another 10-15 minutes to reduce the liquid. If you’re in a hurry, you can make a quick slurry by mixing 1 tablespoon of almond flour or coconut flour with 2 tablespoons of cold water. Stir this into the simmering chili, and it will thicken up in just a minute or two.
Q: Can I make this in a slow cooker or Instant Pot?
A: Absolutely! For the Slow Cooker: Follow step 1 on the stovetop to brown the meat and sauté the aromatics, then transfer everything to your slow cooker. Cook on LOW for 6-8 hours or HIGH for 3-4 hours. For the Instant Pot: Use the Sauté function for step 1. Add all remaining ingredients, seal the lid, and cook on High Pressure for 15 minutes. Let the pressure release naturally for 10 minutes before quick-releasing the rest.
Q: Is it really okay to leave out the beans?
A> I promise! Traditional chili purists will tell you that authentic Texas chili never has beans. We’re just following in that proud tradition! By removing the beans, we’re highlighting the deep flavor of the meat and spices and keeping the carb count way down. You won’t miss them.
Q: How long does this chili last in the fridge or freezer?
A> This is a meal prep superstar! It will stay fresh in an airtight container in the fridge for up to 5 days. For the freezer, let it cool completely, then portion it into freezer-safe bags or containers. It will keep its delicious flavor for up to 3 months. To reheat, just thaw it overnight in the fridge and warm it gently on the stovetop or in the microwave.
Nutritional Information*
*Please note: This is an estimate and can vary based on specific ingredients used and portion sizes.
- Calories: 390
- Protein: 33g
- Fat: 26g
- Total Carbohydrates: 6.5g
- Fiber: 2g
- Net Carbs: 4.5g
- Sodium: 600mg