 Wake Up Your Taste Buds with the Easiest (and Tastiest!) Snack Hack Ever!
Hey there, cereal lovers and snack seekers! Clara here from Unknown, your partner-in-crime for turning everyday ingredients into pure, feel-good magic. Remember that childhood joy of pouring a big bowl of cereal, the satisfying crunch, the hint of sweetness? What if I told you we could bottle that feeling into a grab-and-go bar that’s perfect for breakfast dashes, lunchbox surprises, or that 3 PM slump when you need a happy little boost?
These Milk and Cereal Bars are my absolute obsession right now. Seriously, they taste like nostalgia hugged a protein bar and decided to get fancy. We’re talking crunchy, creamy, fruity, and ridiculously easy – zero baking required. Just mix, press, chill, and drizzle! They’re the ultimate answer to “I need something wholesome, delicious, and FAST.” Whether you’re rushing out the door, packing for a hike, or just want a treat that won’t leave you crashing, these bars are your new best friend. They’re made with real ingredients you can feel good about, and the customizable vibe means you can play with flavors like a kitchen DJ. Ready to make your snack life infinitely brighter? Let’s do this!
That Time Cereal Saved My Camping Trip (and My Sanity)
Picture this: Me, five years ago, on my first “real” camping trip with friends. I’d packed what I thought were genius gourmet meals… and completely forgot about snacks. By day two, after miles of hiking, hangry was an understatement. My friend Sarah, the camping queen, just grinned and pulled out these lumpy, foil-wrapped bars from her pack. “Breakfast of champions,” she declared. One bite of her homemade cereal bar – crunchy, chewy, bursting with dried berries – and I was a convert. It tasted like comfort and energy all rolled into one. Right there by the campfire, covered in dirt but utterly blissful, I knew I had to recreate that magic.
These Milk and Cereal Bars are my evolved, slightly more polished (but just as soul-warming) tribute to Sarah’s camping hack. They remind me that the best food isn’t always fancy; it’s what fuels your adventures and makes you smile. Every time I make them, I get a little flashback to that mountain air and the sheer relief of a perfect snack rescue!
Print
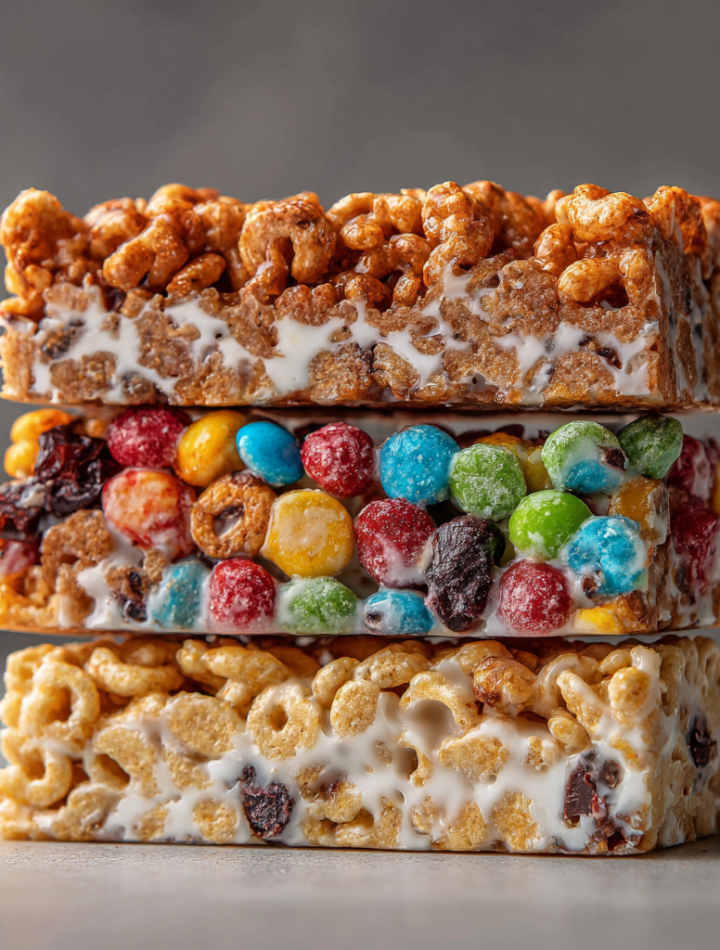
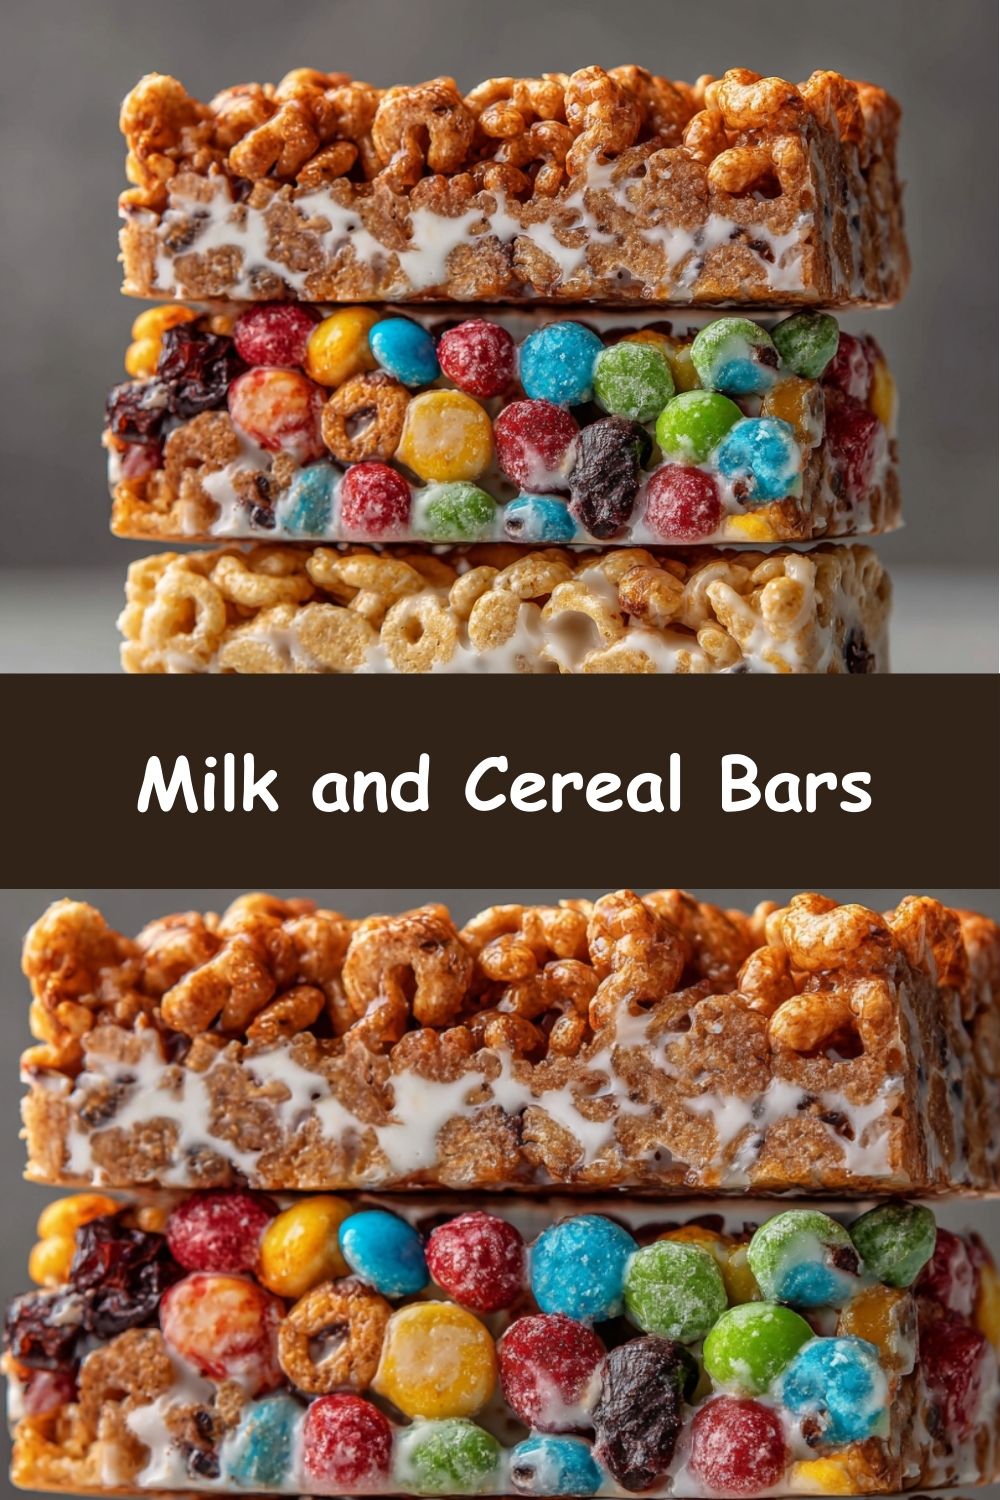
Milk and Cereal Bars
- Total Time: 25 minutes
- Yield: 12 Bars 1x
Description
Start your morning or snack break with a crunchy, creamy, fruity treat! These no-bake Milk and Cereal Bars come together in minutes and offer the perfect combo of texture and sweetness—ideal for lunchboxes, road trips, or a grab-and-go breakfast you can actually look forward to.
Ingredients
2¾ cups (560 mL) Cheerios™ (not crushed)
2 tbsp (30 mL) creamy nut butter
¼ cup (50 mL) honey or agave
½ cup (125 mL) freeze-dried strawberries
½ cup (125 mL) yogurt chips or white chocolate morsels
Instructions
Mix Base: In a large mixing bowl, combine Cheerios and freeze-dried strawberries.
Melt & Pour: Microwave nut butter and honey together in a small bowl on HIGH for 1 minute or until bubbling. Pour over cereal mixture and stir to coat evenly.
Shape Bars: Scoop mixture into bar molds or a lined baking pan, pressing down firmly to shape. Chill in the freezer for 10 minutes or refrigerate until firm.
Top It Off: Microwave yogurt chips until melted and drizzle over bars. Let them set in the fridge or at room temp before serving.
- Prep Time: 5 min
- Cook Time: 20 mins
Nutrition
- Calories: 110
- Fat: 3.5g
- Carbohydrates: 19g
- Protein: 2g
Your Cereal Bar Toolkit: Simple, Wholesome, & Full of Swaps!
- 2¾ cups (560 mL) Cheerios™ (not crushed): Our trusty base! Cheerios give that classic, light crunch and are mild enough to let other flavors shine. Chef’s Insight: Keep them whole for maximum texture! Swaps: Any similar plain O-shaped cereal works. For gluten-free, use certified GF oats or a GF crisp rice cereal.
- 2 tbsp (30 mL) creamy nut butter: The glue (and creamy richness)! Peanut butter is classic, but I adore almond or cashew butter for a subtler vibe. Tip: Use runny, natural nut butter for easiest mixing. Swaps: Sunflower seed butter for nut-free, or even tahini for a grown-up twist!
- ¼ cup (50 mL) honey or agave: Nature’s sweet binder! Honey adds depth, agave keeps it vegan. Chef’s Hack: Warm it slightly with the nut butter – it blends like a dream and coats every piece.
- ½ cup (125 mL) freeze-dried strawberries: Flavor bombs! They pack intense berry punch without adding moisture. Why Freeze-Dried? Fresh fruit makes bars soggy. Swaps: ANY freeze-dried fruit! Raspberries, blueberries, mango, or even banana chips (chop them small).
- ½ cup (125 mL) yogurt chips or white chocolate morsels: The happy drizzle! Yogurt chips add tangy creaminess, white chocolate is pure indulgence. Chef’s Secret: Melt slowly (low power!) to avoid seizing. Swaps: Dark chocolate chips, melted coconut butter, or skip the drizzle for a simpler bar.
Let’s Build Some Bars: Easy Peasy Steps!
- Mix Your Base Party: Grab a BIG bowl (trust me, you want room to stir!). Gently toss together the Cheerios and freeze-dried strawberries. Why gentle? We want to keep those strawberries mostly intact for juicy bursts! Chef’s Hack: If your strawberries are huge, give them a quick rough chop before adding.
- Melt & Make It Sticky: Combine the nut butter and honey (or agave) in a microwave-safe bowl. Zap it on HIGH for about 45-60 seconds. Watch closely! You want it bubbling hot and easily stirred into a smooth, glossy lava. Tip: Stir halfway through microwaving. If using thick nut butter, add 1 tsp of coconut oil to help it flow.
- Coating is Key: Immediately pour the hot, sticky mixture over the cereal and fruit. Use a sturdy spatula and fold, fold, fold! Get every single piece coated. It should look shiny and slightly clump together. Act fast! The mixture starts setting as it cools. Chef’s Test: Grab a small bit and press it in your palm. If it holds together easily, you’re golden!
- Shape & Chillax: Line an 8×8 inch pan with parchment paper (overhanging edges are your lifting handles!). Dump the mixture in and PRESS DOWN FIRMLY with the spatula or your hands (lightly greased or dampened to prevent sticking). Really compact it – this is crucial for bars that hold their shape! Option: Use silicone bar molds for perfect portions. Pop it into the FREEZER for 10 minutes (super fast set!) or the fridge for 30 minutes. Don’t skip this – it’s the magic setting time!
- Drizzle & Dream: Melt your yogurt chips or white chocolate in a small bowl in 20-second bursts, stirring well between each. Once smooth, use a spoon or fork to drizzle artfully (or enthusiastically!) over the chilled, firm slab. Chef’s Flair: Sprinkle on a tiny bit of extra crushed freeze-dried fruit or cereal for instant pretty points before the drizzle sets.
- The Final Countdown: Let the drizzle set. You can speed this up with another 5-10 minutes in the fridge, or let it happen at room temp (patience, grasshopper!). Once set, use the parchment paper to lift the whole slab out. Slice into bars with a sharp knife. Tip: Wipe the knife clean between cuts for neat edges.
Serving Up Smiles: How to Enjoy Your Creations!
These bars are basically sunshine in portable form! For breakfast, pair one with a piece of fruit or a hard-boiled egg for a balanced start. Toss one in a lunchbox alongside some veggies and hummus – it’s the sweet finale everyone craves. Heading out? Wrap them individually in parchment paper or reusable snack bags for hiking, road trips, or post-gym fuel. Storage Tip: Keep them in an airtight container in the fridge for up to a week (the chill keeps them perfectly firm!), or freeze for up to 2 months. They thaw quickly! For a fun dessert vibe, serve slightly chilled alongside fresh berries.
Mix It Up! Your Cereal Bar Playground
The beauty of this recipe? It’s your canvas! Here are 5 fun twists to try:
- Tropical Escape: Swap Cheerios for crispy rice cereal, use mango or pineapple freeze-dried fruit, and swap the drizzle for melted coconut butter mixed with a pinch of lime zest.
- Peanut Butter Cup Craze: Use peanut butter, add 2 tbsp cocoa powder to the melted nut butter/honey mix, and use freeze-dried raspberries. Drizzle with melted dark chocolate!
- Apple Cinnamon Hug: Use Cheerios, add 1 tsp cinnamon to the melted mixture, use freeze-dried apples, and stir in 2 tbsp chopped pecans before pressing. Drizzle with vanilla yogurt chips.
- Protein Power-Up: Add 2-3 tbsp of your favorite vanilla or unflavored protein powder to the melted nut butter/honey mixture *before* pouring over cereal. Great for post-workout!
- Seedy & Super: Swap ½ cup Cheerios for ½ cup puffed quinoa or millet. Add 2 tbsp chia seeds or hemp hearts to the dry mix. Use sunflower seed butter and drizzle with tahini mixed with a touch of maple syrup.
Clara’s Kitchen Confessions & Wisdom
Okay, real talk: My first batch of these? Total crumble city! I got impatient, didn’t press firmly enough, and tried to cut them while still warm. Lesson learned: PATIENCE and PRESSURE are your best friends here. Now, I channel my inner zen (or sometimes just stand on the wrapped slab for a sec!) to get that perfect compactness. Over time, I’ve fallen hard for using freeze-dried raspberries with almond butter and a dark chocolate drizzle – it feels fancy but takes minutes. The biggest evolution? Realizing these bars are the ultimate “clean out the pantry” recipe. Stray handful of nuts? Toss ’em in! Last bit of granola? Why not! It’s forgiving and fun. Just keep the wet-to-dry ratio similar. They’ve become my signature “oh-crap-I-forgot-to-make-something” lifesaver for potlucks – nobody needs to know how easy they were!
Your Cereal Bar Questions, Answered!
Q: Help! My bars are falling apart! What did I do wrong?
A: Don’t panic! This usually boils down to three things: 1) Not enough binder: Double-check your nut butter and honey measurements. If your nut butter is super thick, add 1 tsp of melted coconut oil next time. 2) Insufficient pressing: Really pack that mixture down HARD! Use the bottom of a glass or your knuckles. 3) Not chilled enough: Let them chill the full time (freezer is fastest!) until rock-solid before cutting. If they still crumble, crumble them over yogurt for a killer parfait!
Q: Can I use fresh fruit instead of freeze-dried?
A: I wish! But fresh fruit adds too much moisture, making the bars soggy and preventing them from setting properly. Freeze-dried fruit gives that intense flavor and crisp texture without the water. If you only have fresh, try making a compote (cook down berries with a touch of honey until thick) and swirl a tiny bit into the mixture before pressing, but expect a softer bar.
Q: My drizzle seized up and got clumpy! How do I fix it?
A: Chocolate and yogurt chips can be temperamental! Always melt in short bursts (20 secs max) and stir well between. If it seizes, add a tiny bit (½ tsp) of coconut oil or vegetable shortening and stir vigorously. If it’s truly beyond repair, skip the drizzle or sprinkle on unmelted chips/mini morsels before chilling.
Q: Can I make these vegan?
A: Absolutely! Use agave syrup instead of honey, choose a plant-based nut butter (like almond or peanut), and use dairy-free yogurt chips or vegan white chocolate for the drizzle. Ensure your cereal is vegan-friendly too (most plain Cheerios are, but check labels!).
Nutritional Snapshot (Per Bar)
Yield: 12 bars | Prep: 5 min | Total: 20 min
Approx. Per Bar: ~110 calories | 3.5g fat | 19g carbs | 2g protein
Note: Values are estimates and can vary based on specific ingredients/brands used. These bars offer a satisfying crunch and sweetness primarily from whole-grain cereal and natural sweeteners.
And there you have it—5 minutes, zero baking, and a snack that’s as fun as it is delicious! These cereal bars are crunchy, creamy, and endlessly customizable—perfect for breakfast, lunchboxes, or anytime your snack game needs an upgrade.