Hey, Crunch-Loving Friends! Let’s Make Magic Without the Oven
Picture this: It’s 7:45 AM, the school bus horn is blaring down the street, and tiny humans are frantically searching for mismatched socks. Your coffee’s gone cold (again), and lunchbox panic starts creeping in. Sound familiar? That’s exactly why these No-Bake Cereal Bars became my kitchen superhero cape! 🦸♀️✨
If you’re craving something that’s equal parts crunchy, chewy, secretly nourishing, and so easy it feels like cheating—you’re in the right place. These bars are like a cozy hug for your taste buds: sweet enough to satisfy, packed with real ingredients that make you glow, and sturdy enough to survive the wilds of a backpack. No fancy skills needed—just a bowl, a spoon, and that half-empty cereal box mocking you from the pantry. Whether you’re packing lunches, fueling post-workout vibes, or battling 3 PM cookie cravings, these bars are your edible high-five. Let’s ditch the oven and make snack-time magic!
The Lunchbox Rebellion & How These Bars Saved My Sanity
Flashback to last fall: My niece Maya (aka the Picky Pixie) declared war on “boring sandwiches.” Every. Single. Day. became a lunchbox negotiation. 😅 One rainy Tuesday, we raided my pantry like cereal bandits—crushed rice puffs, honey dripping everywhere, peanut butter smudged on the fridge door. We pressed that sticky mess into a pan, crossed our fingers… and voilà! The first batch of these bars emerged. Maya took one skeptical bite, then grinned with a honey-glazed chin: “Auntie Clara, it’s like eating CRUNCHY CLOUDS!” ☁️ Now? She helps me make them weekly, sneaking chocolate chips into her corner of the pan. That’s the beauty here: It’s not just a recipe. It’s a memory mixer—messy hands, sticky counters, and the joy of creating something deliciously yours.
Print
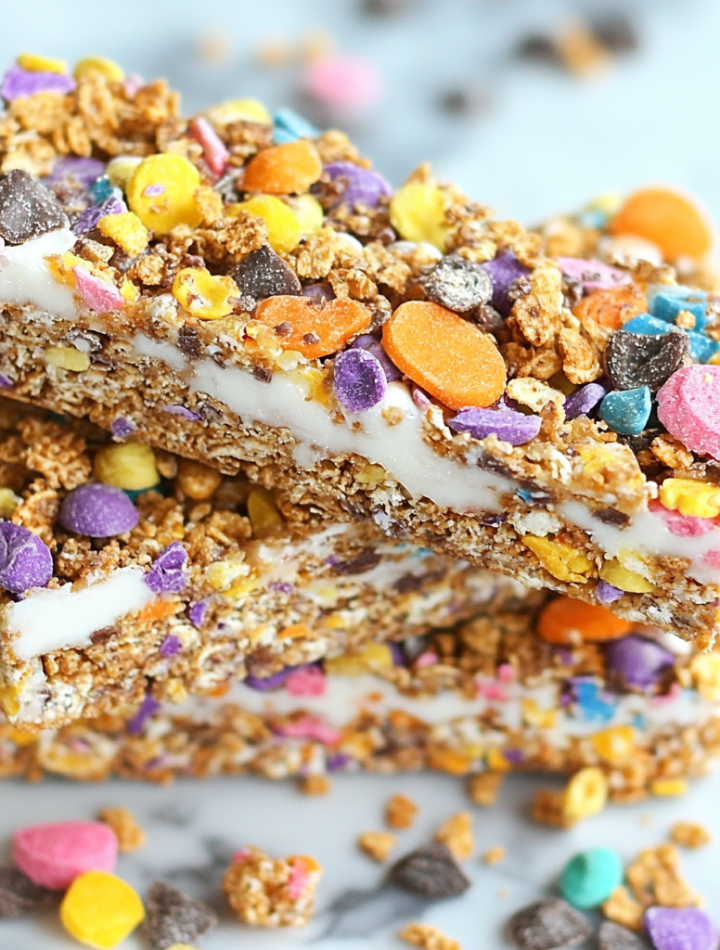
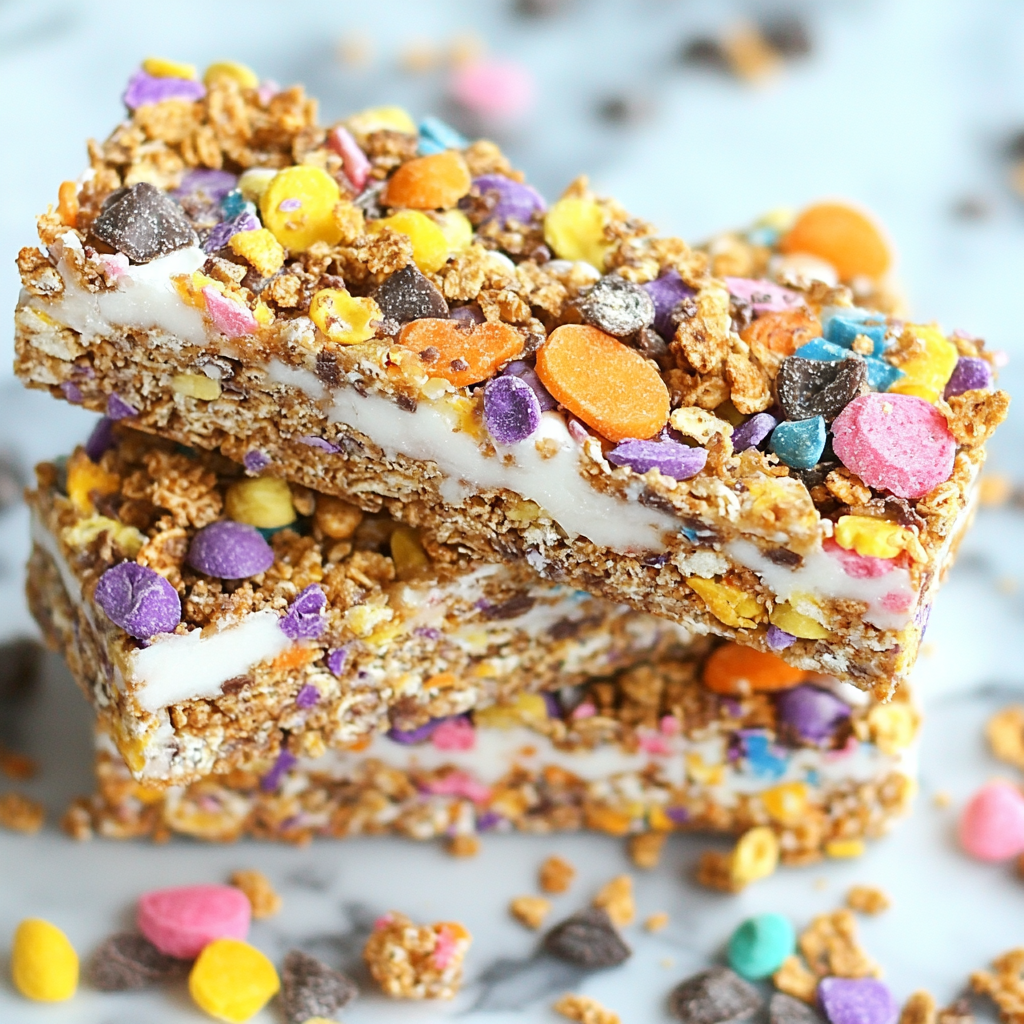
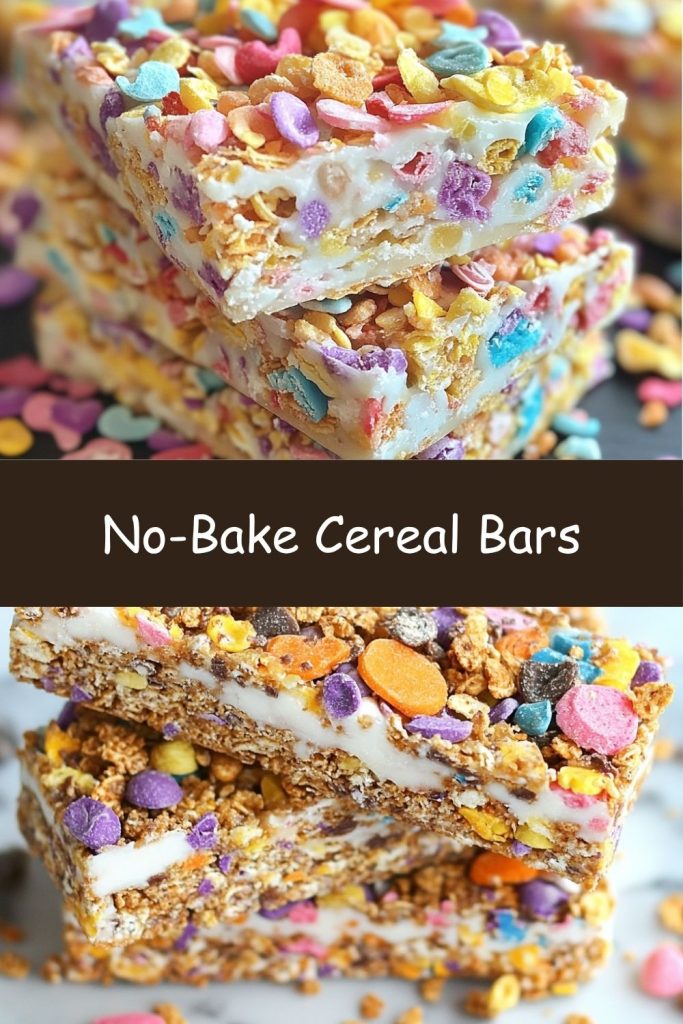
No-Bake Cereal Bars
- Total Time: 1 hr 10 min
- Yield: 10 bars 1x
Description
These cereal bars became our go-to for lunchboxes and after-school munchies—no baking, just mixing and chilling. Made with your favorite cereal, creamy nut butter, and a natural sweetener, they’re simple to whip up and easy to love. Add protein powder for an extra boost!
Ingredients
3 cups cereal of choice (cheerios, rice puffs, flakes, etc.)
⅔ cup peanut butter or other nut butter
½ cup agave, honey, or brown rice syrup
Optional: ½ tsp salt
Optional: 3 tbsp protein powder
Instructions
In a saucepan over low heat, melt together nut butter and sweetener. Stir until smooth.
Remove from heat and mix in salt and protein powder, if using.
Pour over cereal in a large bowl and mix until evenly coated.
Press firmly into a parchment-lined 8×8″ pan.
Chill for 1 hour until set, then cut into bars.
- Prep Time: 10 mins
- Category: Dessert
Nutrition
- Calories: 180
- Sugar: 9g
- Fat: 9g
- Carbohydrates: 20g
- Fiber: 2g
- Protein: 5g
Your Cereal Bar Toolkit: Simple Staples, Endless Swaps
Grab these heroes (and yes, almost everything can flex!):
- 3 cups cereal of choice – Cheerios are my sturdy base, but rice puffs keep it light! Pro tip: Mix textures (cornflakes + granola clusters = crunch heaven). Gluten-free? Grab certified oats or quinoa flakes!
- ⅔ cup peanut butter or nut butter – Creamy works best for binding. Sunflower seed butter makes it nut-free (and turns bars pink—kids adore it!). Melt it gently if it’s stubborn.
- ½ cup sticky sweetener – Honey gives floral warmth, agave keeps it vegan, brown rice syrup makes bars EXTRA chewy (my fave for hike-friendly bars!). Maple syrup? Yum, but reduce to ⅓ cup + 1 tbsp extra nut butter—it’s runnier!
- Optional: ½ tsp salt – Trust me, it makes flavors POP! Skip if your nut butter’s already salted.
- Optional: 3 tbsp protein powder – Vanilla or unflavored blends best. For silky texture, sift it in! (Pssst… collagen peptides vanish seamlessly too.
Let’s Get Sticky: Building Bars in 10 Minutes Flat
Step 1: In a saucepan over low heat, melt together nut butter and sweetener. Stir until it’s a smooth, lava-like pool. 🔥 Clara’s Tip: LOW is key here! Burnt nut butter tastes sad. If it seizes up, add 1 tsp coconut oil and whisk like you mean it.
Step 2: Remove from heat! Stir in salt and protein powder (if using). ✨ Hack: Protein powder can clump—sprinkle it slowly while whisking vigorously! No one wants chalky pockets.
Step 3: Pour this glorious goo over your cereal in a BIG bowl. Mix until every piece sparkles with coating. 💪 Muscle Moment: Fold gently at first, then get assertive—dry spots = crumbly bars! Too much cereal? Add 1 tbsp melted butter or nut butter.
Step 4: Press FIRMLY into a parchment-lined 8×8″ pan. 🖐️ Secret Weapon: Spritz your hands with oil or lay plastic wrap on top before pressing—no sticking! Press corners extra hard; they love to crumble.
Step 5: Chill for 1 hour (or freeze for 20 mins if impatient!). Slice into bars or squares. 🔪 Clean Cuts: Run your knife under hot water between slices for sharp edges. Snack on the crumbly bits—chef’s tax!
Serve with a Side of Joy (or a Glass of Milk!)
Slide these bars onto a colorful plate with fresh berries for a brunch hero, or stack them in lunchboxes with a love note tucked underneath. 🥰 Pack them for road trips wrapped in parchment paper (eco-win!) or crumble over yogurt for “grown-up” cereal. Kids go wild dipping them in melted yogurt chips—messy? Absolutely. Worth it? Always.
Shake It Up: 5 Fun Twists on Your New Fave Bars
1. Choco-Crunch: Stir ¼ cup mini chocolate chips + 2 tbsp cacao powder into the warm goo.
2. Tropical Escape: Swap 1 cup cereal for dried mango bits + toasted coconut flakes.
3. Seedy Superfood: Add 2 tbsp chia seeds + 3 tbsp pumpkin seeds to the cereal mix.
4. Birthcake Bar: Use birthday cake-flavored cereal + rainbow sprinkles pressed on top!
5. PB&J Pocket: Swirl 3 tbsp jam into the pressed mixture before chilling.
Confessions from My Cereal-Crusted Kitchen
Okay, real talk: Batch #1 was a crumbly disaster. I used frosty flakes (too thin!) and impatiently sliced warm bars—they became “cereal brittle.” 😂 Now I keep a bag in the freezer for last-minute snacks; they thaw in 5 mins! Over time, I’ve learned: The tighter you pack, the better they hold. And that “optional” salt? Non-negotiable in my house—it balances the sweetness like a dream. These bars have been on mountain hikes, in hospital care packages, and once, smuggled into a movie theater. Every sticky fingerprint tells a story!
Your Cereal Bar SOS Guide
Q: Why did my bars fall apart? 😭
A) Not enough binder: Up nut butter by 1-2 tbsp next time. B) Didn’t press HARD enough—put some elbow grease in! C) Chopped too soon: Chill fully (1 hour min!).
Q: Can I use regular sugar instead of liquid sweeteners?
Sadly, no—dry sugar won’t bind. But maple sugar syrup works! Or blend dates with nut butter for a sugar-free glue.
Q: How long do they last?
1 week in an airtight container (fridge = firmer texture). Freeze for 3 months! Thaw at room temp.
Q: Protein powder made my bars chalky—help!
Try a different brand (whey/casein blends integrate best). Or mix powder with 1 tbsp milk FIRST before adding to the warm goo!
Nourishment in Every Bite (Because Balance Rocks!)
Per Bar (Makes 10): Calories: 180 | Protein: 5g | Carbs: 20g | Fat: 9g | Sugar: 9g | Fiber: 2g
Note: Stats use PB, honey, rice puffs + protein powder. Substitutions change values.
Whether you’re wrangling wild mornings, powering through workdays, or sneaking a midnight treat, these no-bake cereal bars are your snack-time MVP. They’re endlessly adaptable, ridiculously easy, and a little slice of sanity in bar form. From picky eaters to protein chasers, there’s a version here for everyone—and every batch tells a story. So next time that half-empty cereal box stares you down, grab your spoon and claim your crunchy crown. Here’s to sticky fingers, happy tummies, and snack magic made simple. 💫