The Icing on the Roll: Your Secret to Bakery-Worthy Cinnamon Buns
Hey there, my fellow flavor adventurer! Let’s talk about the grand finale, the pièce de résistance, the moment of truth for any homemade cinnamon roll: the icing. You’ve nurtured that dough, patiently let it rise, filled it with a heavenly cinnamon-sugar swirl, and filled your kitchen with that unmistakable, soul-warming aroma. But what happens next? Do you reach for a sad, pre-made tub of glaze? Absolutely not! You crown your masterpiece with a cloud of rich, creamy, melt-in-your-mouth homemade icing that soaks into every nook and cranny.
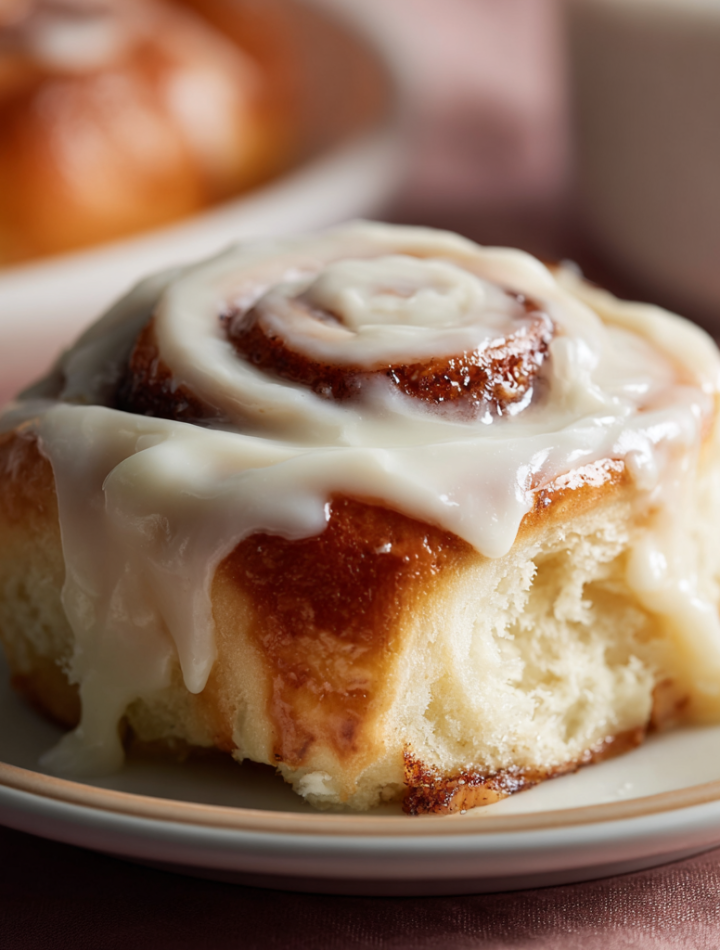
This, my friends, is the recipe that will change your cinnamon roll game forever. This isn’t just a simple glaze; it’s a luxuriously smooth cream cheese icing with a perfect balance of sweet, tangy, and buttery goodness. It’s designed to be spreadable, dippable, and utterly dreamy. It’s the kind of icing that makes you close your eyes and hum after the first bite. Whether you’re a baking newbie or a seasoned pro, this foolproof formula is your ticket to creating those decadent, bakery-style cinnamon rolls at home—the kind that make weekends feel magical and any Tuesday feel like a celebration. So, grab your mixing bowl and let’s whip up some joy!
The Icing That Started It All
My love affair with this icing began not in a fancy pastry shop, but in my Nana’s wonderfully chaotic kitchen. Every Sunday, without fail, the scent of yeast and cinnamon would pull me out of bed. I’d pad into the kitchen to find her, flour dusted on her apron like war paint, humming an old tune. My job was always the same: “Clara-bell,” she’d say, “you’re on icing duty.” She’d hand me the big yellow bowl and the trusty hand mixer. I’d watch as the butter and cream cheese whipped into a fluffy cloud, and I was granted the supreme honor of slowly pouring in the snowy confectioners’ sugar.
The real magic, though, was the taste test. She’d dip a clean finger into the bowl, I’d do the same, and we’d tap our fingers together—a sweet, sticky pinky promise that the rolls would be perfect. That ritual, that shared moment of anticipation, is what I taste in every batch I make today. It’s more than icing; it’s a dollop of nostalgia, a direct line back to a time of simplicity, love, and the shared joy of licking the spoon. This recipe is my Nana’s, with just a few of my own playful tweaks, and I’m so thrilled to share it with you.
Print
Perfect Cinnamon Roll Icing
- Total Time: 10 minutes
- Yield: ~2 cups (enough for 24–30 rolls)
Description
Rich, smooth, and melt-in-your-mouth delicious—this icing is the secret to bakery-style cinnamon rolls at home. With a buttery cream cheese base and just the right sweetness, it’s designed to soak perfectly into warm rolls. Doubling the recipe gives you plenty for layering, dipping, or even spreading on muffins and quick breads. Add a few twists for flavor magic.
Ingredients
14 tablespoons butter, softened
4 ounces cream cheese, softened
4 tablespoons milk (more for thinner glaze)
1 teaspoon vanilla extract
3 cups confectioners’ sugar, sifted
½ teaspoon salt
Flavor Twists (Optional):
Add ½ tsp maple or almond extract for depth
Swap milk with heavy cream for richness or orange juice for a citrusy kick
Stir in ½ tsp cinnamon or cardamom for a spiced glaze
Fold in 1 tbsp brown sugar for caramel undertones
Top finished rolls with a dusting of nutmeg or citrus zest
Instructions
In a medium bowl, beat butter and cream cheese until fluffy.
Add milk, vanilla, and salt. Mix until smooth.
Gradually beat in sifted sugar until fully combined and silky.
Spread generously over warm cinnamon rolls and let it melt in.
- Prep Time: 10 minutes
- Category: Dessert
Gathering Your Icing Arsenal
This recipe is beautifully simple, which means the quality of your ingredients really shines through. Here’s what you’ll need to make about 2 cups of pure bliss—enough to generously frost a large pan of 12-24 rolls, because let’s be real, more is more when it comes to icing!
- 14 tablespoons (that’s 1 ¾ sticks) Unsalted Butter, softened: This is the rich, velvety base of our icing. Pro Chef Insight: Using unsalted butter lets you control the salt level perfectly. Substitution Tip: In a pinch, salted butter works, but just reduce the added salt in the recipe by half.
- 4 ounces Cream Cheese, softened: The superstar! It adds a delightful tang that cuts through the sweetness and creates an incredibly luscious texture. Pro Chef Insight: Always use the full-fat, brick-style cream cheese for the best stability and flavor. The tubbed spreadable kind has added stabilizers that can make your icing thin.
- 4 tablespoons Milk (more for thinner glaze): This is our liquid for achieving the perfect consistency. Substitution Tip: For extra richness, use heavy cream. For a fun citrusy twist, try fresh orange juice! It adds a brilliant, bright note that pairs amazingly with the cinnamon.
- 1 teaspoon Pure Vanilla Extract: The essential flavor enhancer. It provides a warm, aromatic depth. Pro Chef Insight: Don’t skimp here! Real vanilla extract makes a world of difference compared to imitation.
- 3 cups Confectioners’ Sugar, sifted: Also known as powdered sugar, it dissolves instantly for a silky-smooth icing without any grit. Pro Chef Insight: Please, please sift it! I know it’s an extra step, but it’s the #1 secret to preventing lumps and achieving a perfectly smooth, professional texture.
- ½ teaspoon Fine Sea Salt: This is the secret weapon that makes all the flavors pop. It balances the sweetness and highlights the butter and vanilla notes. Trust me, it’s non-negotiable!
Crafting Your Icing Masterpiece: A Step-by-Step Guide
Okay, team! Let’s get mixing. This process is quick and oh-so-satisfying. Follow these steps, and you’ll have perfect icing in about 10 minutes flat.
Step 1: The Softening Situation. First thing’s first: your butter and cream cheese MUST be at true room temperature. This is the most critical step for a smooth, lump-free, fluffy icing. What does “softened” mean? You should be able to easily press your finger into the butter and leave a deep indentation. If you’re short on time, cut the butter and cream cheese into small chunks—they’ll come to temperature much faster. Never try to microwave it! You’ll end up with a melty, greasy mess.
Step 2: The Fluffy Foundation. Place your beautifully softened butter and cream cheese into a medium-sized mixing bowl. Using a hand mixer or a stand mixer fitted with the paddle attachment, beat them together on medium-high speed for a full 1-2 minutes. You’re not just combining them; you’re incorporating air! Stop when the mixture is light, pale, and perfectly smooth. Scrape down the sides of the bowl with a spatula to make sure everything is getting mixed in.
Step 3: The Flavor Infusion. Reduce your mixer speed to low. Add the milk (or your liquid of choice), the vanilla extract, and that all-important ½ teaspoon of salt. Mix until everything is just combined. It might look a little curdled at this point—that’s totally normal! The sugar will bring it all together.
Step 4: The Snowy Integration. Now, with the mixer on the LOWEST setting, gradually add your sifted confectioners’ sugar, about ½ cup at a time. Let each addition incorporate fully before adding the next. Little Chef Hack: I drape a clean kitchen towel over my mixer and bowl to create a “sugar shield” and prevent a snowy cloud from exploding all over my kitchen. Once all the sugar is in, bump the speed up to medium-high and beat for another 1-2 minutes. Watch as it transforms into a gloriously thick, silky, and spreadable icing. Give it a taste—this is your moment to adjust. Want it a little thinner? Add a teaspoon of milk. Want it a tad thicker? Add another tablespoon or two of sifted sugar.
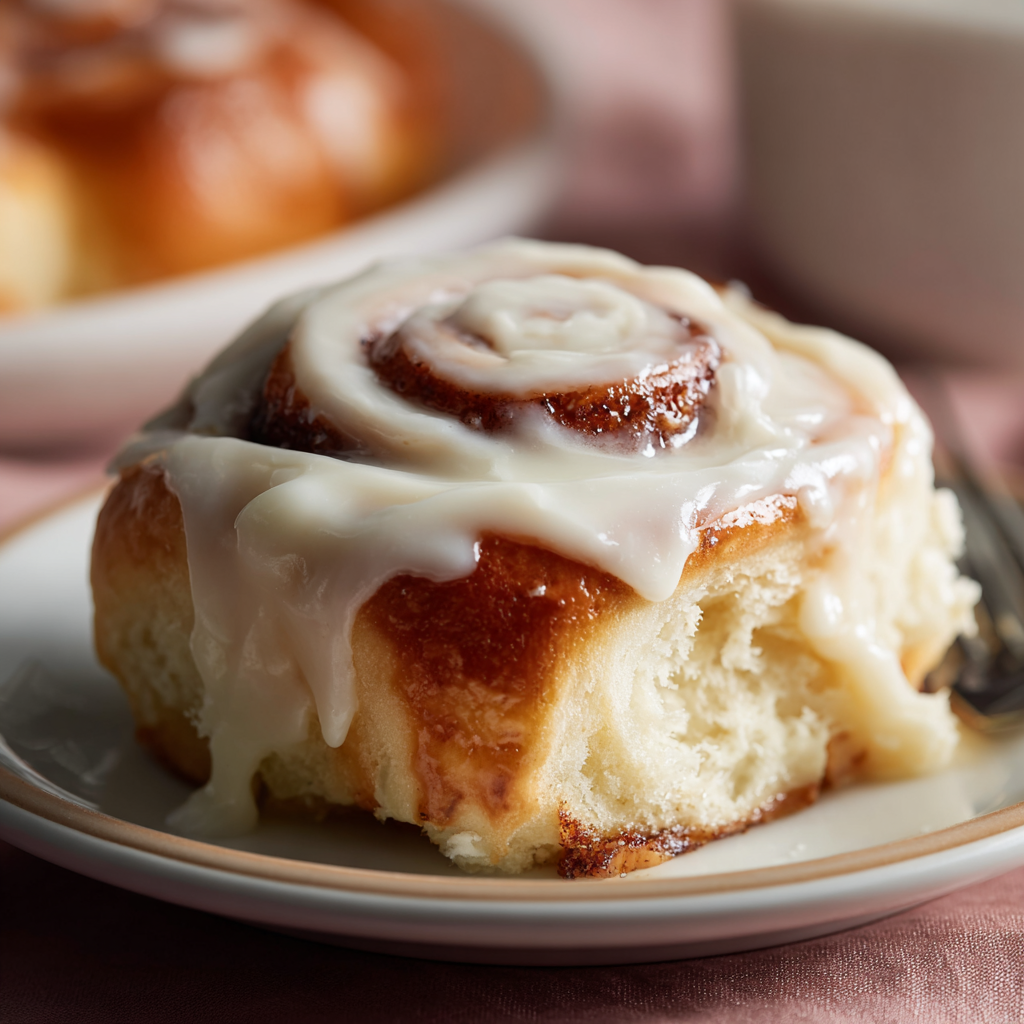
Step 5: The Grand Finale. The most important step of all: immediately spread or drizzle this glorious icing over your warm (not piping hot) cinnamon rolls. Why warm? Because the gentle heat helps the icing melt just enough to seep down into all those beautiful swirly layers, creating an irresistible, gooey masterpiece. Don’t forget to lick the spatula—it’s the chef’s reward!
How to Serve Your Icing-Crowned Glory
Presentation is part of the fun! For the classic look, use a spoon or offset spatula to generously dollop and spread the icing over the entire pan of warm rolls, letting it ooze over the sides. For a more rustic, “drippy” bakery style, you can thin the icing out with an extra tablespoon of milk and drizzle it artistically from the tip of a spoon or a squeeze bottle. Serve them right from the pan, preferably with a hot cup of coffee and a few very happy friends or family members gathered around. The sight of someone taking that first, icing-laden bite is pure magic.
Play With Your Food! Flavor Twists & Swaps
This recipe is a fantastic canvas for your creativity! Here are a few of my favorite ways to mix it up:
- Maple Dream: Replace the vanilla extract with ½ teaspoon of maple extract for a deep, autumnal flavor that’s incredible on pumpkin or apple cinnamon rolls.
- Citrus Zing: Swap the milk for fresh orange or lemon juice and add a teaspoon of zest to the mix. It’s bright, tangy, and cuts the richness beautifully.
- Spiced & Nice: Add ½ teaspoon of ground cinnamon or a pinch of cardamom to the sugar for a warmly spiced glaze that doubles down on the cozy vibes.
- Nutty Professor: A ½ teaspoon of almond extract (use it in addition to or instead of the vanilla) adds a sophisticated, marzipan-like note.
- Dairy-Free Delight: Use plant-based butter and cream cheese and your favorite non-dairy milk (oat milk is fantastic here!) for an equally delicious vegan version.
Clara’s Kitchen Notes & Stories
This recipe has been through it all with me! I once, in a pre-coffee haze, accidentally used salted butter AND the full amount of salt. Instead of a disaster, I created a slightly saltier version that my brother now insists is superior! Baking is an adventure, not a perfection contest. I’ve also learned that this icing is a diva about temperature. If your kitchen is very warm, pop the mixed icing into the fridge for 10-15 minutes before spreading to help it firm up. Conversely, if it’s too cold and stiff, let it sit on the counter for a bit or beat in a tiny splash of milk. The recipe has evolved from my Nana’s classic to my go-to, but the spirit remains the same: it’s about creating something delicious that makes people happy. That’s always the secret ingredient.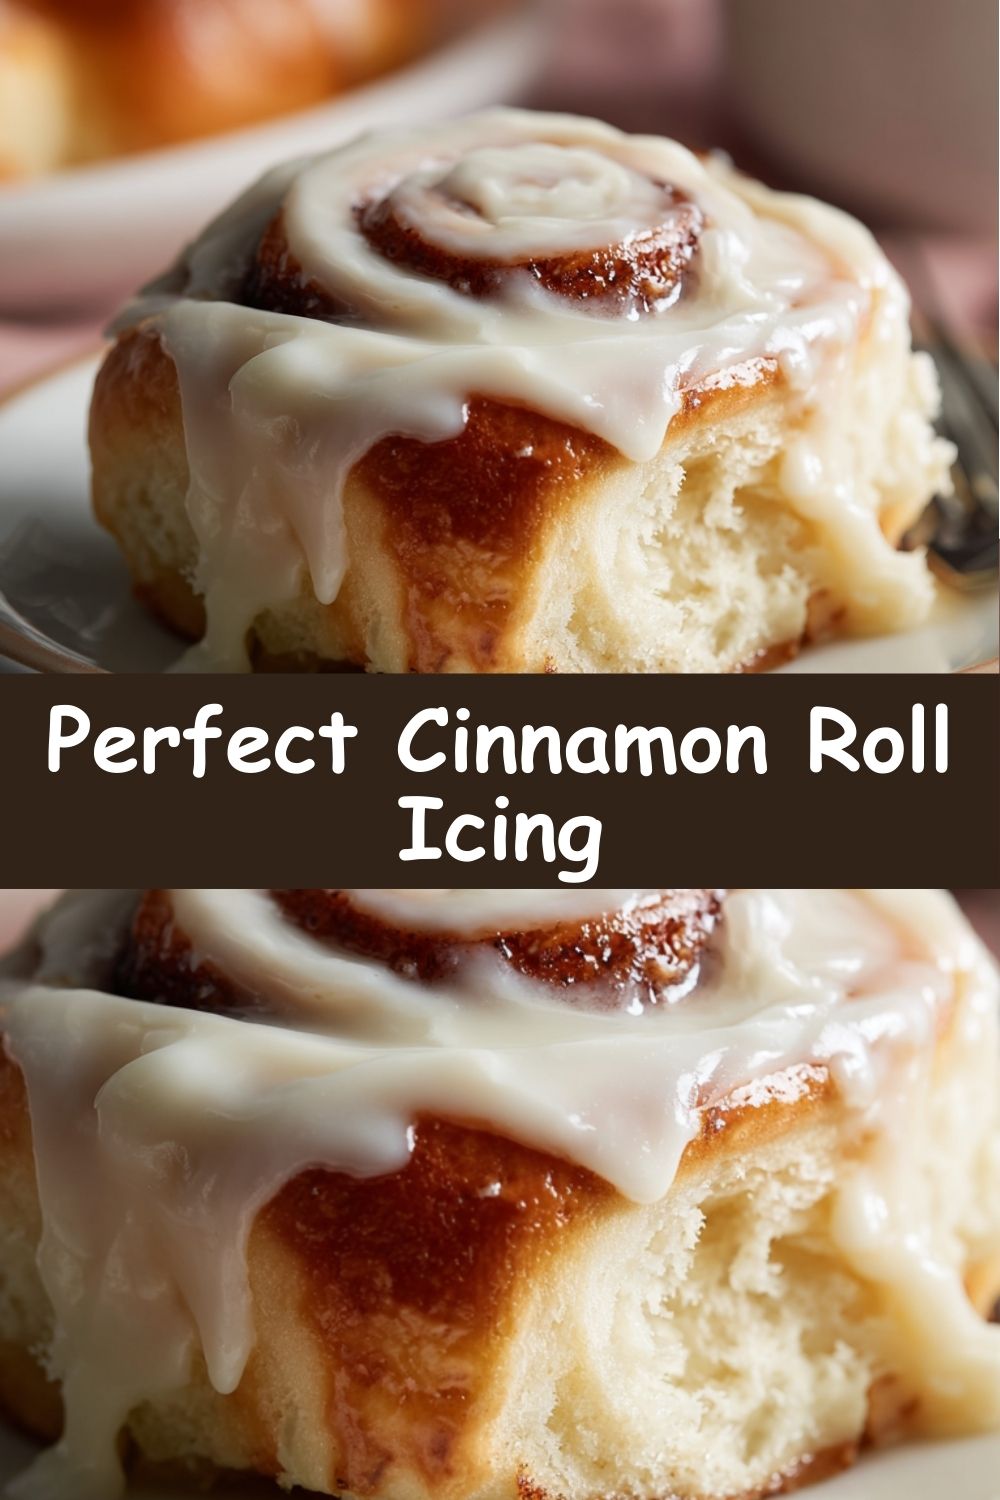
Your Icing Questions, Answered!
Q: My icing is lumpy! What did I do wrong and how can I fix it?
A: Lumps usually come from two things: 1) Butter and cream cheese that weren’t fully softened, or 2) Unsifted powdered sugar. To fix it, you can try warming the bottom of the bowl briefly in a warm water bath and then beating it again vigorously. If that doesn’t work, you can press the icing through a fine-mesh sieve—it’s a bit of a workout, but it will save the batch!
Q: Can I make this icing ahead of time?
A: Absolutely! Store it in an airtight container in the refrigerator for up to 3 days. When you’re ready to use it, let it come to room temperature and then give it a good stir or a quick re-whip with your mixer to bring back its smooth, spreadable texture.
Q: Why did my icing turn out runny and thin?
A: This typically happens if the ingredients were too warm or if you added a bit too much liquid. The easy fix is to gradually beat in a little more sifted powdered sugar until you reach your desired consistency. If it’s really warm, a brief chill in the fridge will also help it firm up.
Q: Is there a way to make this icing without a mixer?
A> You can definitely make it by hand! It just requires a bit of elbow grease. Use a sturdy wooden spoon or a stiff silicone spatula. Make sure your butter and cream cheese are very soft, and really work them together until smooth before gradually mixing in the sugar. It’s a great arm workout!
Nutritional Information*
*Please note: This is an estimate provided by an online nutrition calculator. It will vary based on specific ingredients and portion sizes.
Per Tablespoon (approx): 90-100 calories, 5g fat, 12g carbohydrates, 0g protein, 11g sugar, 40mg sodium.