
Your New Favorite Snack is Here (And It’s Seriously Magical)
Hey friends! Let’s be real for a second. How many times have you been hit with that 3 PM slump, your stomach doing a little growly dance, and your brain screaming for something sweet? You stare into the fridge, then the pantry, hoping for a snack that’s both satisfying and doesn’t make you feel like you need a nap five minutes later. We’ve all been there. You want that classic, comforting taste of cookie dough, but without the whole… raw flour and egg situation (and the subsequent guilt trip).
Well, my fellow food adventurer, I am SO excited to pull back the curtain on one of the most beloved, most-requested recipes from my own kitchen: my legendary Protein Cookie Dough Balls. This isn’t just a recipe; it’s a game-changer. A life-hack. A little ball of pure, unadulterated joy that you can feel genuinely good about eating.
Imagine this: a sweet, creamy, perfectly scoopable dough that tastes like it jumped straight out of your favorite mixing bowl. But instead of a sugar crash, it’s packed with plant-based protein and fiber to keep you fueled and full. They’re no-bake, meaning you’re about 10 minutes away from snack heaven, and they’re endlessly customizable. Whether you need a pre-workout boost, a post-dinner treat, or a secret weapon against those afternoon cravings, these little guys have got your back. Ready to cook up some magic? Let’s get rolling!
Print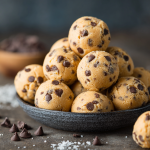
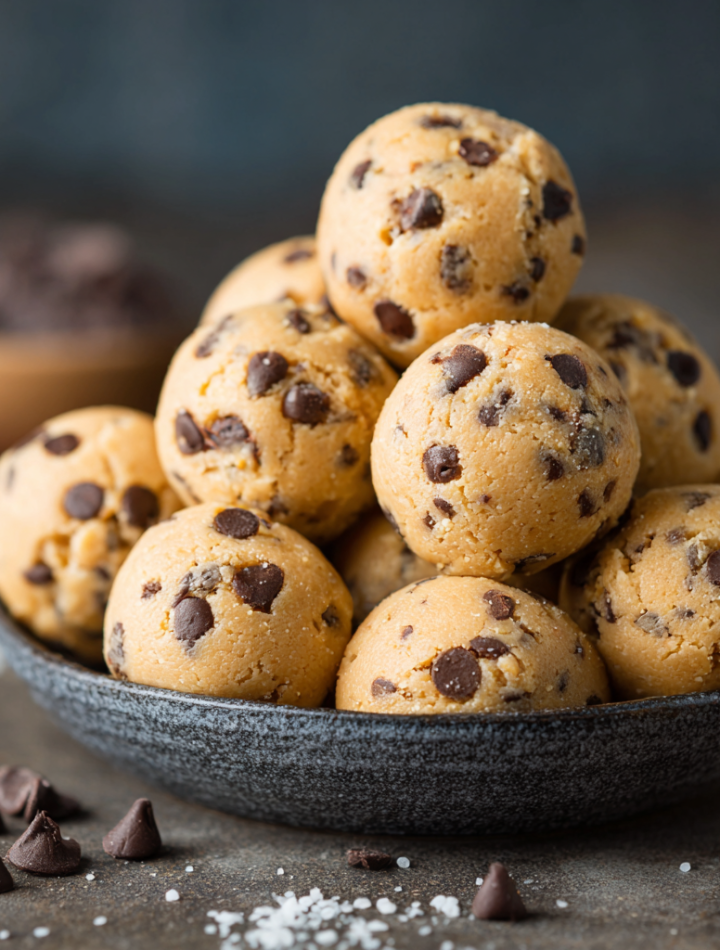
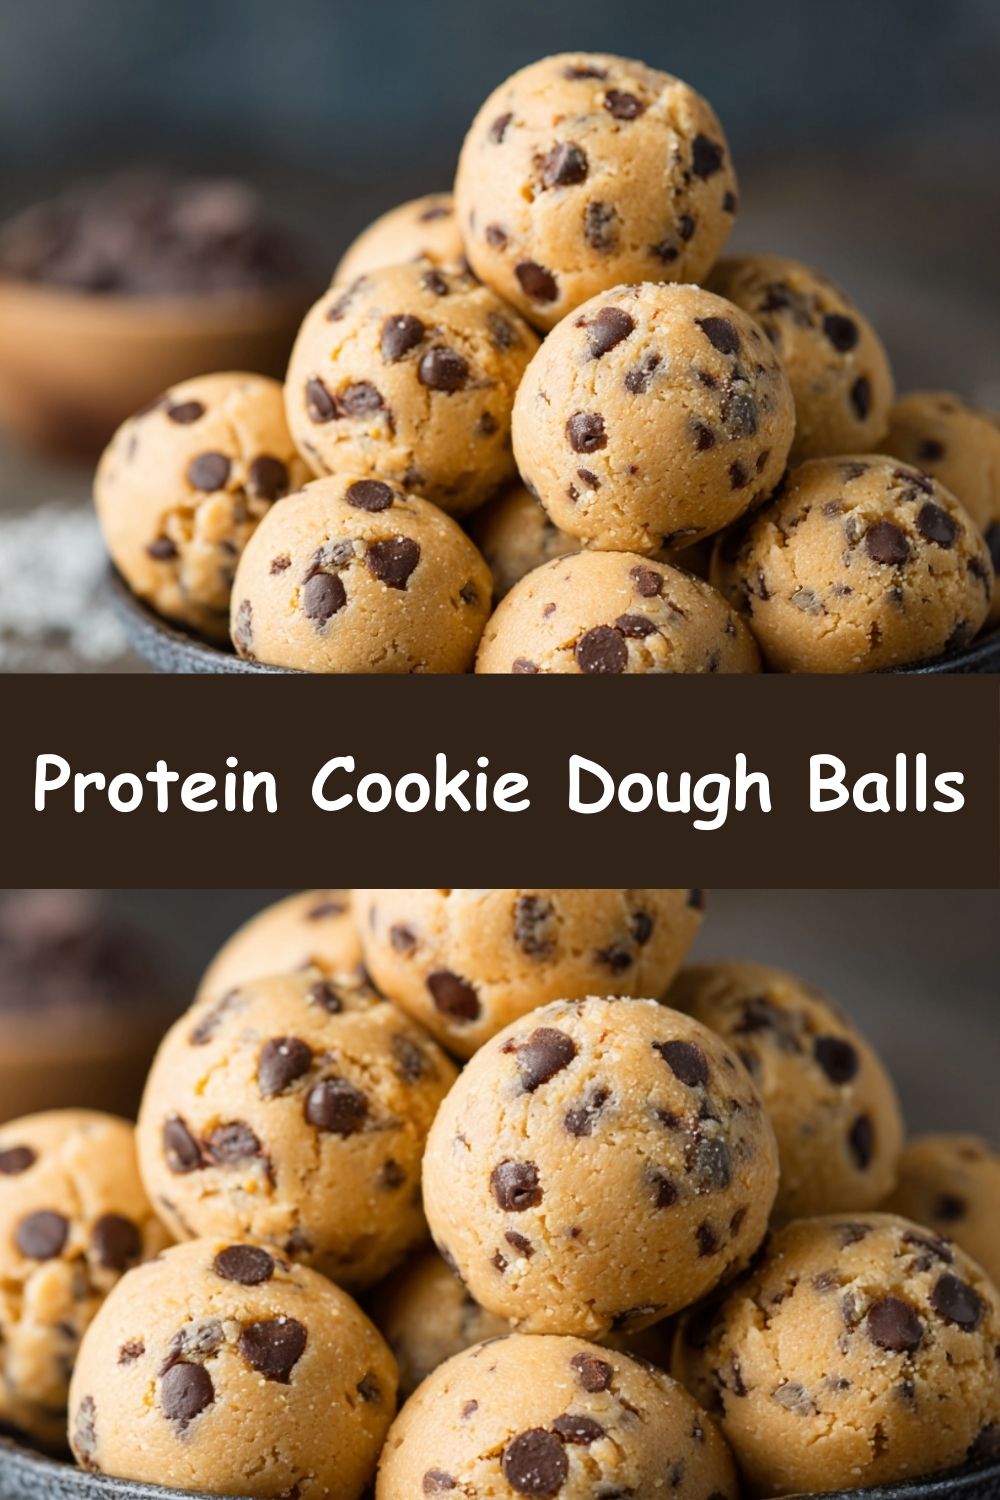
Protein Cookie Dough Balls – Guilt-Free, No-Bake Indulgence
- Total Time: 40 minutes
Description
These no-bake cookie dough balls are soft, sweet, and packed with protein—without the flour, eggs, or guilt. Made with chickpeas or white beans, they’re perfect for snacking, pre-workout fuel, or satisfying a sweet craving the smart way. This double batch makes plenty to share or freeze for later, with fun flavor twists to make them your own.
Ingredients
2 cans chickpeas or white beans (or 3 cups cooked)
6 tablespoons protein powder or oat flour
6 tablespoons coconut oil or nut butter
⅔ cup sugar or sweetener of choice (use a keto sweetener for low-carb)
1 teaspoon pure vanilla extract
½ teaspoon salt
¼ to ½ cup water (omit or reduce if using a liquid sweetener)
6–12 tablespoons chocolate chips (to taste)
Optional Flavor Twists:
Add 1 tablespoon cocoa powder for a chocolate cookie dough base
Mix in chopped nuts or seeds for crunch
Stir in shredded coconut or dried cranberries
Roll in crushed pretzels or dip in dark chocolate for a sweet-salty upgrade
Instructions
Rinse and drain chickpeas thoroughly if using canned.
In a food processor, blend chickpeas, protein powder, coconut oil or nut butter, sweetener, vanilla, salt, and water until smooth. Scrape down sides as needed.
Taste and adjust sweetness or add more protein powder for thickness.
Stir in chocolate chips by hand.
Roll into 1-inch balls and place on a parchment-lined tray.
Chill in the fridge for 30 minutes to firm up.
Store in an airtight container in the fridge (up to 1 week) or freezer (up to 2 months).
- Prep Time: 10 minutes
- Cook Time: 30 minutes
- Category: Dessert
Nutrition
- Calories: 90
- Fat: 5g
- Protein: 4g
The “Aha!” Moment: How a Kitchen Disaster Led to a Triumph
I have to share the slightly messy, totally hilarious story of how these cookie dough balls came to be. Picture this: It was a few years ago, deep into my “let’s figure out this healthy eating thing” journey. I was attempting a fancy, gluten-free, vegan blondie recipe I’d found online. It involved, among other things, a can of chickpeas. I was skeptical, but hopeful!
Long story short, the blondies were a total flop. They were… gummy. Sad. A complete texture fail. But as I was scraping this oddly sweet, bean-based paste out of the food processor bowl (feeling very defeated, I might add), I snuck a taste. And I stopped dead in my tracks. It didn’t taste like a failed blondie. It tasted… like cookie dough. Seriously! The sweetness, the hint of vanilla, the creamy texture—it was all there. My kitchen disaster wasn’t a disaster at all; it was a delicious accident waiting to happen!
I immediately ditched the baking pan, grabbed some chocolate chips, rolled the “dough” into little balls, and popped them in the fridge. An hour later, I had my mind blown. That happy accident became the foundation for this recipe, a reminder that sometimes the best creations come from a little curiosity and a willingness to play with your food. It’s a story I love because it’s so real—perfection is overrated, but a delicious surprise? That’s everything.
Gather Your Goodies: The Dream Team of Ingredients
Here’s the beautiful part: you probably have most of this in your pantry right now. Each ingredient plays a specific role in creating that magical cookie dough texture and taste. Let’s break it down!
- 2 cans (15 oz each) chickpeas or white beans, rinsed and drained – This is our secret weapon! Chickpeas give a neutral, slightly nutty base, while white beans (like cannellini or great northern) are even milder. They create the incredibly smooth, creamy body and pack in fiber and plant-based protein. Chef’s Insight: Rinsing them well is non-negotiable—it gets rid of that canned liquid (aquafaba) that can sometimes have a beany taste. Pat them dry with a paper towel for an even smoother result!
- 6 tablespoons protein powder or oat flour – Protein powder thickens the dough and, obviously, adds a major protein punch. Vanilla or unflavored works best. If you’re not using protein powder, oat flour is a fantastic, neutral-tasting substitute that provides the same thickening power. Substitution Tip: Almond flour can work in a pinch, but you may need a bit less as it’s more absorbent.
- 6 tablespoons coconut oil or nut/seed butter – This is our fat source, and it’s key for richness and that melt-in-your-mouth quality. Solid coconut oil helps the balls firm up beautifully in the fridge. Nut butter (almond, peanut, cashew) adds incredible flavor and makes the dough a bit more supple. Chef’s Insight: If your nut butter is super thick, warm it up for a few seconds to make it easier to mix.
- ⅔ cup sweetener of choice – This is where you customize! I love coconut sugar for its caramel-like depth, but pure maple syrup, agave, or even a keto-friendly sweetener like monk fruit or erythritol work perfectly. Pro Tip: If you’re using a liquid sweetener (like maple syrup), you can likely reduce or even skip the water listed later.
- 1 teaspoon pure vanilla extract – The soul of any good cookie dough! Don’t skip this. It adds that warm, classic aroma and flavor.
- ½ teaspoon salt – Crucial for balancing the sweetness and making all the flavors pop. Trust me on this one!
- ¼ to ½ cup water – This is our magic adjuster! Start with a little and add more as needed to help the dough come together in the food processor. If your dough is already looking wet, you can omit it.
- 6–12 tablespoons chocolate chips – The fun part! I use dairy-free dark chocolate chips, but any kind you love will work. Mini chips distribute the chocolatey goodness perfectly in every bite. Chef’s Insight: Stir these in by hand at the end so they stay intact for little bursts of chocolate.
Let’s Make Some Magic: The Foolproof Steps
This process is so simple it’s almost silly. Get your food processor ready—it’s about to become your new best friend.
- The Great Rinse-Off. First things first, drain your chickpeas or beans into a colander and give them a really, really good rinse under cold water. Shake off the excess water and then gently pat them dry with a clean kitchen towel or paper towels. This little extra step is my #1 tip for ensuring your dough tastes like dessert, not like legumes. You’ll thank me later!
- Blend to Smooth Perfection. Now, toss the rinsed beans, your chosen protein powder/oat flour, coconut oil/nut butter, sweetener, vanilla, and salt into the bowl of your food processor. Pop on the lid and let it rip! Blend for a good 1-2 minutes, stopping to scrape down the sides once or twice. You’re looking for a completely smooth, almost hummus-like consistency. Chef’s Hack: If your motor seems to be struggling, that’s your cue to slowly stream in a tablespoon or two of water through the feed tube to help it along.
- The All-Important Taste Test. Stop the processor, grab a spoon, and TASTE your creation. This is the moment of truth! Does it need a touch more sweetness? Add another tablespoon of your sweetener. Is it a little too soft? Add another tablespoon of protein powder. This is your dough—make it perfect for you!
- The Chocolate Chip Fold-In. Transfer the dough to a medium mixing bowl. Now, pour in your glorious chocolate chips. Grab a spatula or a wooden spoon and fold them in by hand. This keeps them from getting pulverized and ensures you get those perfect little chunks in every single ball.
- Roll, Roll, Roll Your Balls. Line a baking sheet or a large plate with parchment paper. Using a small cookie scoop or a tablespoon, scoop up portions of the dough and roll them between your palms into smooth, one-inch balls. Place each one on the parchment-lined tray. If the dough is super sticky, a tiny bit of coconut oil on your hands works wonders. Fun Tip: This is a fantastic step to get kids involved in—they love helping roll the balls!
- The Chill Session. Pop the entire tray into the fridge for at least 30 minutes. This is what transforms the soft dough into a firm, perfectly snackable texture. They’ll firm up and become these delightful little bites of heaven.
How to Serve & Savor Your Creation
Once they’re chilled and firm, the world is your oyster! I like to store them in a glass container in the fridge, so they’re always ready to grab and go. They’re perfect straight out of the fridge—cool, firm, and satisfying. For a more decadent treat, let one sit at room temperature for 5 minutes before eating; it becomes softer and even more like real cookie dough. Pack a few in a small container for a healthy desk snack, pop one before a workout for energy, or enjoy two with a cup of tea for a guilt-free dessert. They’re seriously versatile!
Get Creative: Flavor Twists to Make Them Your Own
The fun doesn’t stop with classic chocolate chip! Here are a few of my favorite ways to mix things up:
- Double Chocolate: Add 1-2 tablespoons of cocoa powder or cacao powder to the food processor along with the other ingredients. Use white chocolate chips for a fun contrast!
- Trail Mix Crunch: Instead of (or in addition to!) chocolate chips, stir in ¼ cup of chopped nuts (walnuts, pecans), seeds (pumpkin, sunflower), and a handful of dried cranberries or chopped apricots.
- Coconut Lover’s Dream: Add ¼ cup of unsweetened shredded coconut to the dough and roll the finished balls in more coconut for a pretty, tropical finish.
- Peanut Butter Cup: Use peanut butter as your fat source and stir in peanut butter chips along with the chocolate chips. It’s a Reese’s dream come true!
- Salty-Sweet Pretzel Crunch: Roll the finished balls in finely crushed pretzel pieces for the most addictive sweet-and-salty combo. You can even dip them in melted dark chocolate first, then the pretzels, for a next-level treat.
Clara’s Kitchen Confidential: A Few Parting Thoughts
This recipe has truly evolved over the years. I’ve made it for countless potlucks, given out dozens of bags as gifts, and it’s the number one thing my friends ask me to bring when we hang out. It’s so fun to see people’s faces when I tell them the secret ingredient—the disbelief followed by pure delight never gets old!
One of my favorite kitchen memories involves my niece, who is a notoriously picky eater. She saw the container of these in my fridge and, thinking they were real cookie dough, snuck one. I found her five minutes later, covered in chocolatey evidence, asking for “just one more, Aunt Clara.” The fact that she had no idea she was eating chickpeas was the ultimate win. It just goes to show that healthy food can be every bit as delicious and crave-able as the “real” thing. Don’t be afraid to play and make this recipe your own. That’s what cooking is all about!
Your Questions, Answered!
Q: My dough is too sticky to roll! What did I do wrong?
A: Don’t worry, this is an easy fix! It usually means the dough is a bit too warm or wet. First, try chilling the entire bowl of dough in the fridge for 20-30 minutes; this will firm up the fats and make it much easier to handle. If it’s still sticky, you can mix in another tablespoon or two of protein powder or oat flour to absorb the extra moisture. A light coating of coconut oil on your hands also works wonders as a barrier.
Q: Can I make these without a food processor?
A: A high-powered blender can work, but you’ll need to stop and scrape down the sides very frequently, and it might be a tougher job for the motor. For the creamiest, smoothest result, a food processor is definitely the best tool. If you don’t have one, you could try mashing the chickpeas extremely well with a fork or potato masher first, but the texture will be more rustic and less like classic cookie dough.
Q: How long do they last, and can I freeze them?
A: Absolutely! These balls are perfect for making ahead. They’ll keep beautifully in an airtight container in the fridge for up to a week. For longer storage, freeze them in a single layer on a parchment-lined tray until solid, then transfer to a freezer bag or container. They’ll keep for up to 2 months! You can eat them straight from the freezer—they have a lovely, firm, almost ice-cream-like texture—or let them thaw for 10 minutes.
Q: I can’t taste the sweetener enough. Can I add more after blending?
A> You sure can! The beauty of a no-bake recipe is that you can adjust the flavors to your heart’s content. If your first taste test isn’t sweet enough, simply add another tablespoon or two of your chosen sweetener and blend again for another 15-20 seconds to incorporate. Give it another taste, and repeat until it’s perfect for you.
Nutritional Information*
*Please note: This is an approximate calculation and can vary significantly based on the specific brands and ingredients you use.
Per Ball (based on 24 balls, using chickpeas, vanilla protein powder, coconut oil, coconut sugar, and 6 tbsp chocolate chips):
- Calories: ~90
- Protein: ~4g
- Carbohydrates: ~8g
- Fat: ~5g
- Fiber: ~2g
Prep Time: 10 minutes | Chill Time: 30 minutes | Total Time: 40 minutes