Let’s Get Festive with the Easiest Treat You’ll Make This Season!
Hey, my fellow flavor adventurers! Clara here, coming at you from my kitchen, which currently smells like a happy cross between a pumpkin patch and a chocolate factory. And let me tell you, it is my absolute favorite kind of chaos.
If you’ve been around here for a while, you know I’m all about those feel-good, glow-from-the-inside-out meals. But I’m also a firm, unshakable believer in the magic of dessert. Especially the kind of dessert that requires zero baking, looks incredibly fancy, and secretly has you doing a little happy dance every time you sneak one from the fridge. That’s where these little spheres of pure joy come in.
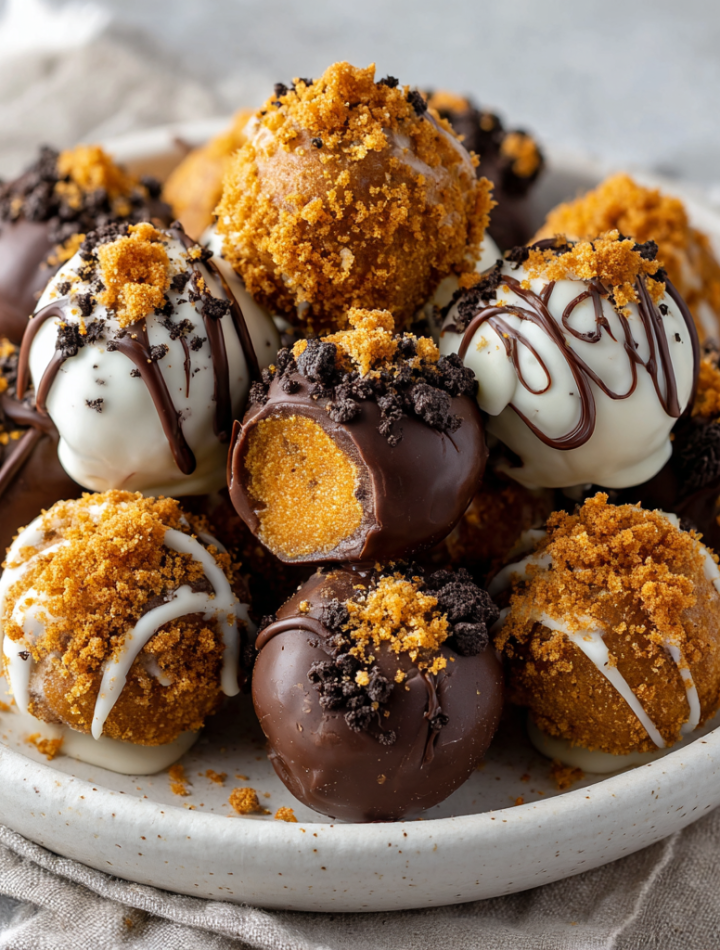
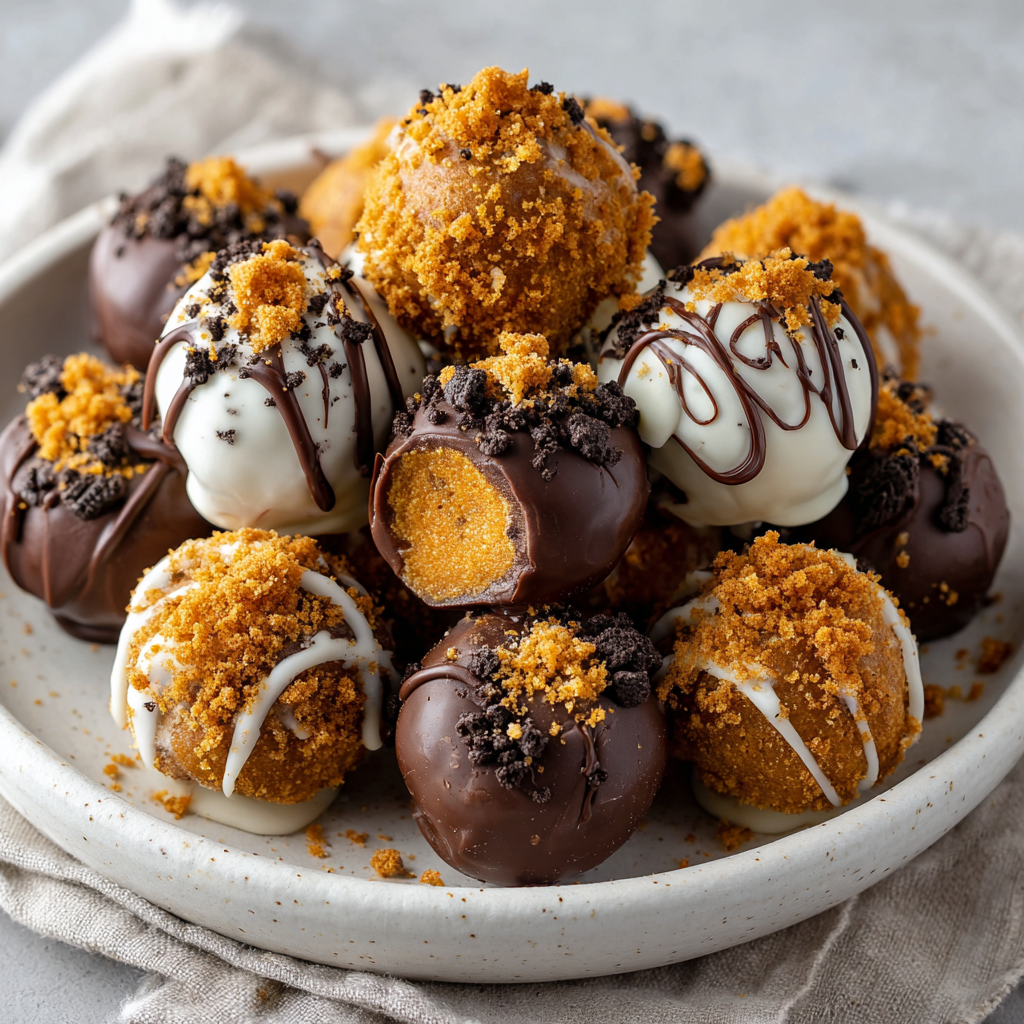
Today, we’re whipping up my Pumpkin Oreo Balls. They are the definition of bite-sized bliss—rich, creamy, and coated in a crackly shell of chocolate with just the right hint of cozy fall spice. They’re the perfect project for a lazy afternoon, a total lifesaver for holiday parties, and honestly, they make the best “I-made-this-just-for-me” treat. No oven, no fuss, just a whole lot of deliciousness. So, grab your food processor (or a trusty zip-top bag and a rolling pin!), and let’s cook something that’s 100% worth licking the spoon, the bowl, and maybe even your fingers.
Print
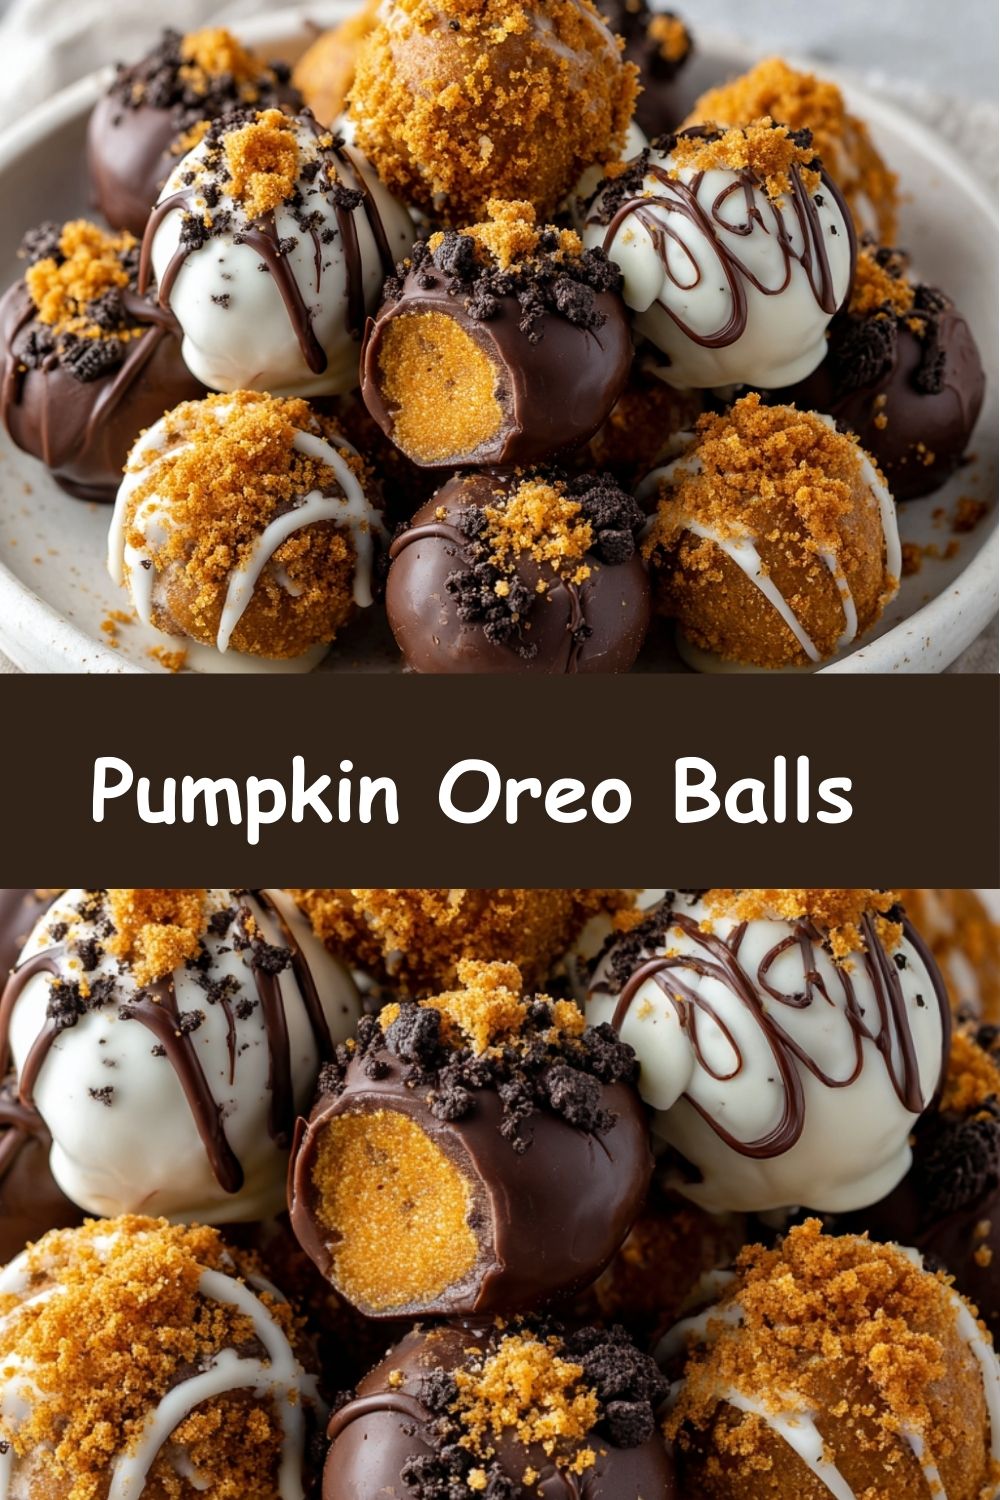
Pumpkin Oreo Balls
- Total Time: 50 mins
- Yield: 24 Balls 1x
Description
These Pumpkin Oreo Balls are bite-sized bliss—rich, creamy, and coated in chocolate with just the right hint of fall spice. No oven, no fuss, and perfect for parties, gift trays, or sneaky late-night snacks straight from the fridge.
Ingredients
1 package (36) Oreo cookies (Golden or regular, your call)
4 oz cream cheese, softened
1/4 cup pumpkin purée (not pumpkin pie filling)
1/2 tsp pumpkin pie spice
1/2 tsp vanilla extract
Pinch of salt
10 oz white or dark melting chocolate
Optional: Crushed Oreos, sprinkles, or cinnamon sugar for topping
Instructions
Crush Oreos into fine crumbs using a food processor or by sealing in a bag and smashing.
In a bowl, mix crumbs with cream cheese, pumpkin, vanilla, spice, and salt until smooth and dough-like.
Roll into 1-inch balls and place on a parchment-lined tray.
Freeze for 30 minutes to firm up.
Melt chocolate and dip each ball, placing them back on the tray.
Add toppings before chocolate sets.
Chill in fridge until ready to serve.
- Prep Time: 20 mins
- Category: Dessert
Nutrition
- Calories: 130
- Sugar: 11g
- Fat: 7g
- Carbohydrates: 16g
- Protein: 1g
The Happy Accident That Started It All
This recipe actually came from a classic “kitchen sink” moment a few years ago. It was right before a big Friendsgiving potluck, and I was desperately trying to clean out my fridge. I had a half-used tub of cream cheese, a lonely little bit of pumpkin purée left from making muffins, and a package of Oreos that my nephew had opened and then mysteriously abandoned.
Instead of just making classic Oreo balls (which are amazing, don’t get me wrong!), I thought, “What if…?” I threw it all together—pumpkin, a dash of spice, the works. I remember my best friend, Sarah, walking in as I was dipping the first one in chocolate. She raised an eyebrow and said, “Pumpkin? With Oreos? You’ve finally lost it, Whitmore.”
I handed her one. She took a skeptical bite, her eyes went wide, and she immediately reached for three more. They were the first thing to disappear at the party that night, and I’ve been making them every autumn since. It’s a fun little reminder that the best creations often come from a bit of curiosity and a willingness to play with your food!
Gathering Your Pumpkin Oreo Ball Squad
Here’s the dream team of ingredients you’ll need. The beauty of this recipe is its simplicity, and I’ve got some fun swaps and chef-y insights for you on each one!
- 1 package (36 cookies) Oreo cookies – This is the foundation! You can use the classic original Oreos for that deep chocolatey base, or Golden Oreos for a more vanilla-forward, almost-cake-like flavor. Honestly, you can’t go wrong. Chef’s Insight: Don’t even think about removing the cream filling! It’s essential for binding and sweetness.
- 4 oz cream cheese, softened – This is our magic binder, giving the mixture that lush, rollable texture. Substitution Tip: For a dairy-free version, a high-quality, firm vegan cream cheese works beautifully here. Just make sure it’s at room temperature too!
- 1/4 cup pumpkin purée – The star of our show! This adds that gorgeous fall flavor and a touch of moisture. CRUCIAL NOTE: Make sure you’re using 100% pure pumpkin purée, NOT pumpkin pie filling. The pie filling is pre-sweetened and spiced and will throw off the entire balance of our recipe.
- 1/2 tsp pumpkin pie spice – This cozy blend of cinnamon, ginger, nutmeg, and allspice is what makes it taste like autumn. Chef’s Insight: If you don’t have the pre-mixed spice, you can make your own with 1/4 tsp cinnamon, and a pinch each of ginger, nutmeg, and allspice.
- 1/2 tsp vanilla extract – A little splash of vanilla always deepens the flavor profile and makes everything taste more homemade and warm.
- Pinch of salt – Never, ever skip the salt! It balances the sweetness and makes all the other flavors pop.
- 10 oz white or dark melting chocolate (or melting wafers) – For that gorgeous, professional-looking shell. Chef’s Hack: I highly recommend using chocolate melting wafers (like Ghirardelli or Candy Melts) instead of chocolate chips. They’re specifically designed to melt smoothly and set with a perfect snap without the fuss of tempering.
- Optional toppings: Crushed Oreos, festive sprinkles, cinnamon sugar, or a drizzle of opposite-color chocolate – This is where you get to have fun and make them your own!
Let’s Make Some Magic: Step-by-Step
Okay, team, let’s do this! It’s an incredibly simple process, but a few pro tips will make your balls absolutely flawless.
Step 1: The Great Oreo Crush
Dump your entire package of Oreos (creams and all!) into a food processor. Pulse until you have a fine, uniform crumb. You shouldn’t see any large chunks. No food processor? No problem! Place the cookies in a large, sturdy zip-top bag, seal it tightly (get all the air out!), and use a rolling pin to crush them into dust. This is a fantastic way to get out any pent-up energy! You should end up with about 3 to 3.5 cups of crumbs.
Step 2: The Mix-Up
In a large mixing bowl, combine the fine Oreo crumbs, softened cream cheese, pumpkin purée, pumpkin pie spice, vanilla extract, and that all-important pinch of salt. Use a sturdy spatula or even your hands (clean ones, please!) to mix until it’s completely combined. It will first look crumbly, but keep mixing! It will eventually come together into a thick, cohesive, almost play-dough-like dough. Chef’s Hack: If you’re using a mixer, use the paddle attachment on low speed just until combined. Overmixing can make the cream cheese too warm.
Step 3: Roll Call!
Line a baking sheet with parchment paper. Using a small cookie scoop (about 1 tablespoon in size) is my secret weapon for getting evenly-sized balls. Scoop the mixture and then roll it between your palms to form a smooth, round, 1-inch ball. Place each one on the prepared baking sheet. If the mixture feels too sticky, pop the whole bowl into the fridge for 15 minutes to firm up. This is also a great time to recruit little helpers—kids are genius ball-rollers!
Step 4: The Big Chill
This step is NON-NEGOTIABLE. You must place the entire tray of un-dipped balls into the freezer for at least 30 minutes. This firms them up, which is critical for two reasons: 1) It prevents them from falling apart when you dip them in the warm chocolate, and 2) It helps the chocolate set around them much faster, giving you a cleaner, smoother coating.
Step 5: Chocolate Dip Party
While the balls are chilling, melt your chocolate. Do this in a deep, narrow bowl or a liquid measuring cup—it makes dipping so much easier! Melt according to package directions, usually in 30-second bursts in the microwave, stirring in between. Pro Tip: If your melted chocolate seems too thick, you can add a tiny teaspoon of coconut oil to thin it out for a smoother coating. Using a fork or a specialty dipping tool, submerge a frozen ball completely in the chocolate. Lift it out, let the excess chocolate drip off, and gently place it back on the parchment-lined tray.
Step 6: Top It Off!
This is your moment to shine! Immediately after placing a dipped ball on the tray, sprinkle on your chosen toppings. You have to work quickly before the chocolate sets. A little crushed Oreo dust, some festive autumn sprinkles, or a light dusting of cinnamon sugar takes these from amazing to absolutely show-stopping.
Step 7: The Final Set
Once all balls are dipped and decorated, transfer the tray to the refrigerator for at least 15-20 minutes to allow the chocolate to fully set and become firm. Then, try not to eat them all in one sitting. I believe in you!
How to Serve These Little Gems
Once they’re set, these Pumpkin Oreo Balls are ready for their debut! I love arranging them on a beautiful platter as the star of a dessert table. For a holiday party, pile them high in a festive bowl and watch them vanish. They also make incredibly thoughtful and impressive homemade gifts. Tuck a few into a little cellophane bag, tie it with a ribbon, and you’ve just become everyone’s favorite person. And of course, they are best served straight from the fridge, slightly chilled, with a cup of hot coffee or a glass of cold milk.
Mix It Up! Fun Variations to Try
The basic recipe is a dream, but why not play with it? Here are a few of my favorite twists:
- Gingersnap Twist: Swap the Oreos for gingersnap cookies! The spicy ginger paired with the pumpkin and white chocolate is absolutely divine.
- Peanut Butter Paradise: Use Peanut Butter Oreos instead of the original. The peanut butter, pumpkin, and chocolate combo is unreal.
- Dark Decadence: Dip them in dark chocolate and sprinkle with a little flaky sea salt. The sweet-salty contrast is next-level.
- Cake Pop Style: Insert a lollipop stick into each ball before the final chill. Dip and decorate as usual, and you’ve got adorable Pumpkin Oreo Pops!
- Extra Pumpkin Spice: For the true spice lovers, add an extra 1/4 tsp of pumpkin pie spice to the mixture and use cinnamon sugar as your topping.
Clara’s Kitchen Notes & Funny Stories
This recipe has evolved a bit since that first Friendsgiving. The first batch I ever made was… a little too soft. I was impatient and didn’t freeze them long enough. Let’s just say my first few attempts at dipping looked more like chocolate-covered pumpkin soup puddles. It was a delicious mess, but a mess nonetheless! I learned the hard way that the freezer is your best friend here.
I also once accidentally used pumpkin pie filling (we’ve all done it!). They were *aggressively* sweet and had a weirdly smooth texture. It was a good lesson in always reading labels carefully. Now, I keep a sticky note on my cabinet that just says “PURE PUMPKIN” as a reminder. The fun part of kitchen flops is that they almost always still taste good, even if they look a little funky. So don’t stress! These are incredibly forgiving.
Your Questions, Answered!
Q: My mixture is too sticky to roll! What do I do?
A: Don’t panic! This usually means the cream cheese was a bit too warm or your pumpkin purée had a high water content. Just pop the mixture into the fridge for 20-30 minutes to firm up. You can also lightly dampen your hands with water while rolling to prevent sticking.
Q: Can I make these ahead of time?
A: Absolutely! They are the perfect make-ahead treat. Store them in a single layer in an airtight container in the refrigerator for up to a week. You can also freeze them for up to 3 months! Just thaw in the fridge before serving.
Q: Why did my chocolate get clumpy or seize up?
A: This is usually caused by a tiny bit of moisture getting into the chocolate. Make sure your bowls and tools are completely dry. Also, ensure your balls are fully frozen—if they are still soft, they can release moisture into the chocolate as you dip.
Q: Can I use a different type of cookie?
A: Of course! The formula is simple: 1 package of cookies (about 36) + 4 oz cream cheese + your flavorings. Get creative with mint Oreos for a holiday vibe, or try it with Nutter Butters for a peanut butter blast!
Nutritional Information*
*Please note: This is an estimate provided for informational purposes only. I am not a nutritionist.
Per ball (based on a yield of 24 balls, using original Oreos and white melting wafers):
Calories: ~130 | Fat: 7g | Saturated Fat: 3.5g | Carbohydrates: 16g | Sugar: 11g | Protein: 1g
Well, that’s it, my friends! I hope you fall as deeply in love with these no-bake Pumpkin Oreo Balls as I have. They’re a little bit of fun, a whole lot of flavor, and proof that the best things in life don’t always require an oven. Remember, it’s all about the joy of creating something delicious.
With love and a full plate,
Clara