Your New Holiday Hero: The Ultimate Thanksgiving Mac and Cheese
Hey there, my fellow flavor adventurers! Clara here, coming to you from my kitchen that currently smells like a happy, cheesy dream. Let’s be real for a second: the Thanksgiving table is a glorious battlefield of flavors. You’ve got the majestic, golden-brown turkey, the sweet-and-savory dance of the stuffing, those tangy cranberries… it’s a lot to compete with! But what if I told you there’s one dish that can not only hold its own but often becomes the silent, creamy, cheesy champion of the entire feast?
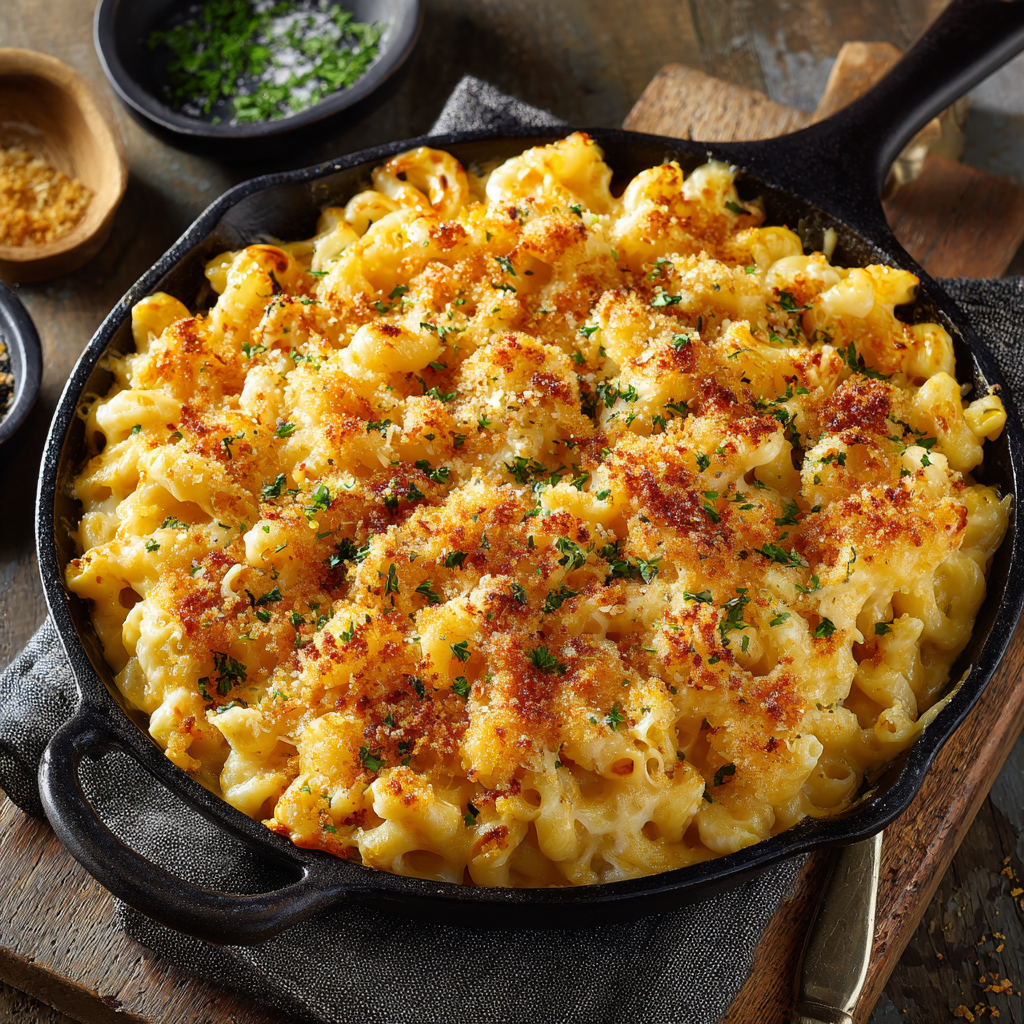
I’m talking about Thanksgiving Mac and Cheese. This isn’t your average weeknight boxed mac. This is the main event. The side dish that gets requested year after year. The one that makes your cousins subtly (or not so subtly) ask for the recipe. It’s rich, luxuriously creamy, and baked to golden-brown perfection with a buttery, crunchy topping that gives you that perfect textural contrast in every single bite. It’s the ultimate comfort food, dressed up in its holiday best, and it’s about to become the star of your Thanksgiving spread. So, grab your favorite whisk and let’s cook up a batch of pure, unadulterated joy.
The Mac and Cheese That Started It All
My love affair with this dish started not in a fancy restaurant, but in my Nana’s wonderfully chaotic kitchen. Every Thanksgiving, amid the flurry of pie crusts and simmering gravy, she’d have one secret weapon quietly bubbling away in the oven. It was her “fancy mac,” as she called it. She’d let me sneak a spoonful of the sauce before it went in to bake, and my eyes would just light up. It was magic. She’d whisper her “secret” was a pinch of mustard powder “to make the cheese sing,” and a mix of two different cheeses for maximum flavor.
That dish was more than just pasta and cheese; it was a warm, cheesy hug. It was the centerpiece of our kids’ table, the thing that brought everyone together, laughing and scraping the baking dish clean. It taught me that the best recipes aren’t about perfection—they’re about the feeling they create. This recipe is my homage to Nana’s magic, with a few of my own curious cook twists. It’s my way of passing on that warm, joyful hug to you and your family.
Print
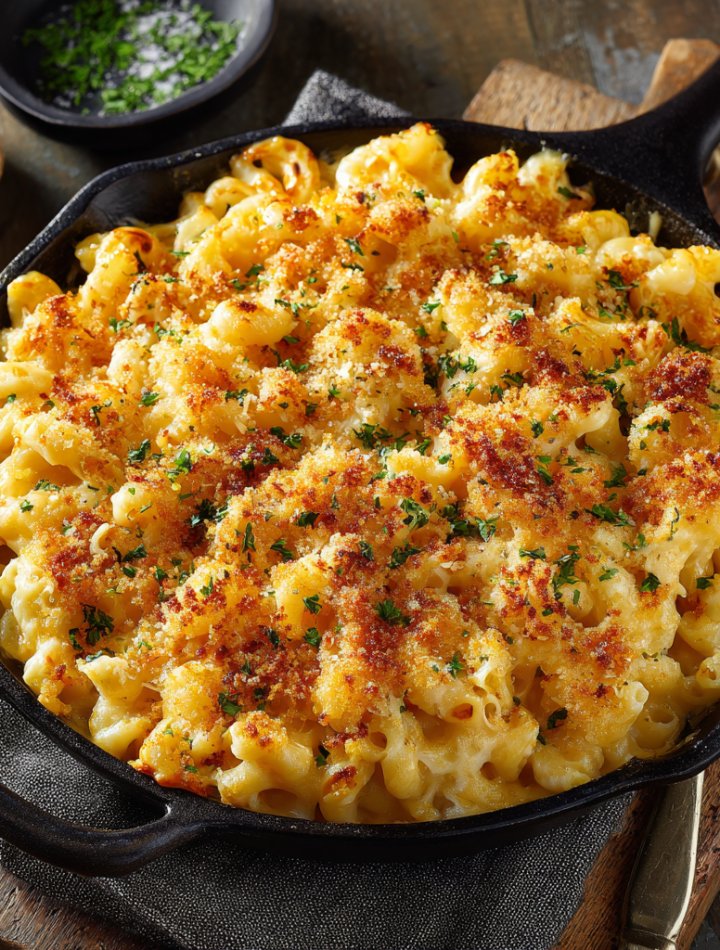
Thanksgiving Mac and Cheese
- Total Time: 50 minutes
- Yield: 8 servings 1x
Description
Thanksgiving is about warmth, comfort, and unforgettable flavors. This mac and cheese brings all three together in one golden, cheesy, creamy bake. With a touch of holiday spice and a buttery crust, it’s the kind of side dish that just might steal the show.
Ingredients
1 lb elbow macaroni
4 tbsp unsalted butter
4 tbsp all-purpose flour
3 cups whole milk
1 cup heavy cream
2 tsp Dijon mustard
1 tsp garlic powder
1/2 tsp ground nutmeg
Salt and pepper to taste
2 cups sharp cheddar, shredded
1 cup Gruyère, shredded
1/2 cup Parmesan, grated
1/2 cup panko breadcrumbs
2 tbsp melted butter (for topping)
Instructions
Preheat oven to 375°F (190°C) and grease a 9×13-inch baking dish.
Cook pasta until al dente, drain and set aside.
In a saucepan, melt butter, whisk in flour, and cook for 2 minutes.
Gradually whisk in milk and cream. Simmer until thickened, about 5–7 minutes.
Stir in mustard, garlic powder, nutmeg, salt, pepper, and cheeses (reserve some cheddar for topping).
Mix cheese sauce with pasta and pour into prepared dish.
Top with reserved cheddar, panko tossed in melted butter, and paprika if using.
Bake for 25–30 minutes until golden and bubbly. Let rest for 10 minutes before serving.
- Prep Time: 20 minutes
- Cook Time: 30 minutes
- Category: Dinner, Main Course
Nutrition
- Calories: 450
- Fat: 28g
- Protein: 16g
Gathering Your Cheesy Arsenal
Here’s everything you’ll need to create this masterpiece. I’ve included some of my favorite insights and swaps so you can make this dish your own!
- 1 lb elbow macaroni: The classic choice! Its little curves are perfect for cradling all that glorious sauce. Feel free to swap in cavatappi or shell pasta for even more sauce-hugging action.
- 6 tbsp unsalted butter, divided: We’ll use most of this for our sauce base (the roux!) and the rest for making our topping irresistibly golden and crispy. Using unsalted lets us control the salt level perfectly.
- 1/4 cup all-purpose flour: This is the other half of our dynamic duo, the roux. It’s what will thicken our sauce into a velvety, luxurious blanket for our pasta.
- 3 cups whole milk, warmed: Pro Chef Tip! Warming the milk before adding it to the roux is a GAME-CHANGER. It prevents the sauce from getting grainy and helps it thicken smoothly and quickly. Just pop it in the microwave for a minute or two!
- 1 cup heavy cream: This is where we get indulgent. It adds an incredible richness that makes this mac and cheese truly holiday-worthy. For a slightly lighter version, you can use half-and-half, but trust me, the cream is worth it for a special occasion.
- 3 cups sharp cheddar cheese, shredded: Please, please shred this yourself! Pre-shredded bags contain anti-caking agents that can make your sauce grainy and less smooth. Sharp cheddar gives us that iconic, tangy flavor base.
- 1 cup Gruyère cheese, shredded: My favorite “fancy” melter. Gruyère has a nutty, slightly salty flavor that complements the cheddar beautifully and makes the sauce incredibly silky. Monterey Jack is a great, milder substitute if that’s what you have.
- 1 tsp garlic powder: This is our flavor booster! It distributes evenly throughout the sauce, giving it a subtle, savory depth that fresh garlic sometimes can’t achieve in a cheese sauce.
- ½ tsp mustard powder (optional but highly recommended): This is Nana’s secret! It doesn’t make the sauce taste like mustard; it just amplifies the cheesy flavor and adds a wonderful complexity. Don’t skip it!
- Salt and black pepper to taste: Season as you go! I always do a taste test after the sauce is made and again after everything is combined.
- Optional twist: ½ tsp smoked paprika or cayenne: For my adventurous souls! A little smoked paprika adds a warm, smoky note, while a pinch of cayenne gives a gentle, behind-the-scenes kick that keeps people coming back for more.
For The Iconic Topping:
- 1 cup panko breadcrumbs: Panko is lighter and flakier than regular breadcrumbs, giving you the ultimate CRUNCH factor.
- 2 tbsp melted butter: Combined with the panko, this creates that golden, buttery, crispy crust we all dream about.
- 1/4 cup grated Parmesan cheese: This is my extra credit. It adds a salty, savory punch and helps the topping get even crispier and more delicious.
Let’s Build That Creamy Dream!
Okay, team! Let’s do this. Read through all the steps first—it’s like a little kitchen roadmap to success.
Step 1: Preheat your oven to 375°F (190°C). This is our sweet spot—hot enough to get a gorgeous, bubbly bake and a golden-brown top without burning our precious topping. Grab your 9×13-inch baking dish and give it a quick grease with butter or a spritz of cooking spray. Set it aside.
Step 2: Bring a large pot of well-salted water to a rolling boil. Add your elbow macaroni and cook it for about 1-2 minutes LESS than the package directions for al dente. Why? Because it’s going to continue cooking in the oven! We don’t want mushy mac. Drain it and let it hang out. Little Chef Hack: Drizzle a tiny bit of olive oil over it and give it a stir to prevent sticking if you’re not adding the sauce right away.
Step 3: Time for the sauce! In a large saucepan or Dutch oven, melt 4 tablespoons of the butter over medium heat. Once it’s foamy, sprinkle in the all-purpose flour. Now, whisk constantly for a full 1-2 minutes. You’re making a roux, and this quick cook gets rid of the raw flour taste. It should smell a bit nutty and look pale blond.
Step 4: Here’s the key: slowly pour in your warmed milk and cream, whisking the entire time. I mean it—don’t stop whisking! This initial burst of energy prevents lumps from forming. Keep cooking and whisking until the sauce thickens enough to coat the back of a spoon. This should take about 4-6 minutes. You’ll know it’s ready when you drag your finger across the spoon and the line holds.
Step 5: Turn the heat down to low. Now, for the fun part! Gradually add your shredded cheddar and Gruyère, one handful at a time, whisking until each addition is fully melted and smooth before adding the next. This patience rewards you with the silkiest sauce imaginable. Once the cheese is melted in, stir in the garlic powder, mustard powder, salt, pepper, and any optional spices.
Step 6: Add your drained pasta to the cheese sauce. Use a sturdy spoon or spatula to fold it all together until every single noodle is luxuriously coated in that creamy, cheesy sauce. Pour the whole beautiful mixture into your prepared baking dish and spread it out evenly.
Step 7: In a small bowl, mix the panko breadcrumbs with the 2 tbsp of melted butter and the Parmesan cheese (if using). Sprinkle this over the top of the mac and cheese in an even layer. This is our crown!
Step 8: Pop that dish into your preheated oven and bake for 25-30 minutes. You’re looking for the sauce to be bubbling enthusiastically around the edges and the top to be a beautiful, deep golden brown. Pro Chef Tip: If the top is browning too quickly, you can loosely tent it with a piece of foil.
Step 9: This is the hardest part, I swear. LET IT REST for about 10 minutes after pulling it out of the oven. This allows the sauce to set slightly, making it easier to serve beautiful, clean scoops instead of a cheesy lava flow. It’s worth the wait, I promise!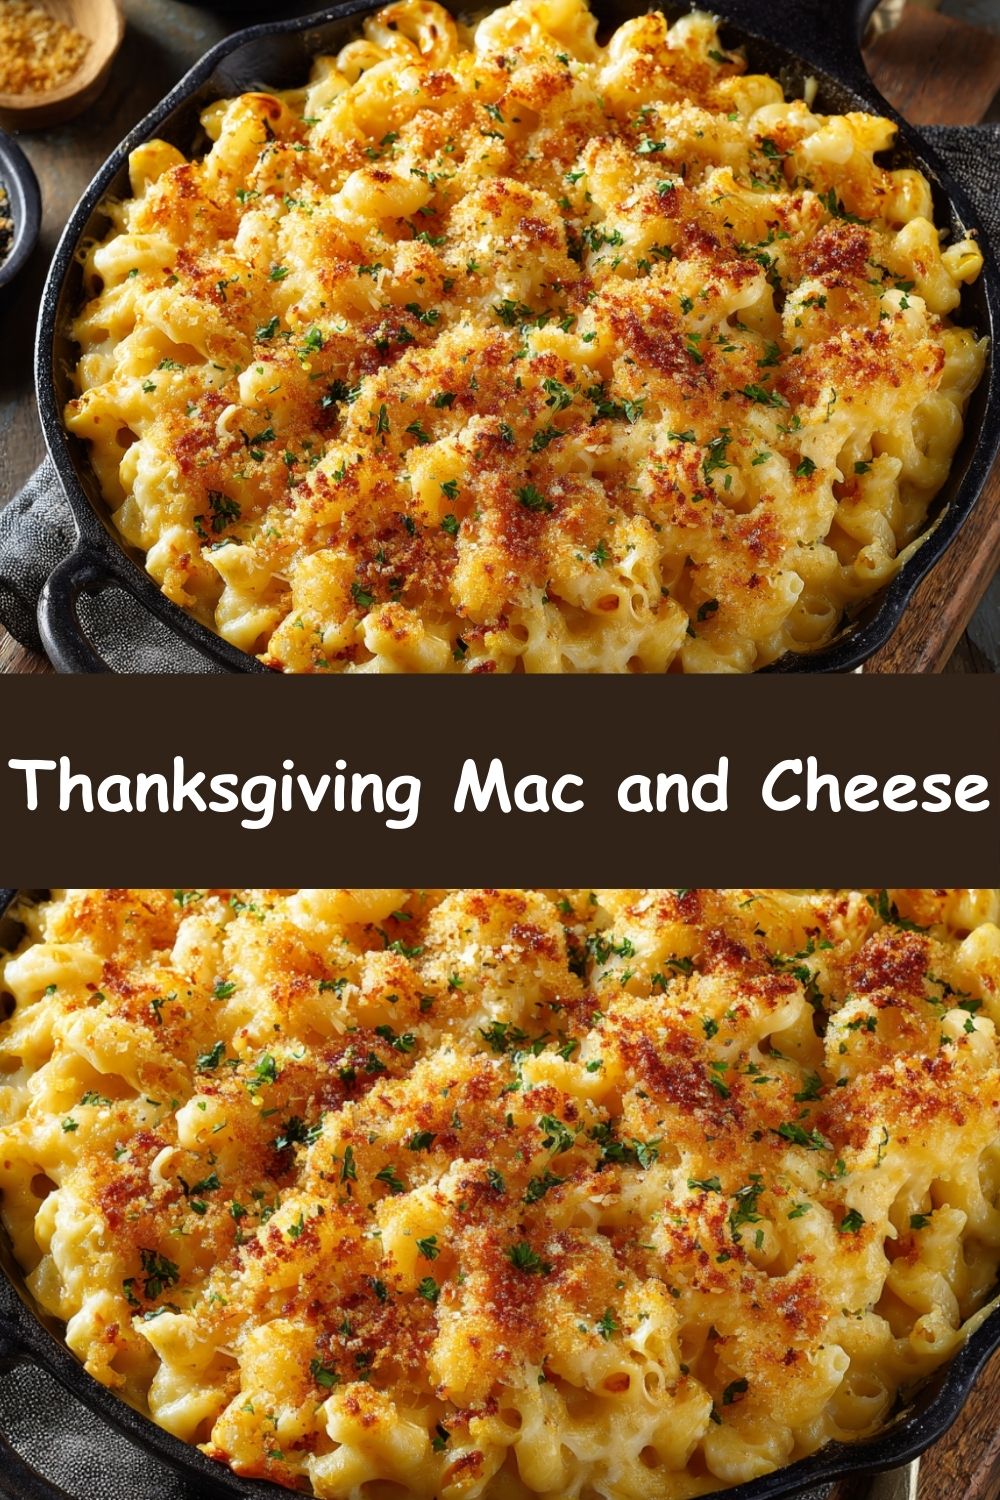
Plating Your Masterpiece
This dish is a star, so let it shine! Use a large serving spoon to scoop out generous portions, making sure to get that crispy top and creamy center in every serving. I love serving it right from the baking dish placed in the center of the table—it’s rustic, inviting, and says “dig in!” Pair it with your roasted turkey, herby stuffing, and all the classic fixings. For a little green on the side, a simple arugula salad with a lemon vinaigrette is the perfect bright contrast to cut through the richness.
Make It Your Own: Fun Flavor Twists!
The beauty of this recipe is its versatility! Here are a few ways to play with it:
- The Gourmet: Stir in ½ cup of crumbled crispy bacon or pancetta and ⅓ cup of chopped fresh chives into the macaroni before baking.
- The Veggie Lover: Fold in 1 ½ cups of roasted broccoli florets or caramelized onions for a pop of flavor and nutrition.
- The Truffle Shuffle: Drizzle in 1 teaspoon of truffle oil into the cheese sauce at the very end for an ultra-luxurious, restaurant-style vibe.
- Gluten-Free Friends: Use your favorite gluten-free pasta and swap the all-purpose flour for a 1:1 gluten-free flour blend. The result is just as delicious!
- Add a Protein Punch: Mix in 2 cups of shredded rotisserie chicken or diced ham to turn this side into a incredible main course.
Clara’s Kitchen Notes
This recipe has evolved so much from my Nana’s original! I’ve made it in a pinch with pre-shredded cheese (we’ve all been there, no shame!) and I’ve made it completely from scratch on a quiet Sunday. The biggest lesson? The love you put into it is the most important ingredient. I once accidentally used smoked cheddar and added a bit of cayenne, and it was such a happy accident that it’s now my preferred way to make it! Don’t be afraid to experiment. The worst that can happen is you have a slightly less perfect, but still delicious, pan of mac and cheese. And really, is there such a thing as bad mac and cheese? I think not.
Your Mac and Cheese Questions, Answered!
Q: My cheese sauce turned out grainy/oily. What happened?
A: This is usually due to the heat being too high when melting the cheese. Always melt your cheese on low heat! Also, pre-shredded cheese can sometimes cause this because of the anti-caking agents. Grating your own cheese is the best guarantee for a super smooth sauce.
Q: Can I make this ahead of time for Thanksgiving?
A: Absolutely! Assemble the entire dish (including the topping), cover it tightly, and refrigerate for up to 24 hours. When you’re ready, you may need to add 5-10 minutes to the baking time since it will be going into the oven cold. You can also freeze the unbaked mac and cheese for up to 3 months. Thaw in the refrigerator overnight before baking.
Q: My sauce seems too thick before I bake it. Help!
A> No worries! The pasta will absorb some of the sauce as it bakes, so you want it to be quite creamy going in. But if it seems *too* thick (like a paste), just whisk in a splash of warm milk until it reaches a pourable, creamy consistency.
Q: What’s the best cheese to use besides the ones listed?
A> You want a mix of a great melter and a great flavor agent. Fontina, Havarti, and Gouda are all fantastic melters. For flavor, a little bit of Pecorino Romano or even a blue cheese like Gorgonzola (if you’re brave!) can be amazing. The cheese world is your oyster!
Nutritional Information*
*This is a rough estimate calculated using an online nutrition calculator. Values will vary based on specific ingredients used.
Prep Time: 20 minutes | Bake Time: 25-30 minutes | Servings: 10-12
Approximate Per Serving: Calories: 400 | Fat: 22g | Carbohydrates: 35g | Protein: 16g